
I wanted an old school retro computer like the Amiga 500, Atari 130XE, or Atari ST but I did not want to mess with all the old 40yr old hardware. I discovered the Tarasic DE10-Nano FPGA development board and the MiSTer open source project. These two Hardware + software package combined creates the ultimate system for everything 8 bit – 16 bit and some 32-bit systems. Basically this is a classic gaming system to rule them all! There is a real nostalgic feel with FPGA over emulation since its an exact copy of the original hardware and has all the quirks and bugs along with it. Emulation is good, but FPGA hardware is even better.
I have seen many builds with people installing the DE10 Nano into various computer cases and even some older style cases. I have yet to see someone put one inside a Amiga 500 style case. I loved the old all-in-one keyboard retro 8-Bit & 16 bit type machines. I grew up on the Atari 800XL and 130XE systems and really have a desire for that all on one keyboard feel. I saw an Atari ST once but never got one and instead went right to 486 machines by the early 90’s.
Items Needed:
- DE10-Nano FPGA Board -(I got mine from Mouser for $100 in 2021 but today prices are insane!)
- USB Keyboard – 81 key Z-88 Compact Keyboard -(Amazon but mine is no longer available)
- 128Mb Mister SDRAM
- Mister USB Hub
- Composite / SVideo Adapter (optional) – (YouTube Video about Composite)
- Panel Mount extensions for USB, VGA, HDMI, and CAT5 (Network) – eBay or Amazon
- Computer Case (3D Printed my design)
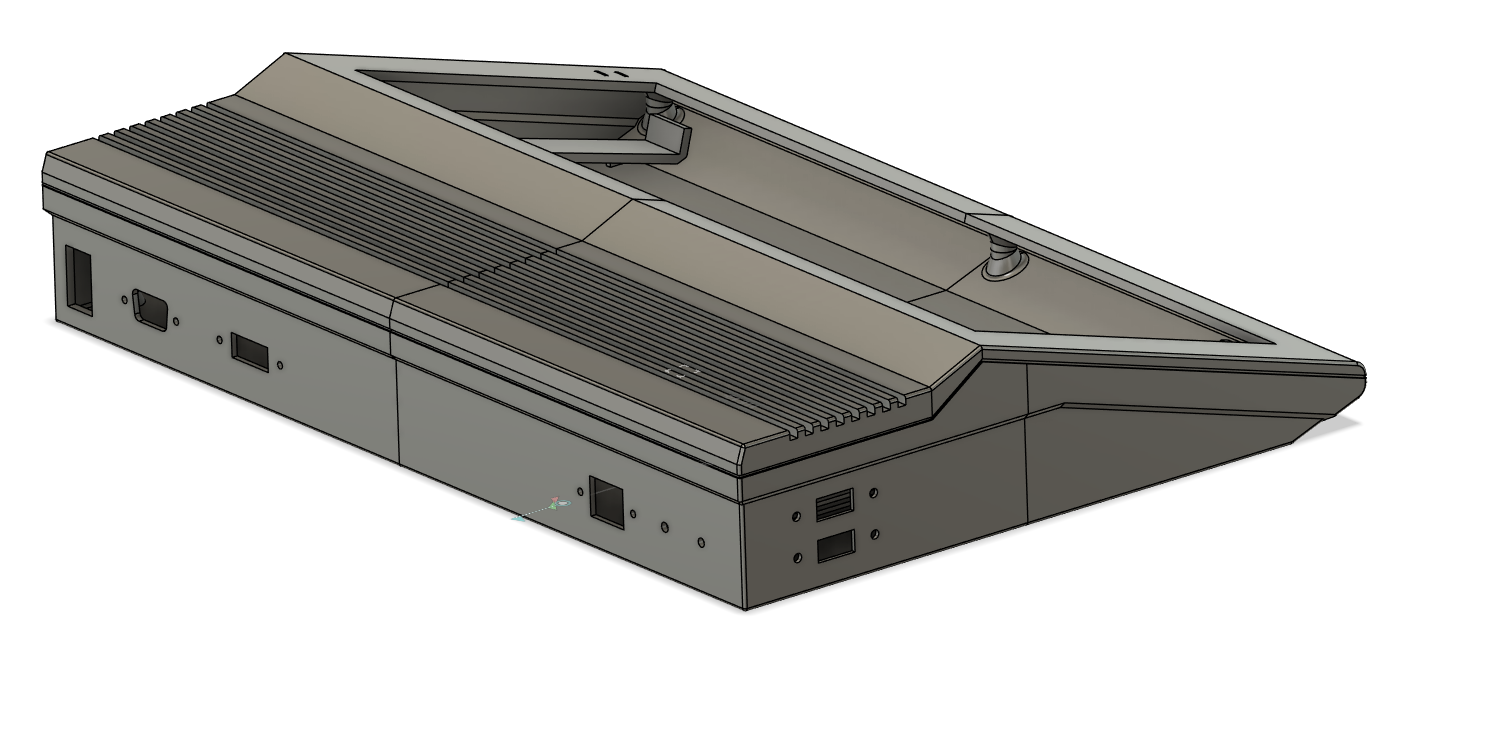
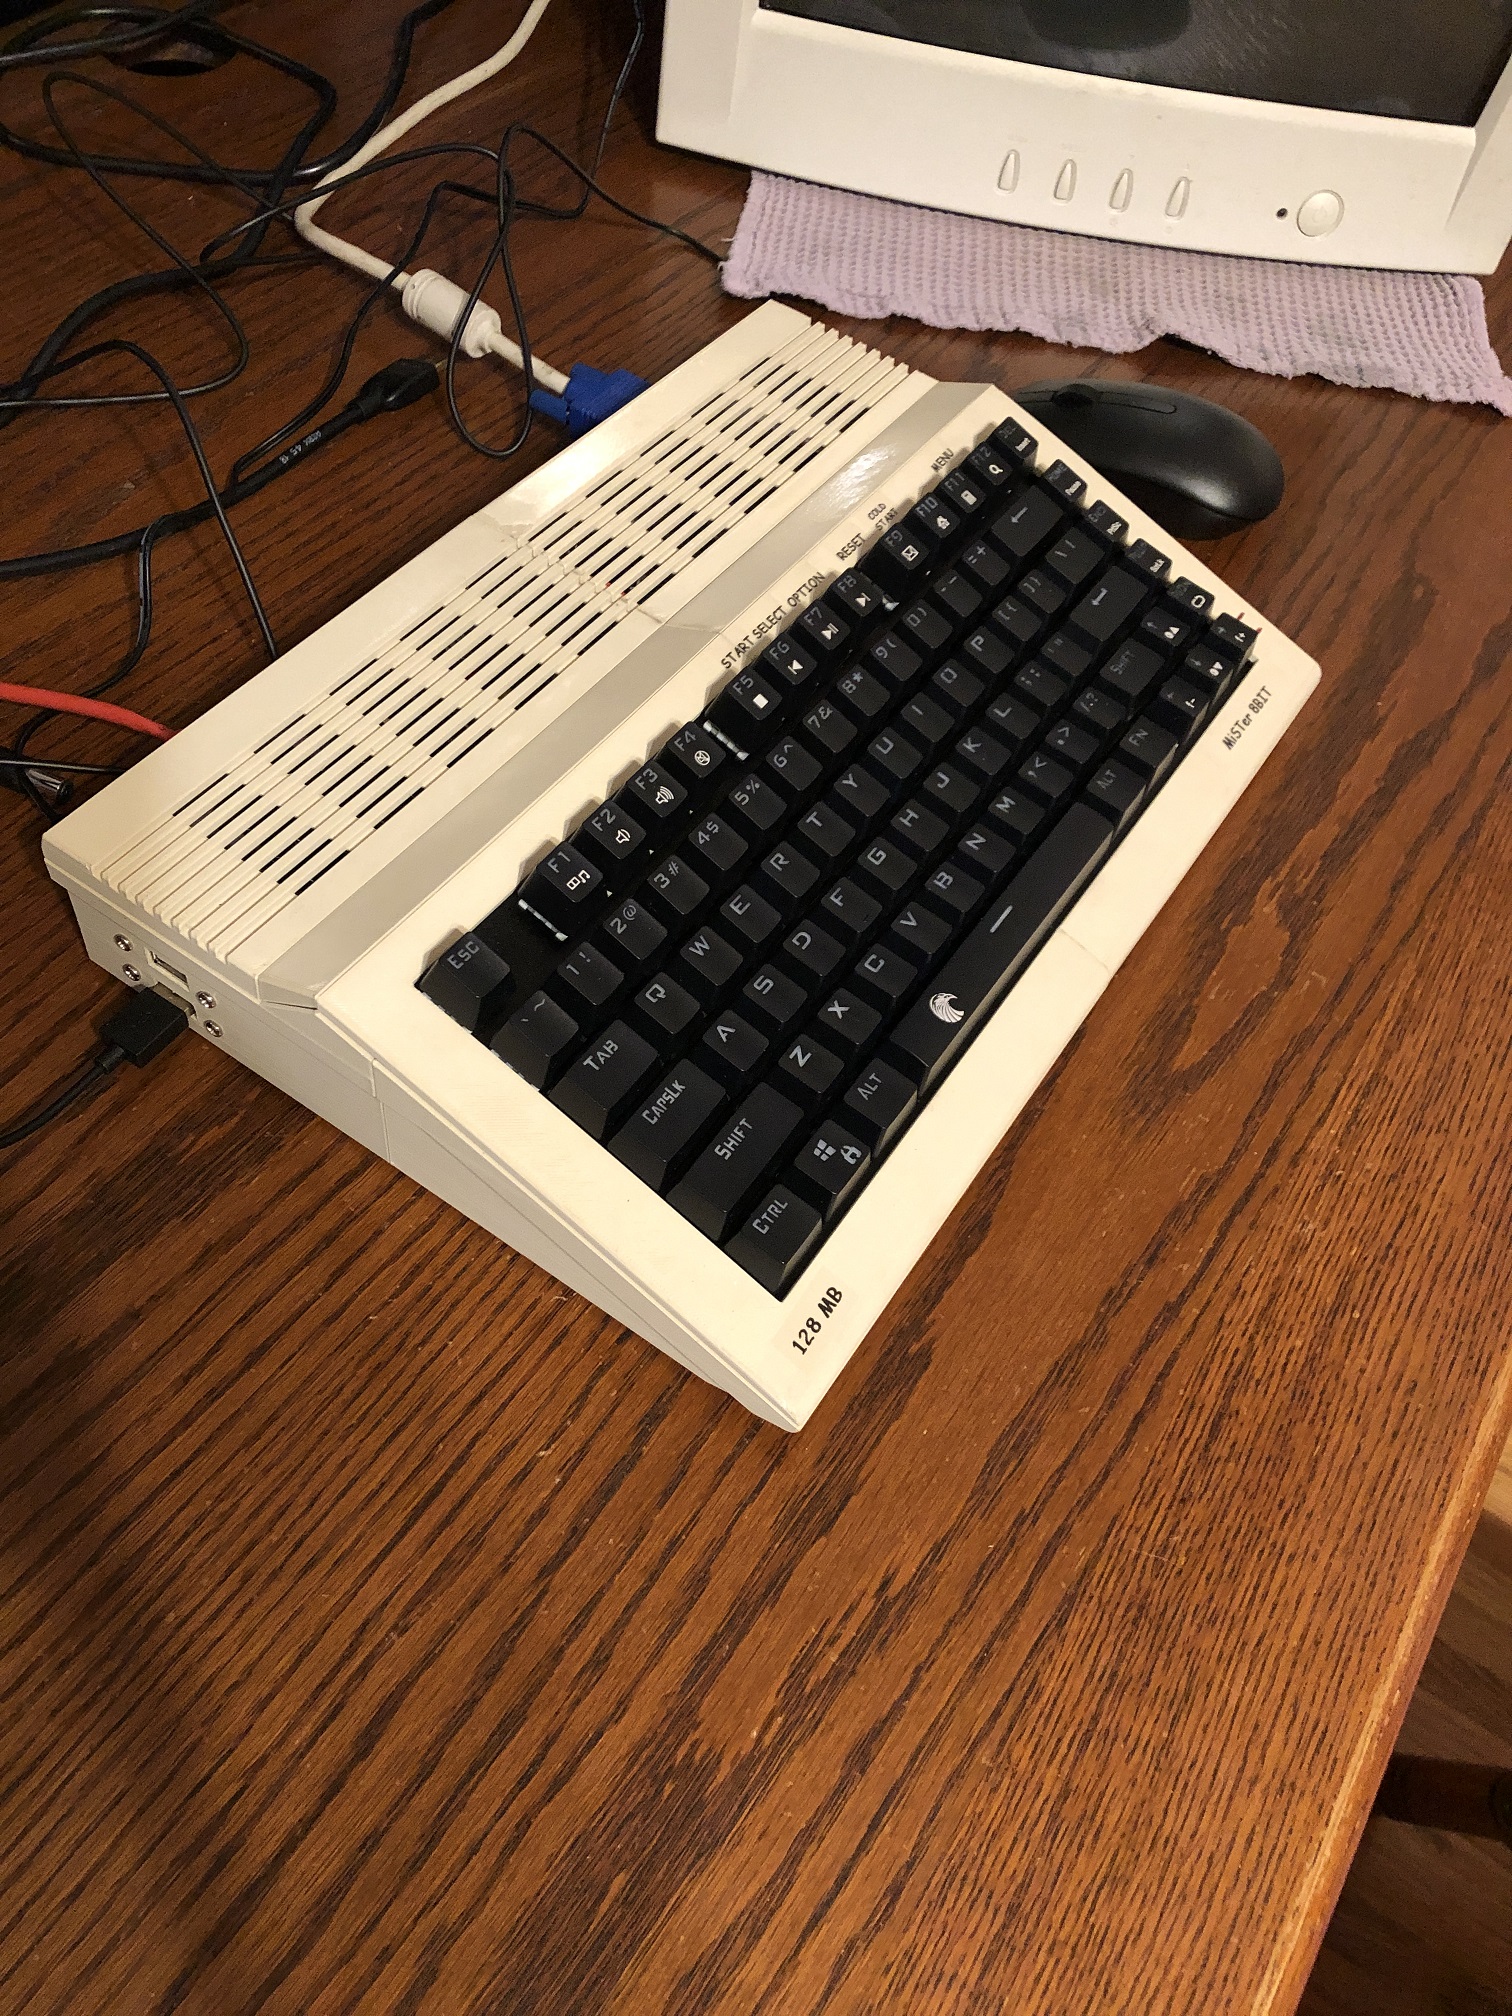
The computer case took a lot of time to design. I wanted that old school feel so I used the Commodore C64 as a reference. I drew it up in Fusion 360 and about 40 hrs later the Mister 8Bit retro computer case was born. Technically the DE10 Nano can use a very small box for a case and there are many free online options. I was not able to find an all in one case like this however.
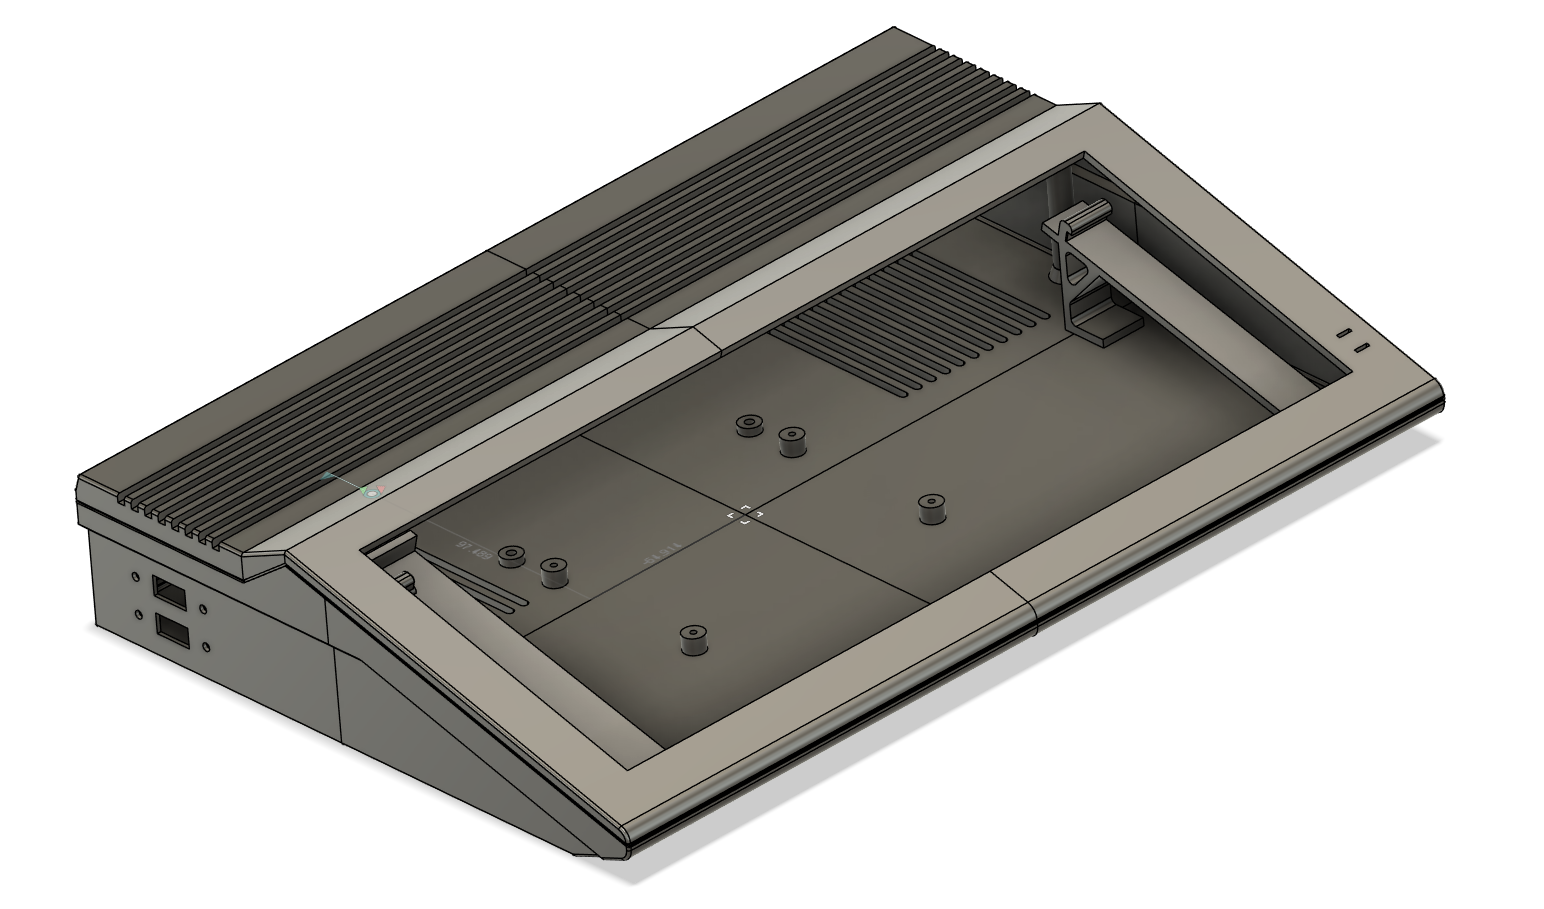

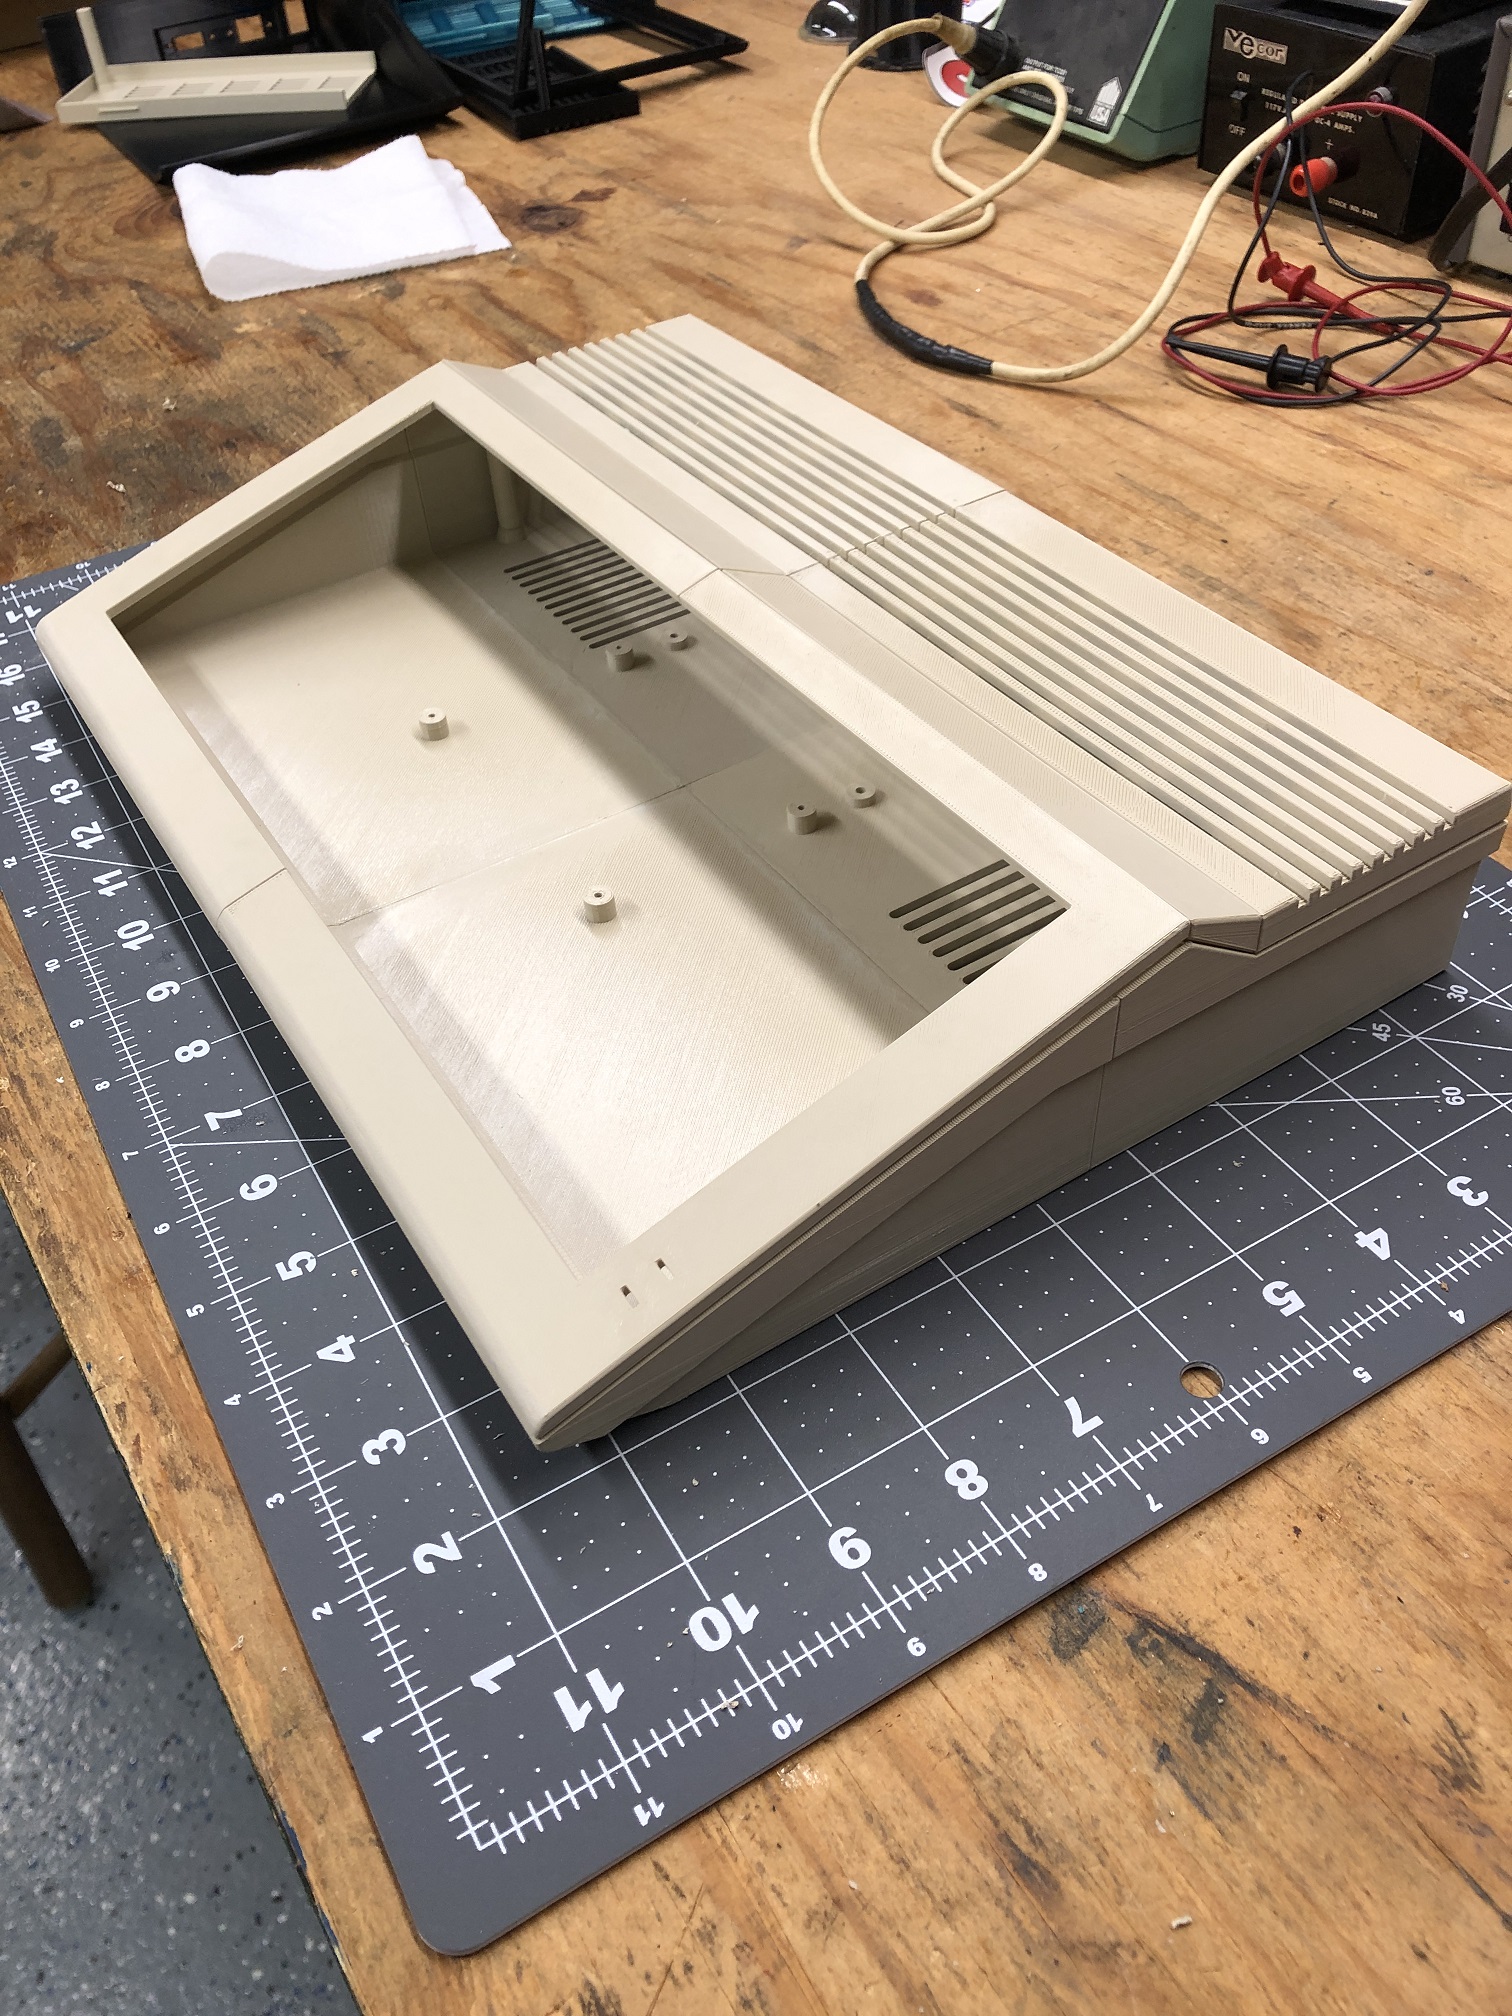
The case is large around 13″ wide. Its too big for my Prusa Mini so I had to split it up into 8 pieces and glued them together (I hate the seems but it turned out satisfactory). I plan on getting a larger 3D printer and I will reprint this as two pieces (top and bottom). I used Jessie Beige PLA from Printed Solid. It turned out perfect and I absolutely love the color. I used almost 1kg of filament to print this. Everything is solid 100% infill. The case is fully assembled from the bottom using screws just like a real case would be designed. I have stand offs inside to support hardware along with air vents in the top and bottom. I also added rubber feet to the bottom.
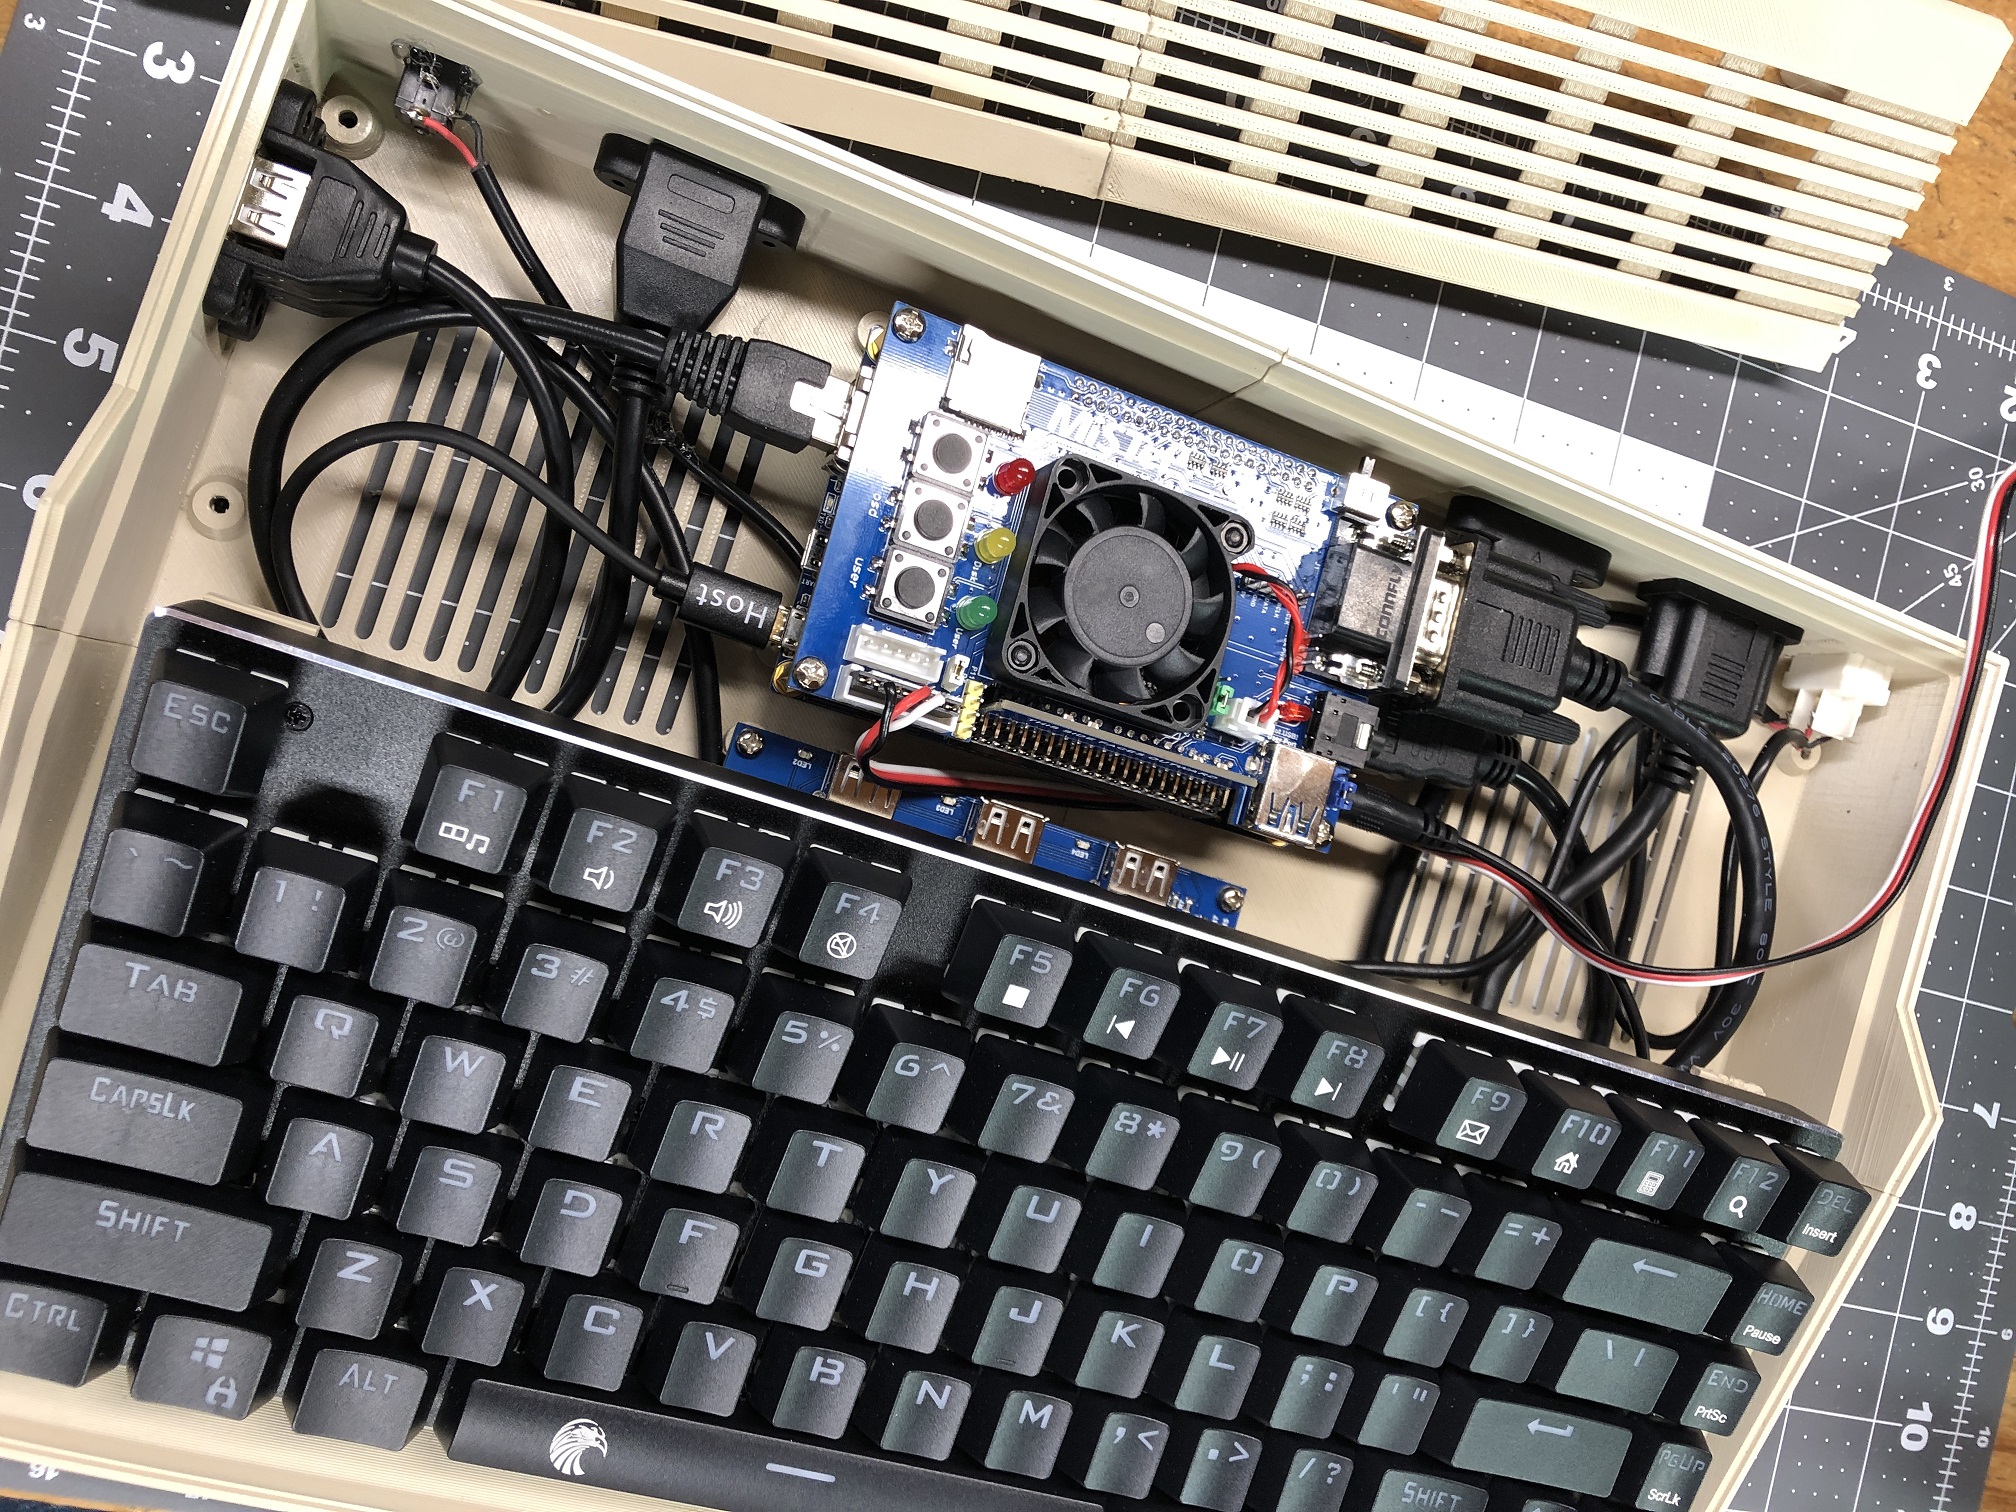
Fitting everything inside was a challenge. My DE10 board did not fit flush with the bottom due to the panel mount cables so it ended up just sitting in there. My next version of the computer case will fix this with longer standoffs. The USB board fit perfect.
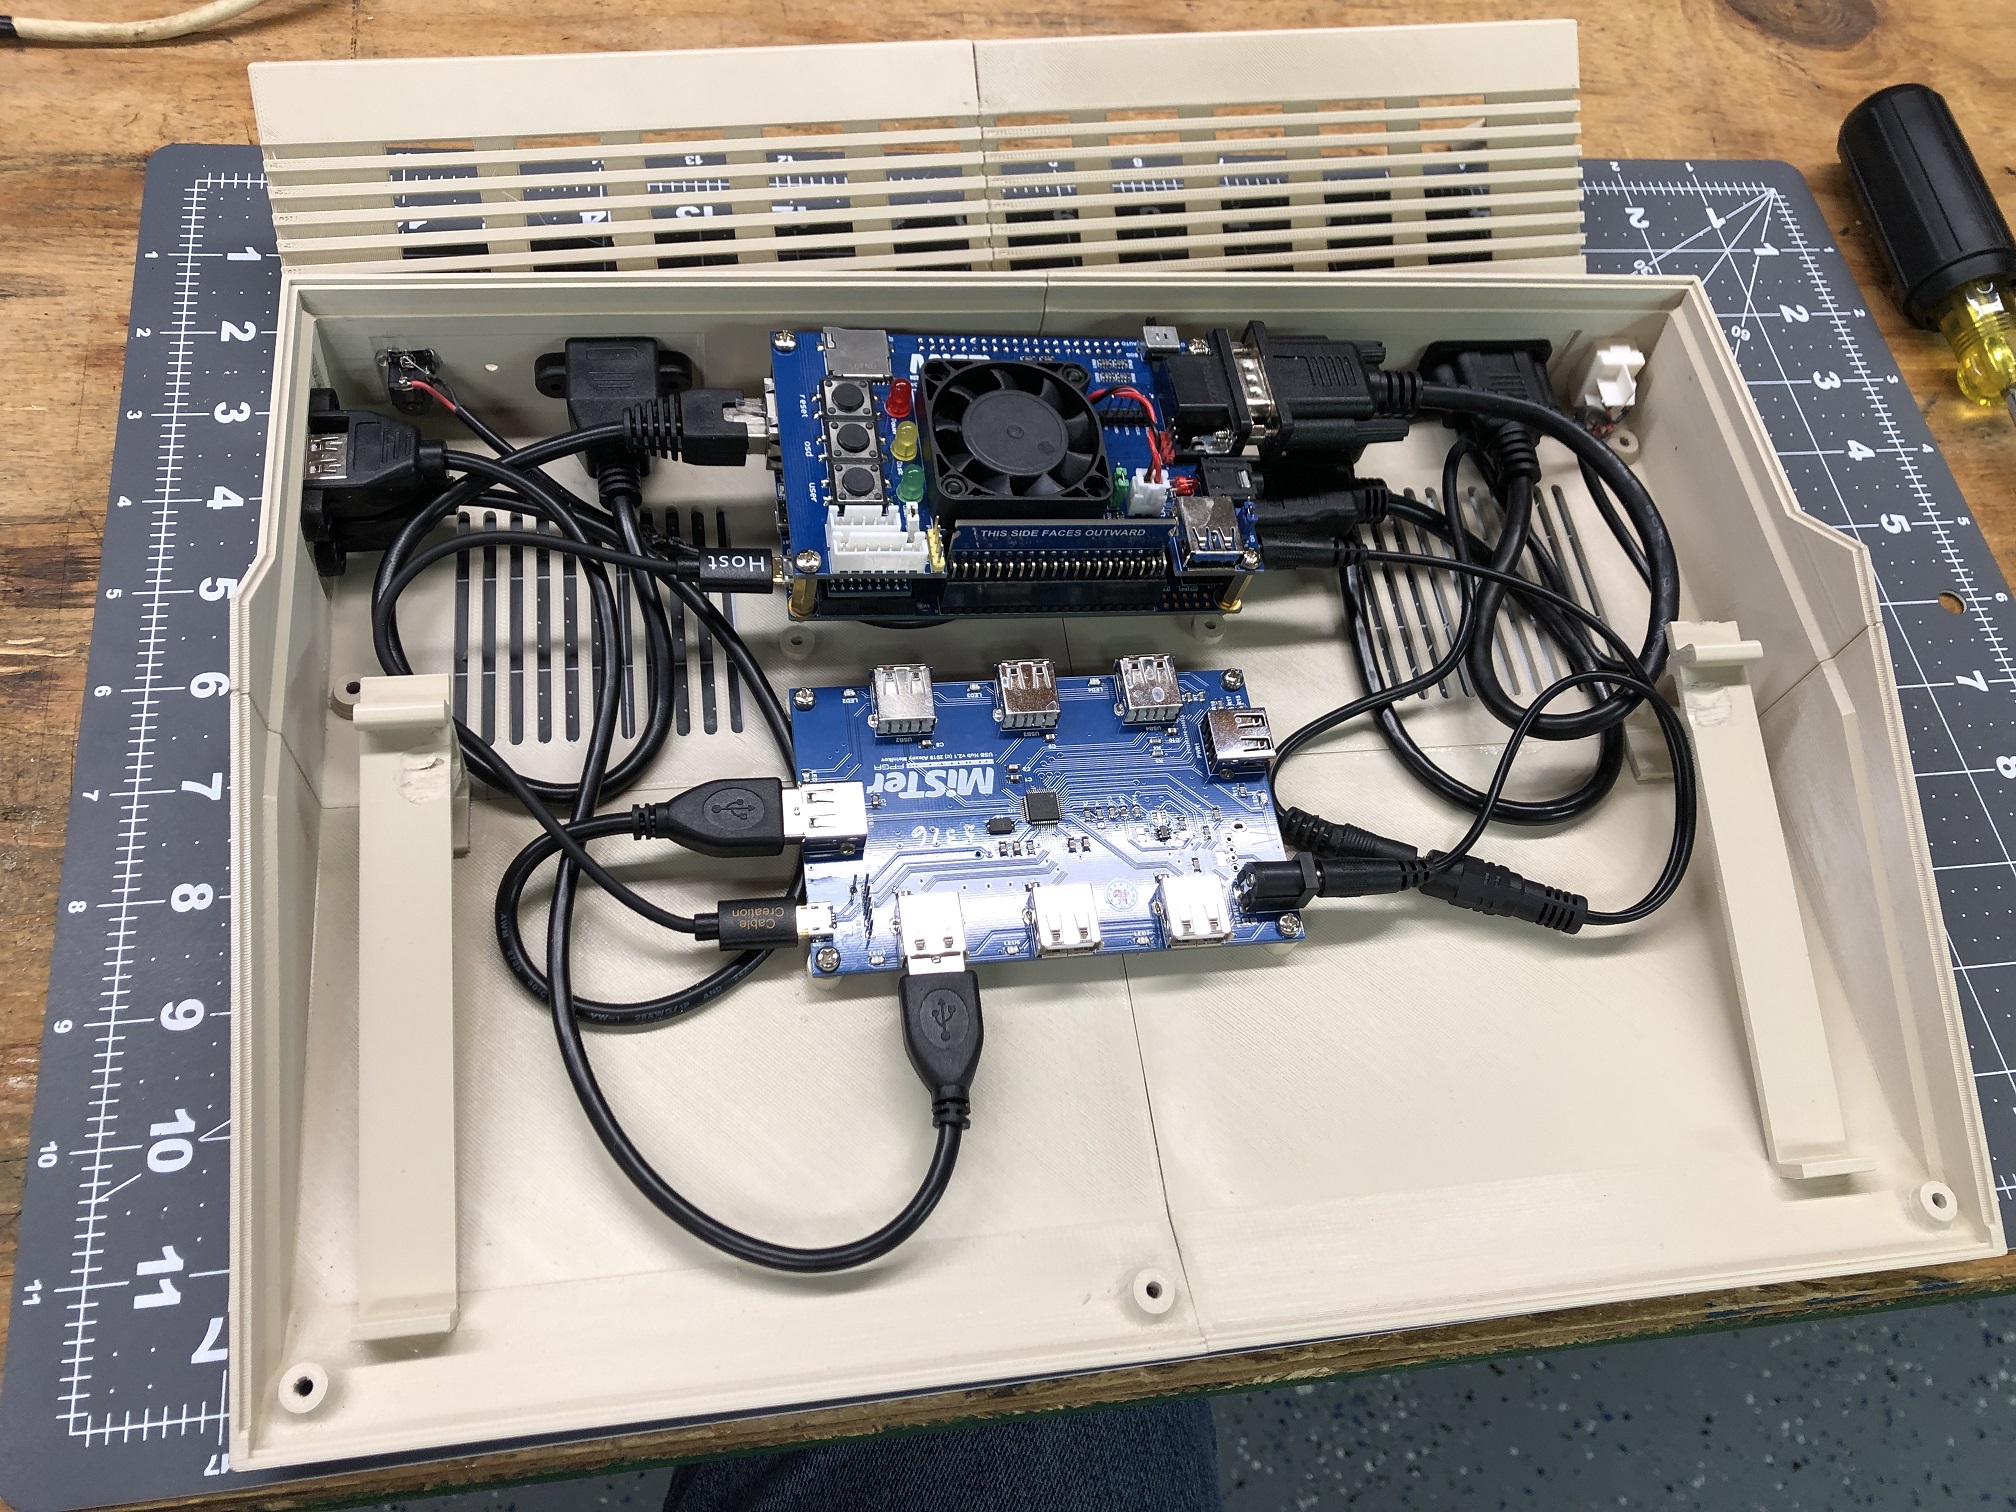
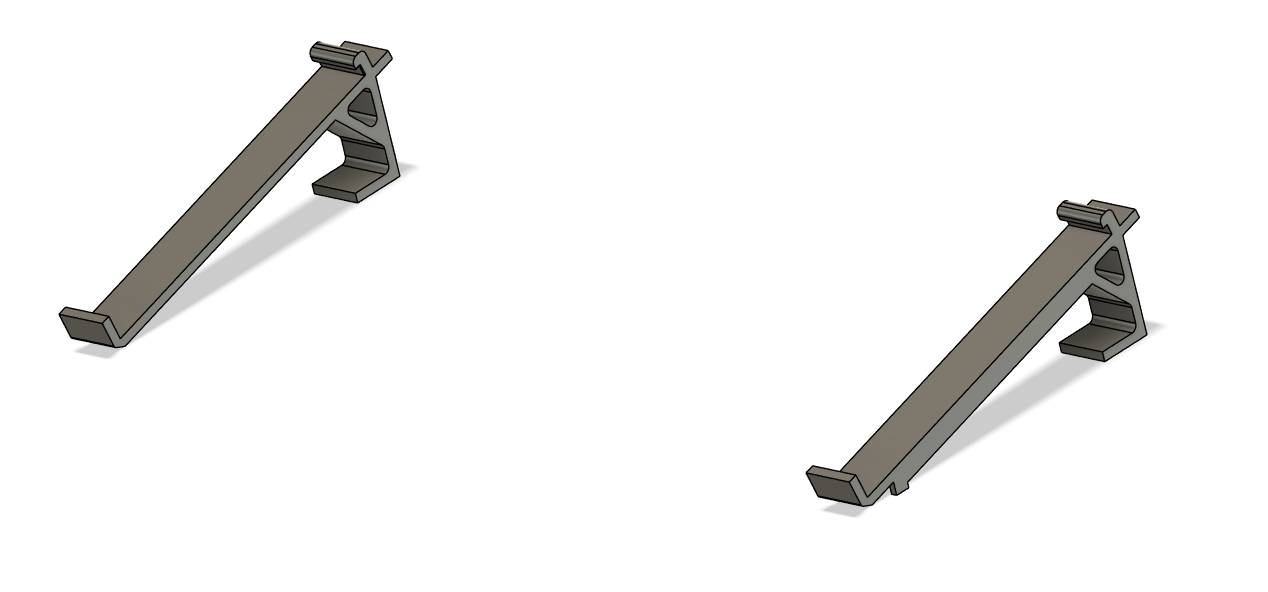
I had to draw up some supports for the keyboard as well. Those were separate and I fitted them to my keyboard and just hot glued them to the bottom of the case. The keyboard itself will interlock into these holders with no glue. Fully removable later if needed.
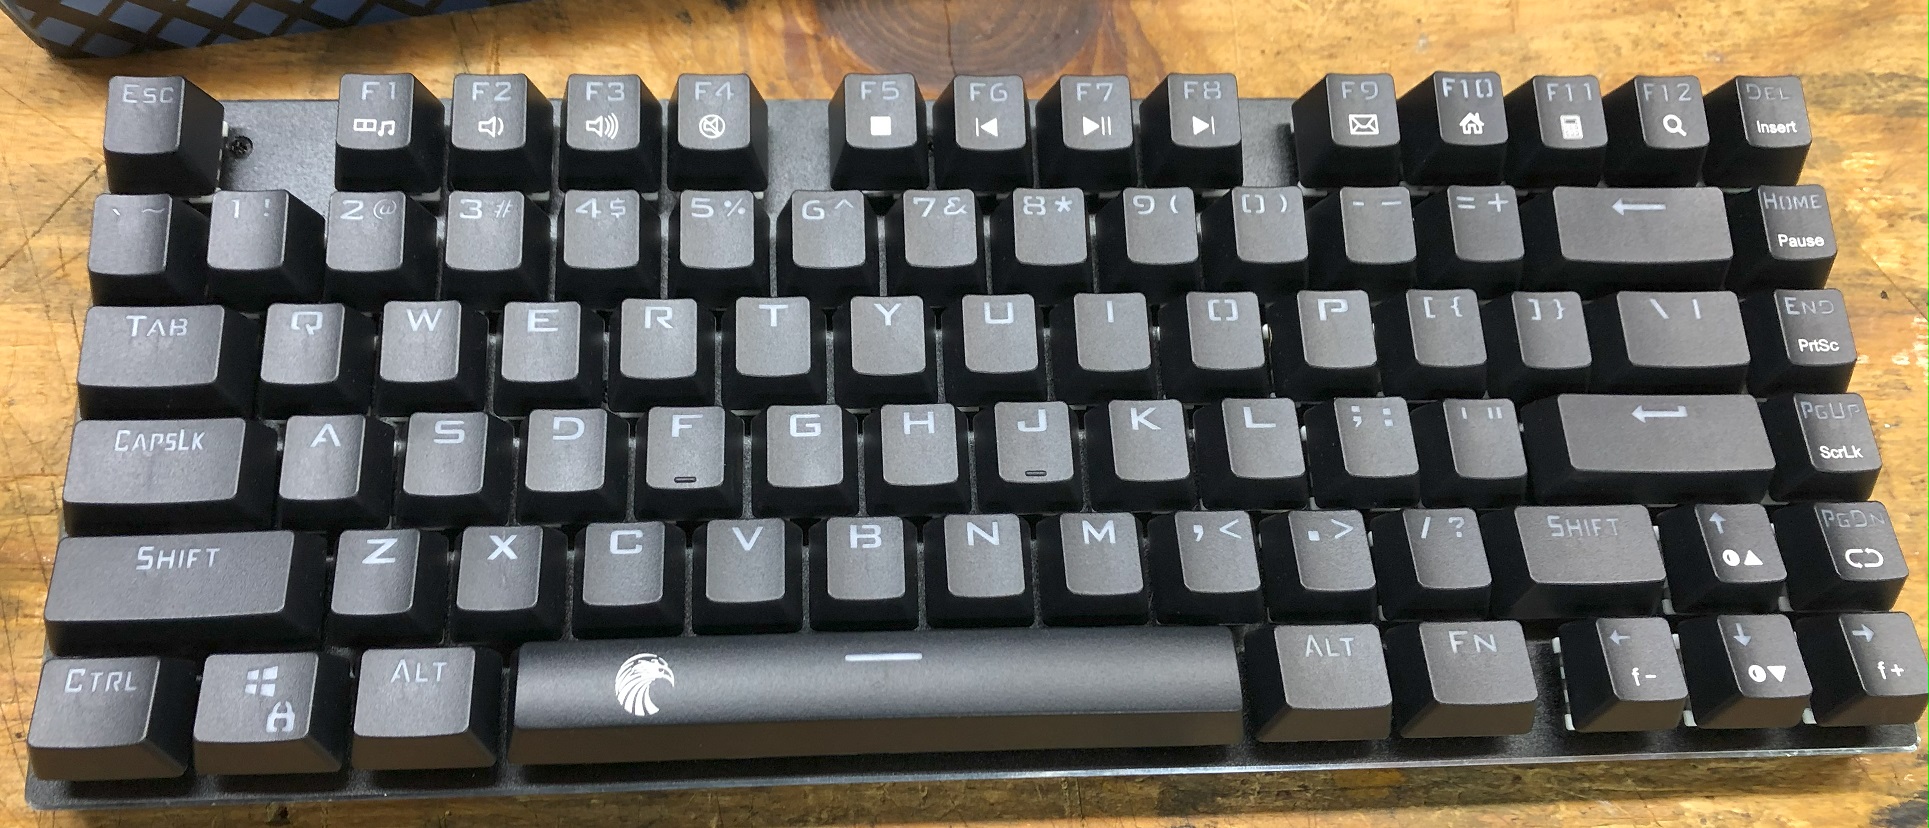
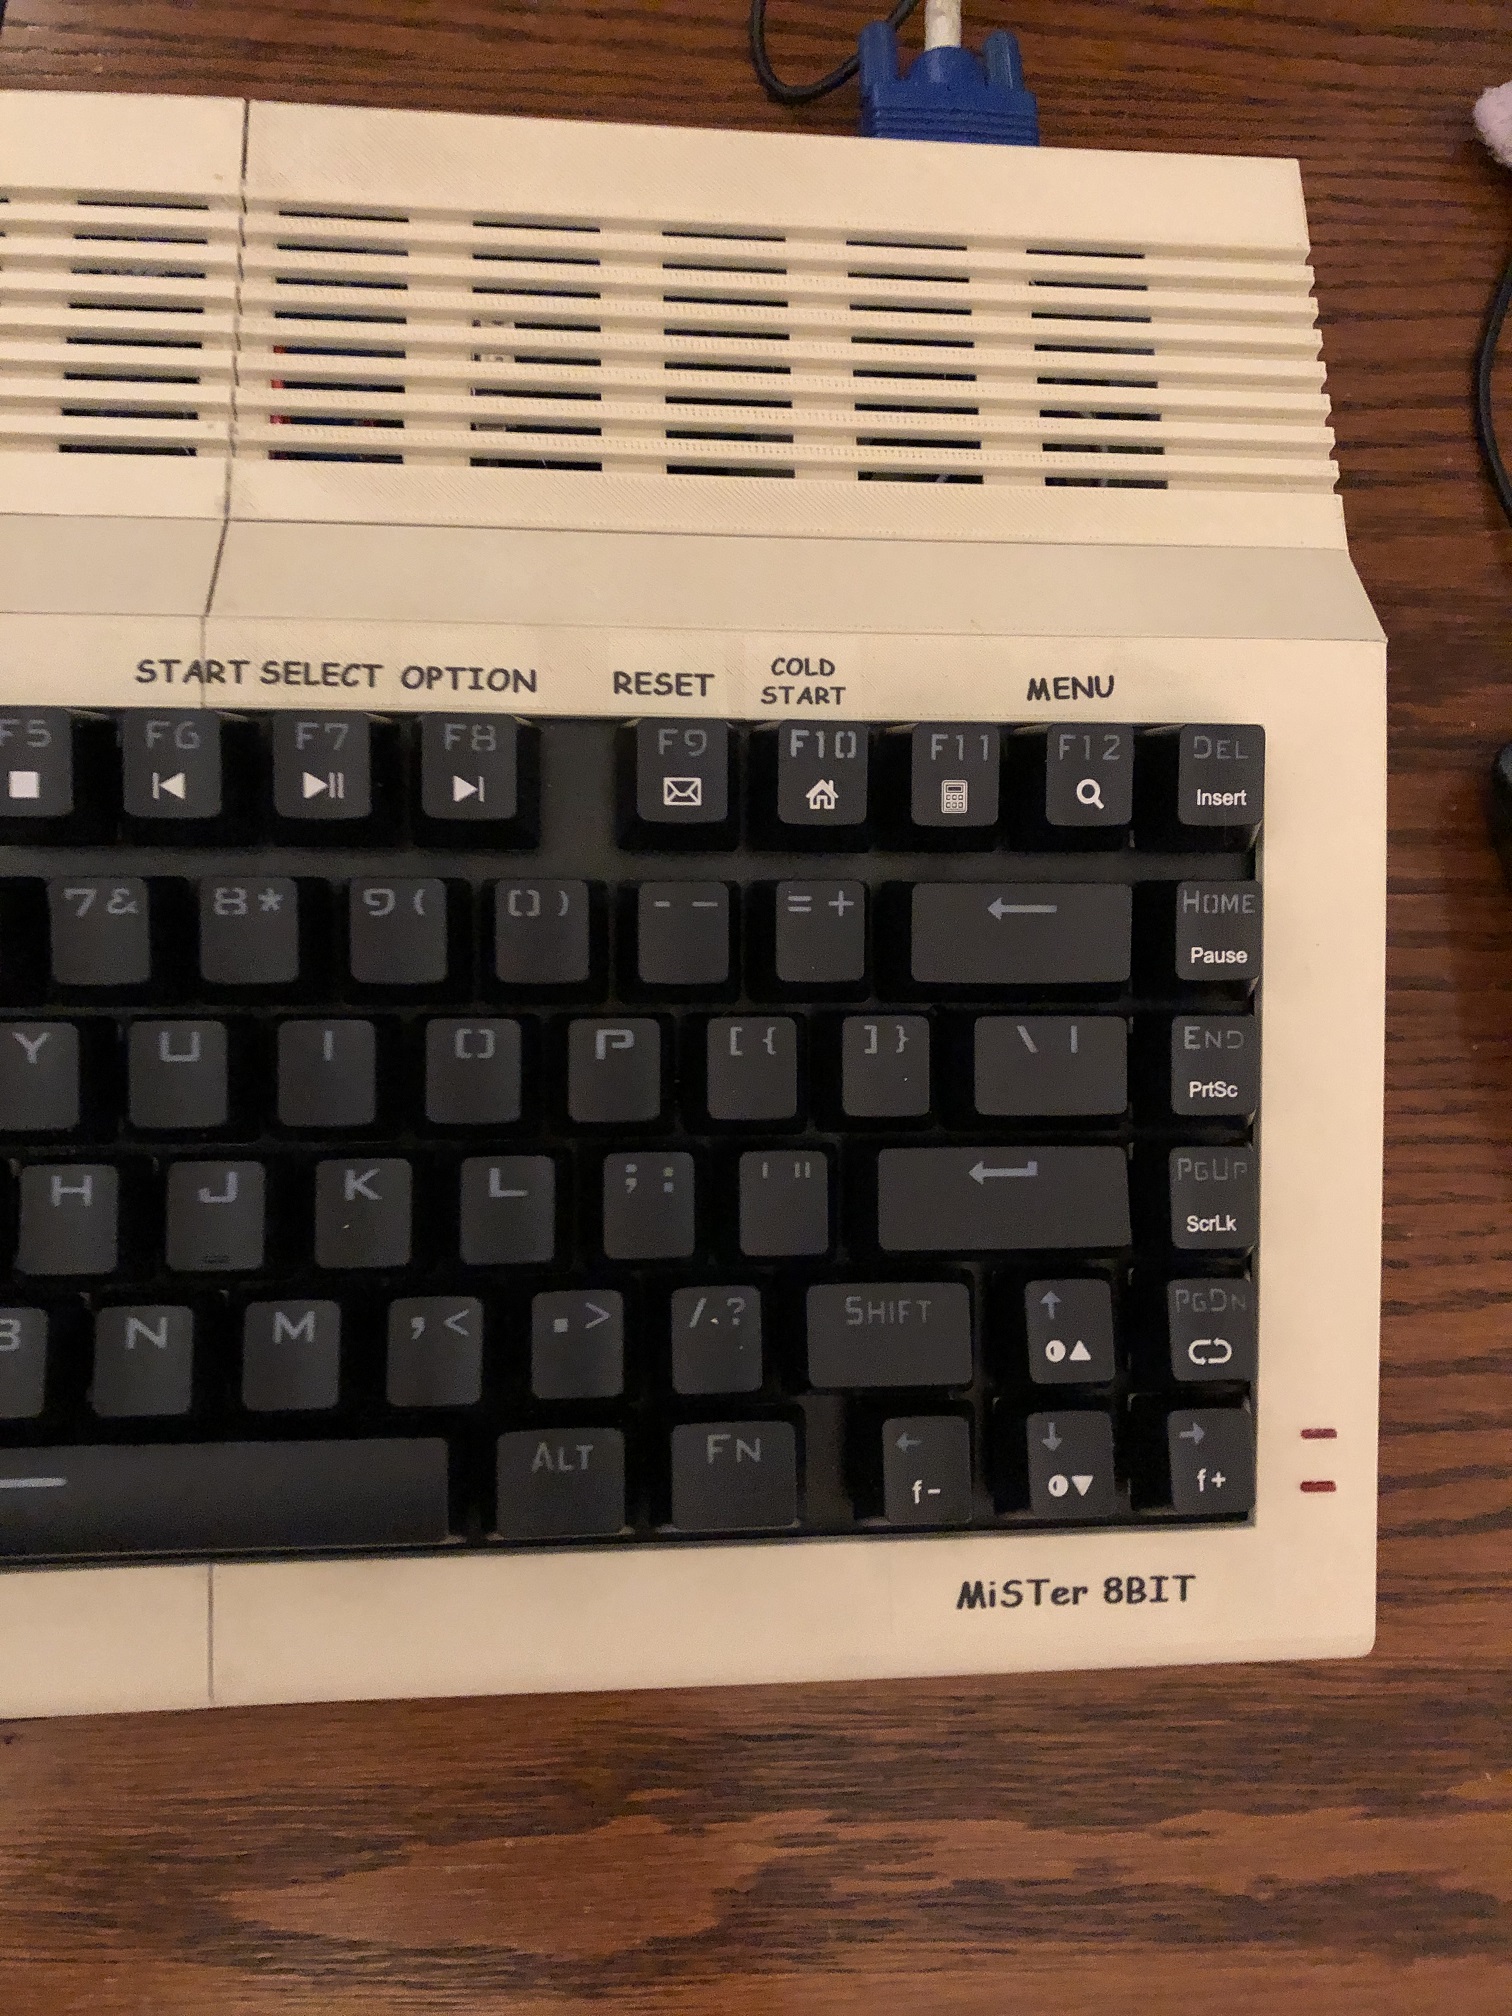
The keyboard is a USB 81 Key compact keyboard. Its a HUO E-Yooso Z-88 RGB Mechanical Keyboard purchased from Amazon but I no longer see the black ones for sale. The brand is not important but the size is. This is a classified as a 75% sized keyboard. This one came with “clicky” red micro switches for that perfect retro feel.
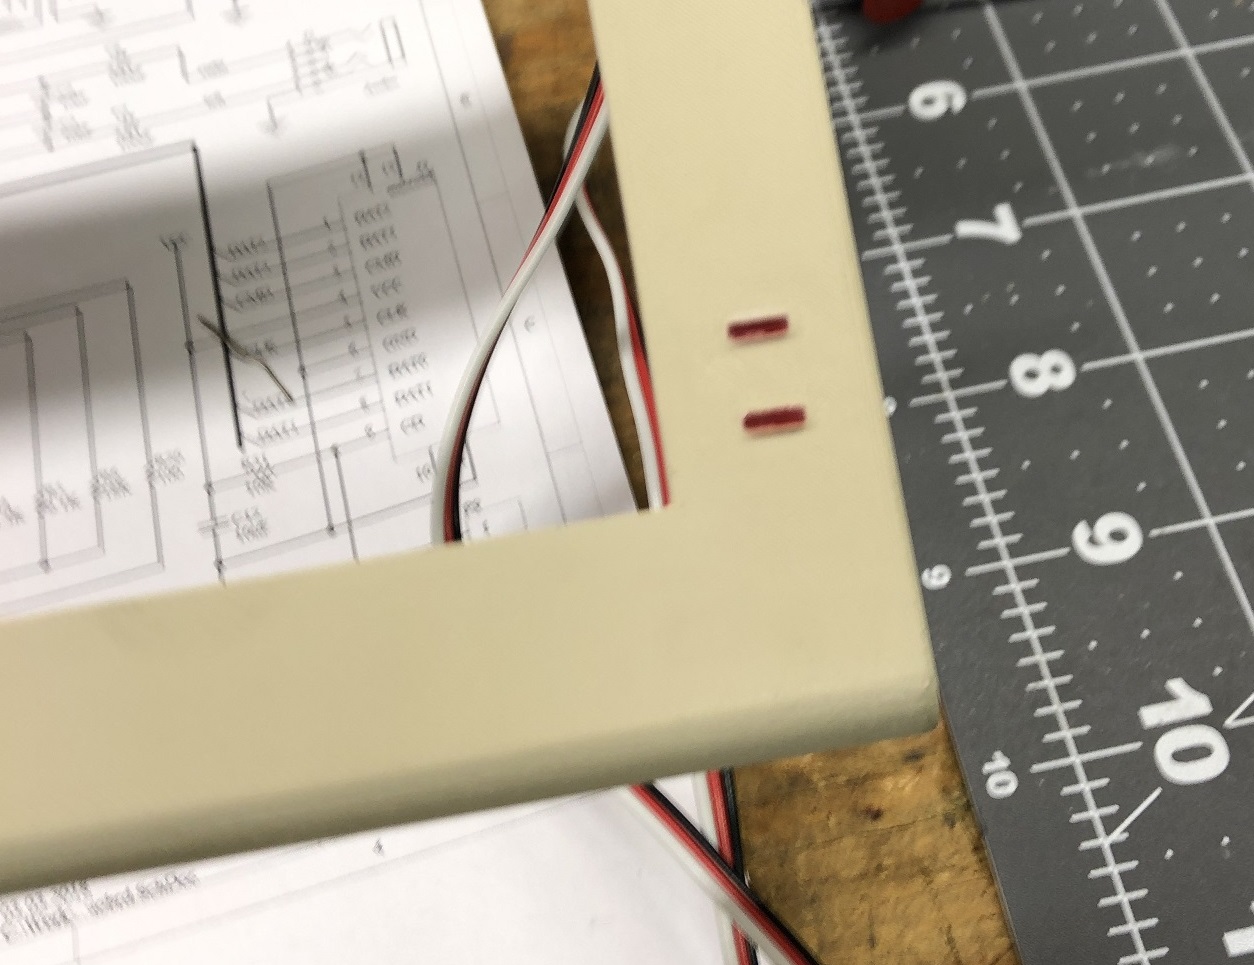
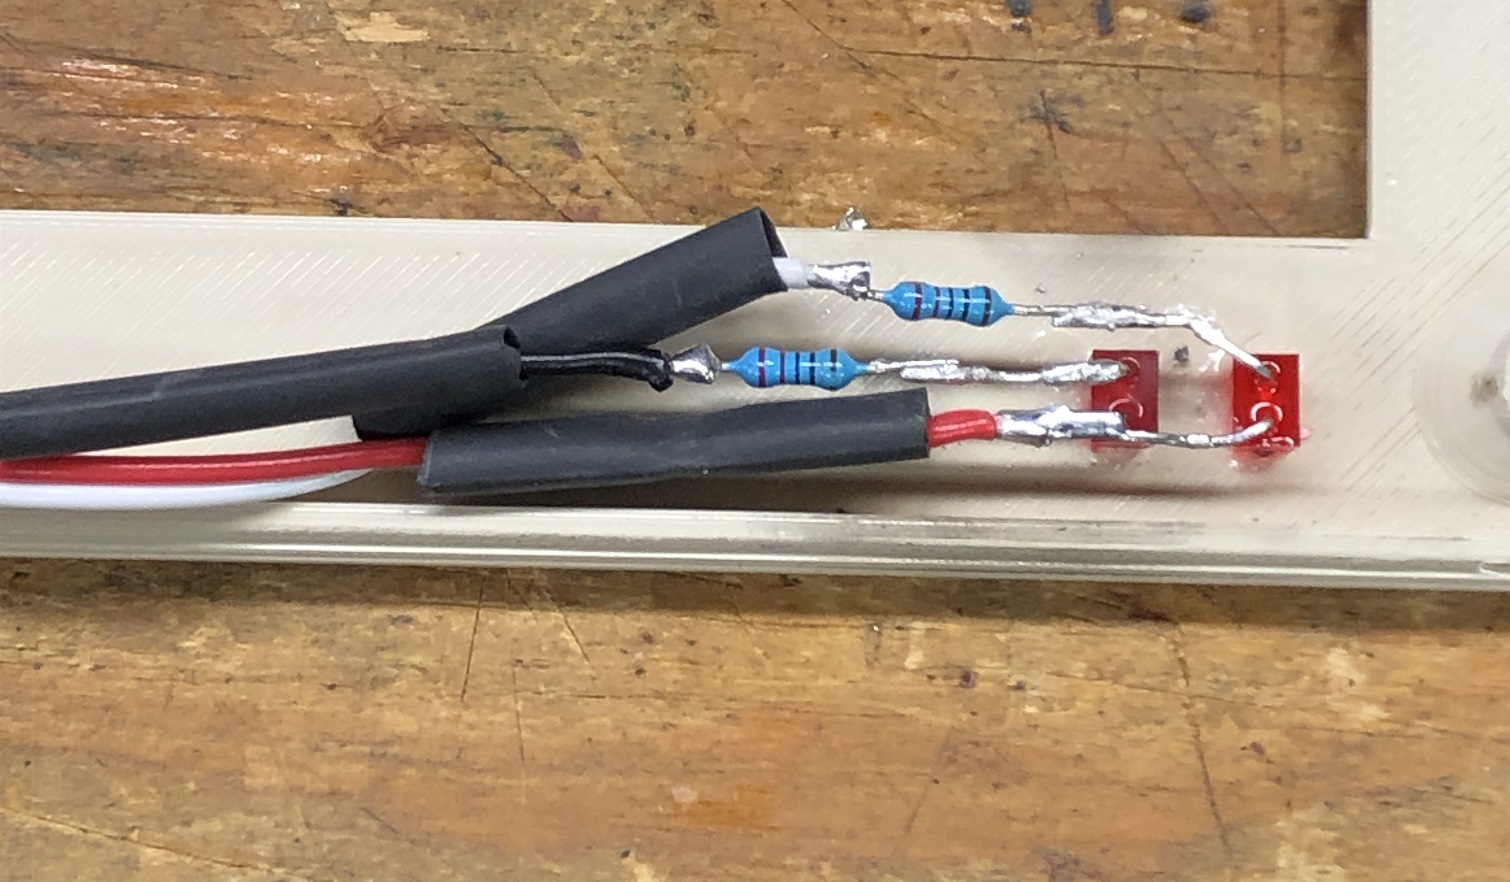
Keyboard installed and everything is in place. I also added a real on/off power switch in the back along with a power and disk read LED in the top of the cover.

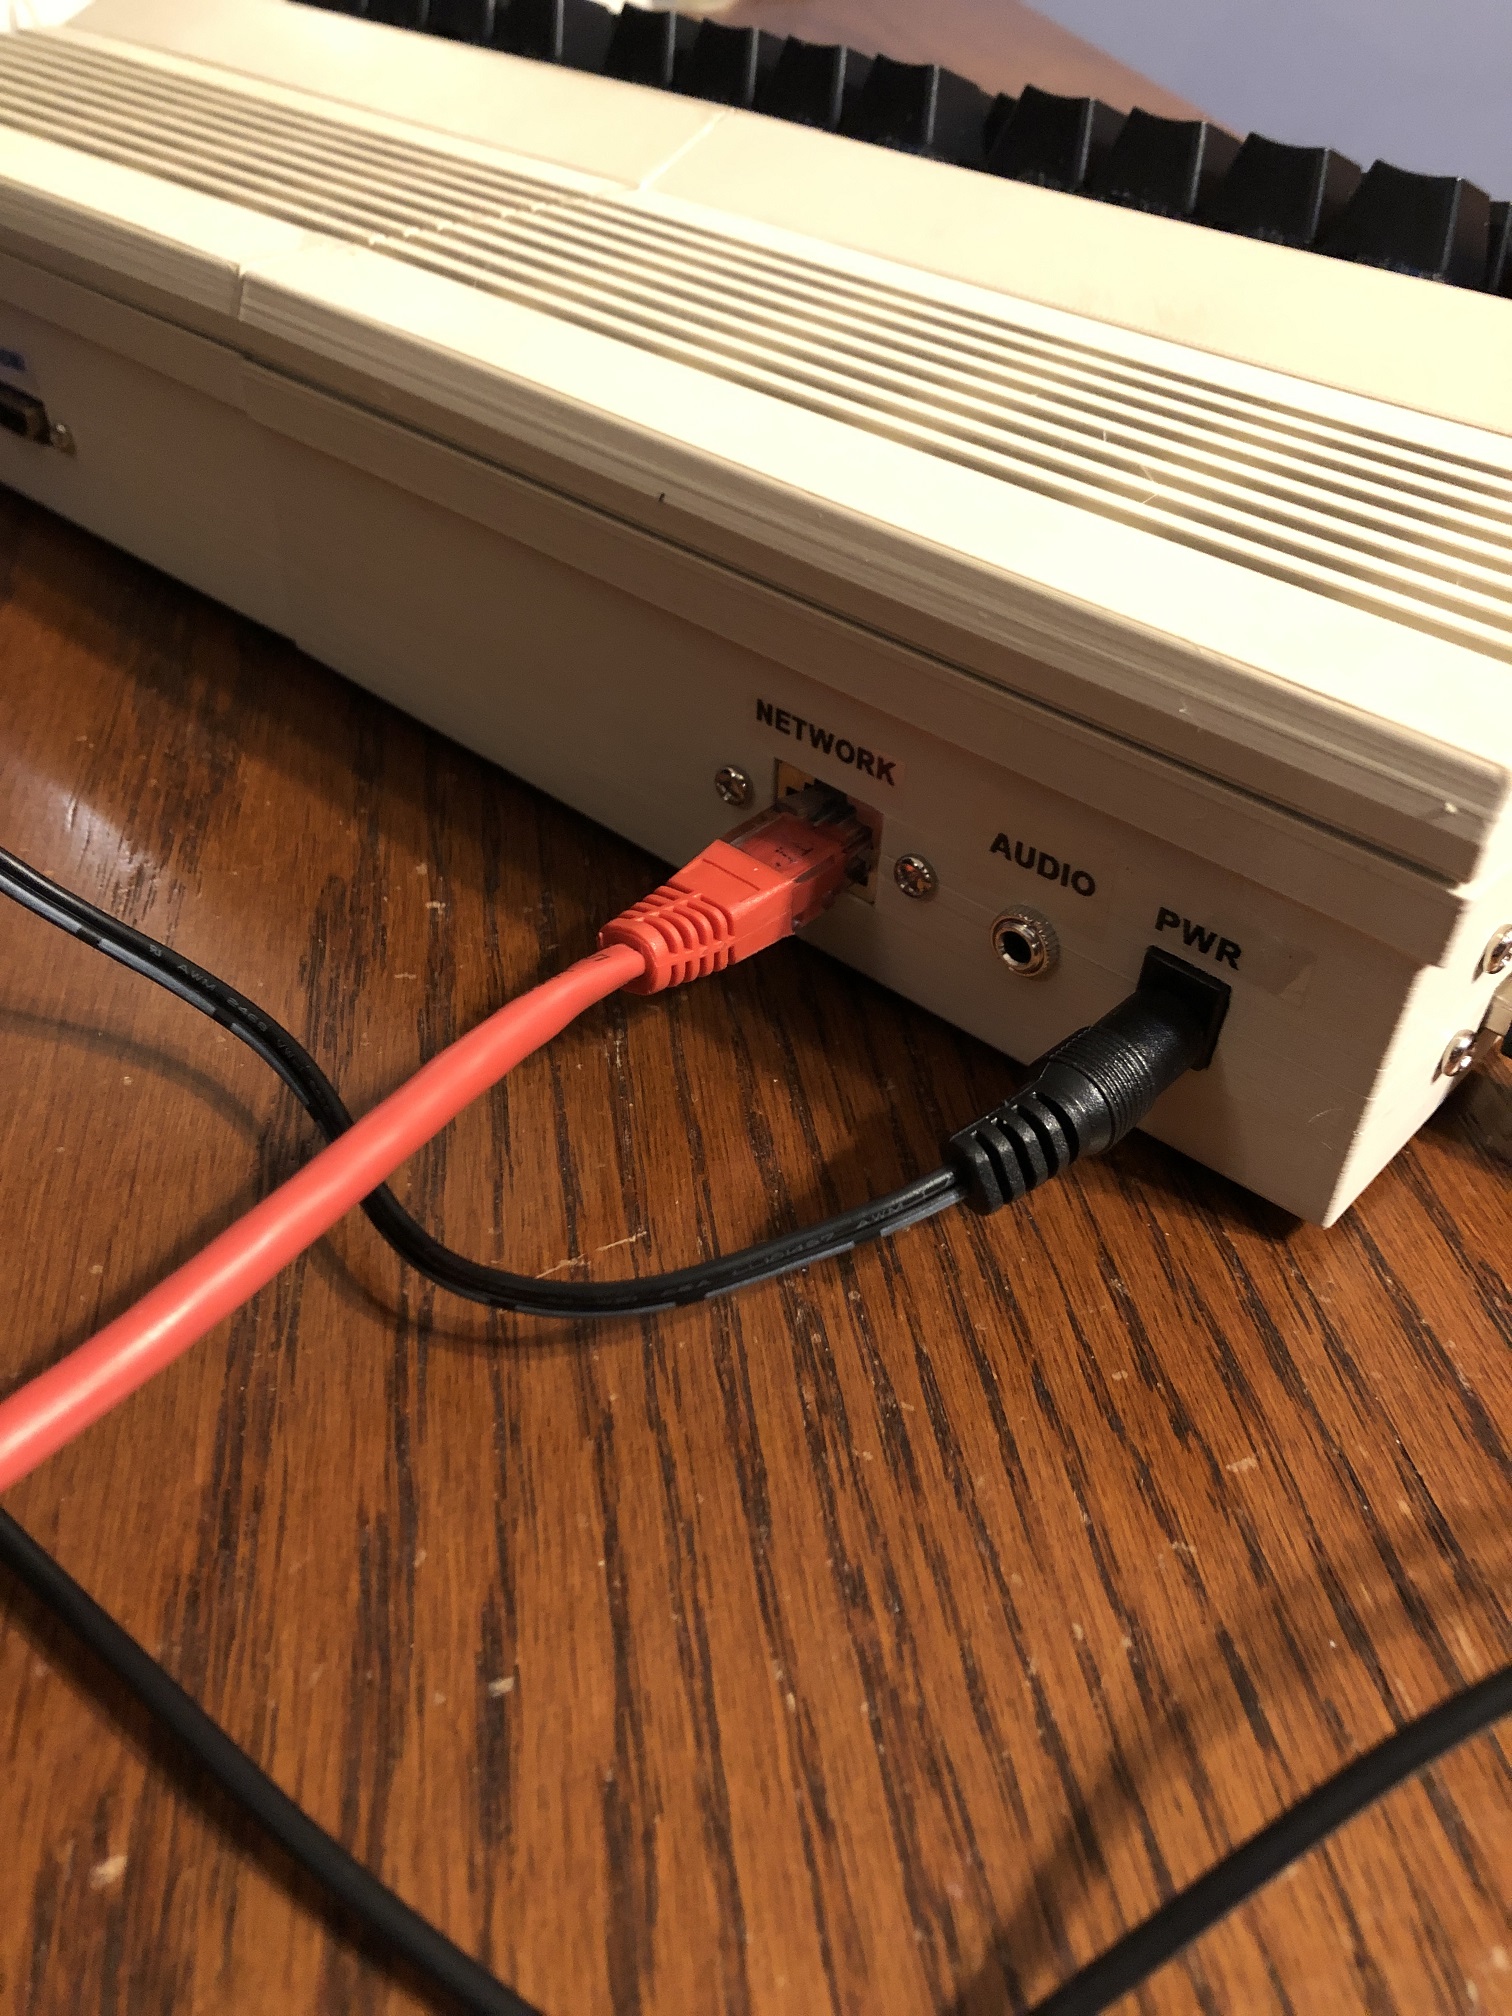
The rear panel has all the standard connections that are supported by the MiSTer. VGA, HDMI, Audio, USB, Network, and power. I also added several USB ports on the side for joysticks, control pads, or whatever else I might want.
Using a label maker, I added some stickers and special labels for the ATARI 800XL computer since that’s what I will be using a lot.
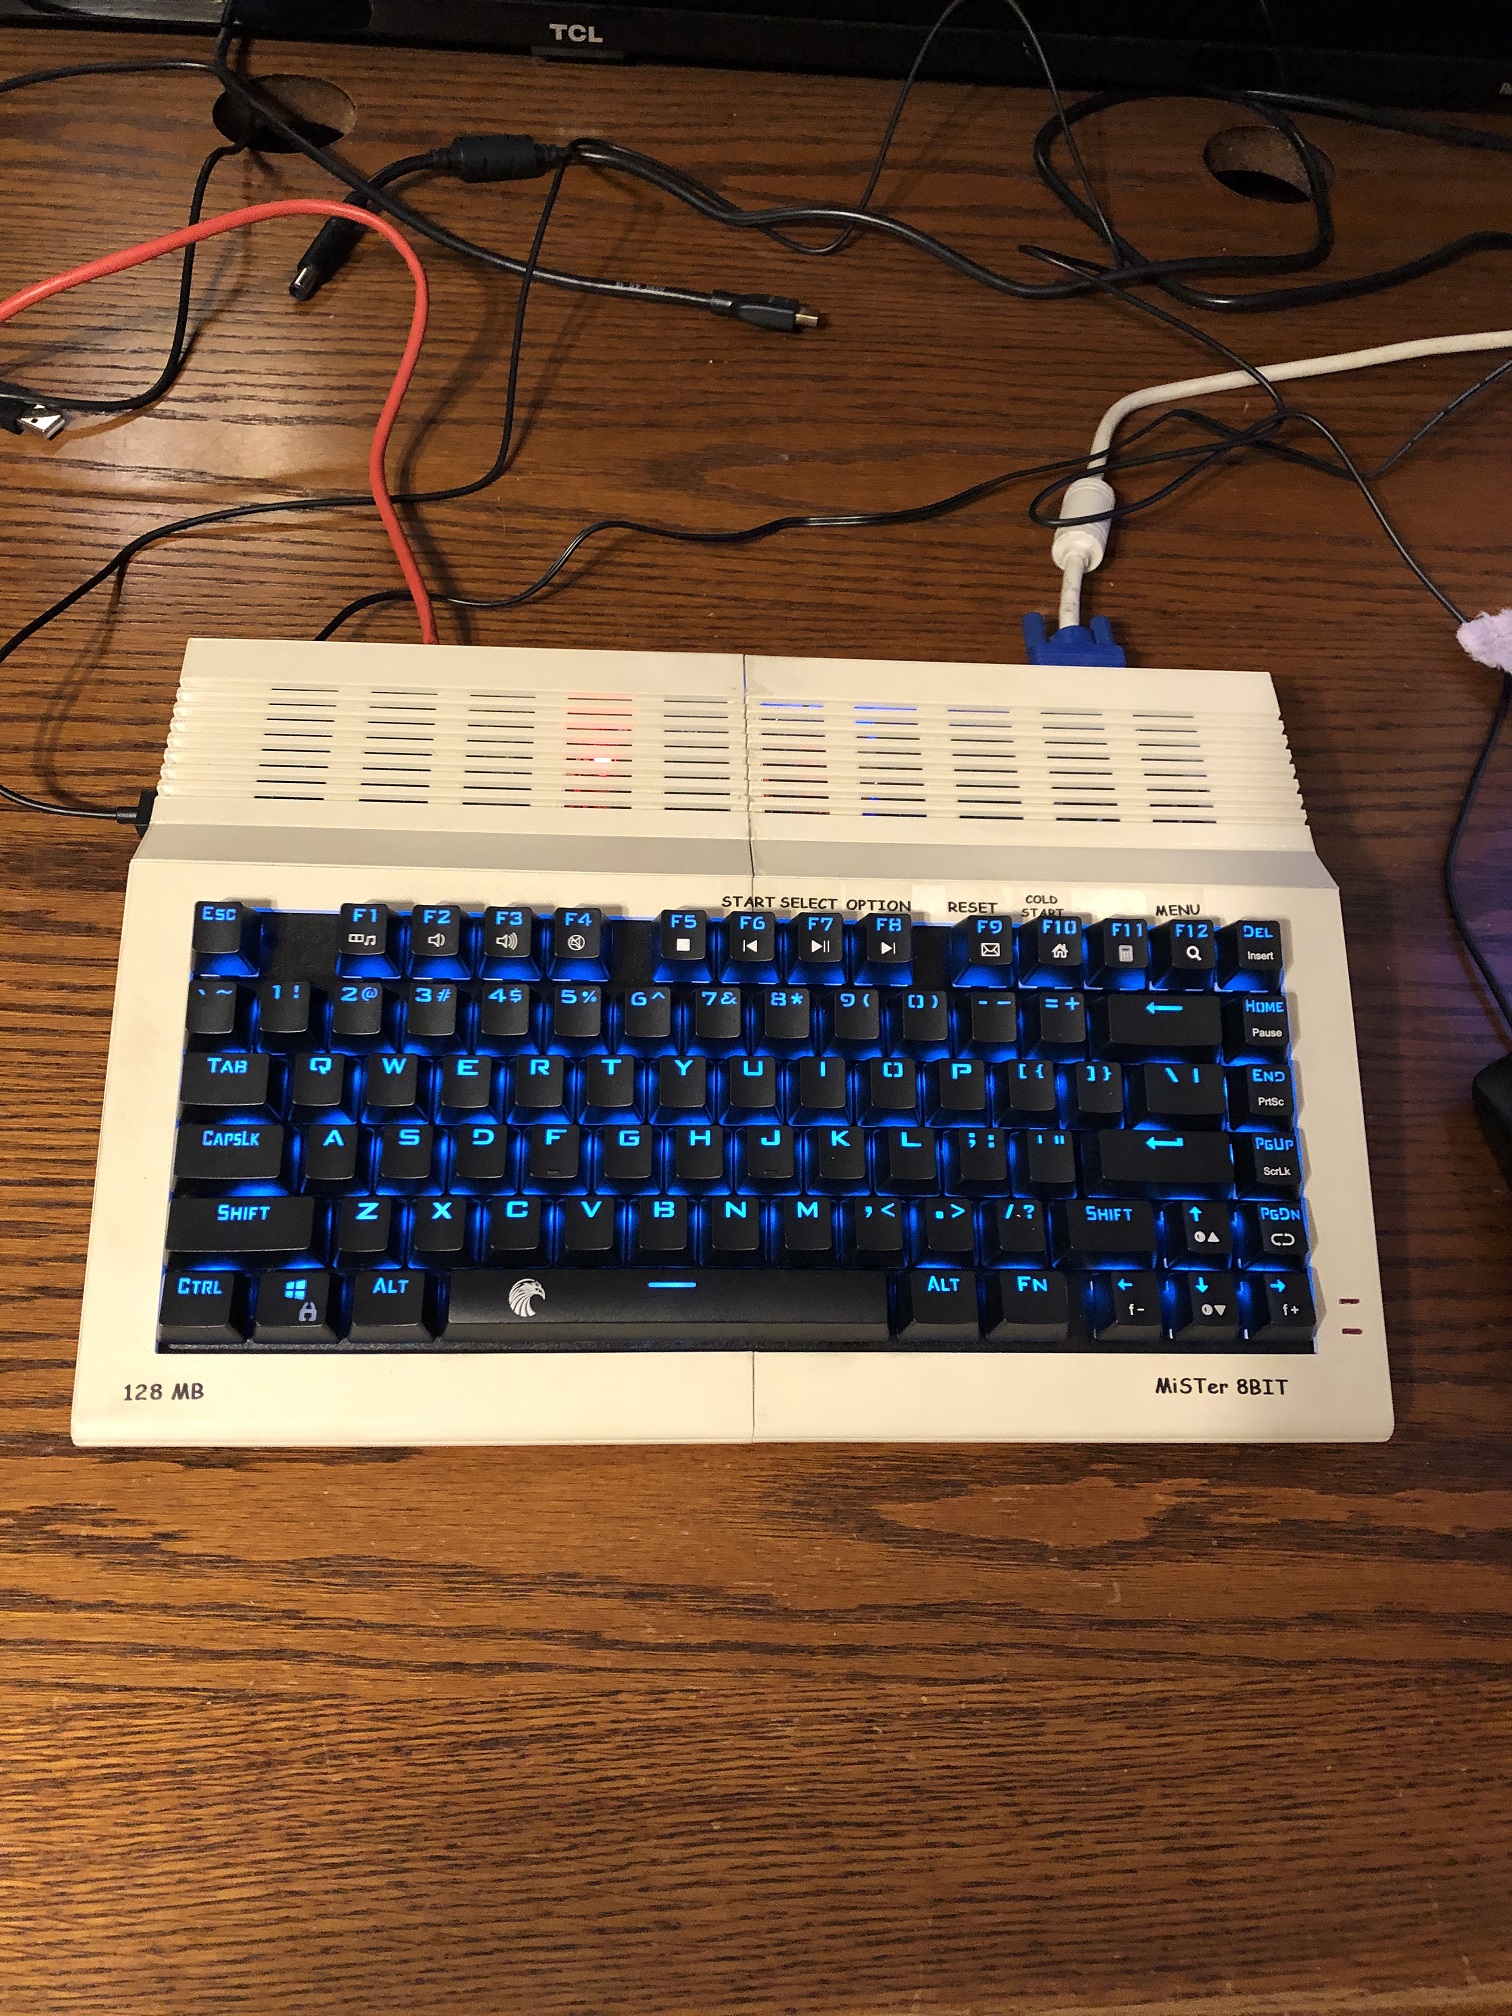
Fully assembled it looks pretty good. I am 100% happy with how this turned out! Loading up the MiSTer software was easy. There are many Cores supported. I loaded all the classic 8 Bit computers along with most consoles. I also uploaded the 486 core which works very well.
What can I do with this now? Anything I want. I basically have the full functionality of every MiSTer core in a small retro computer.
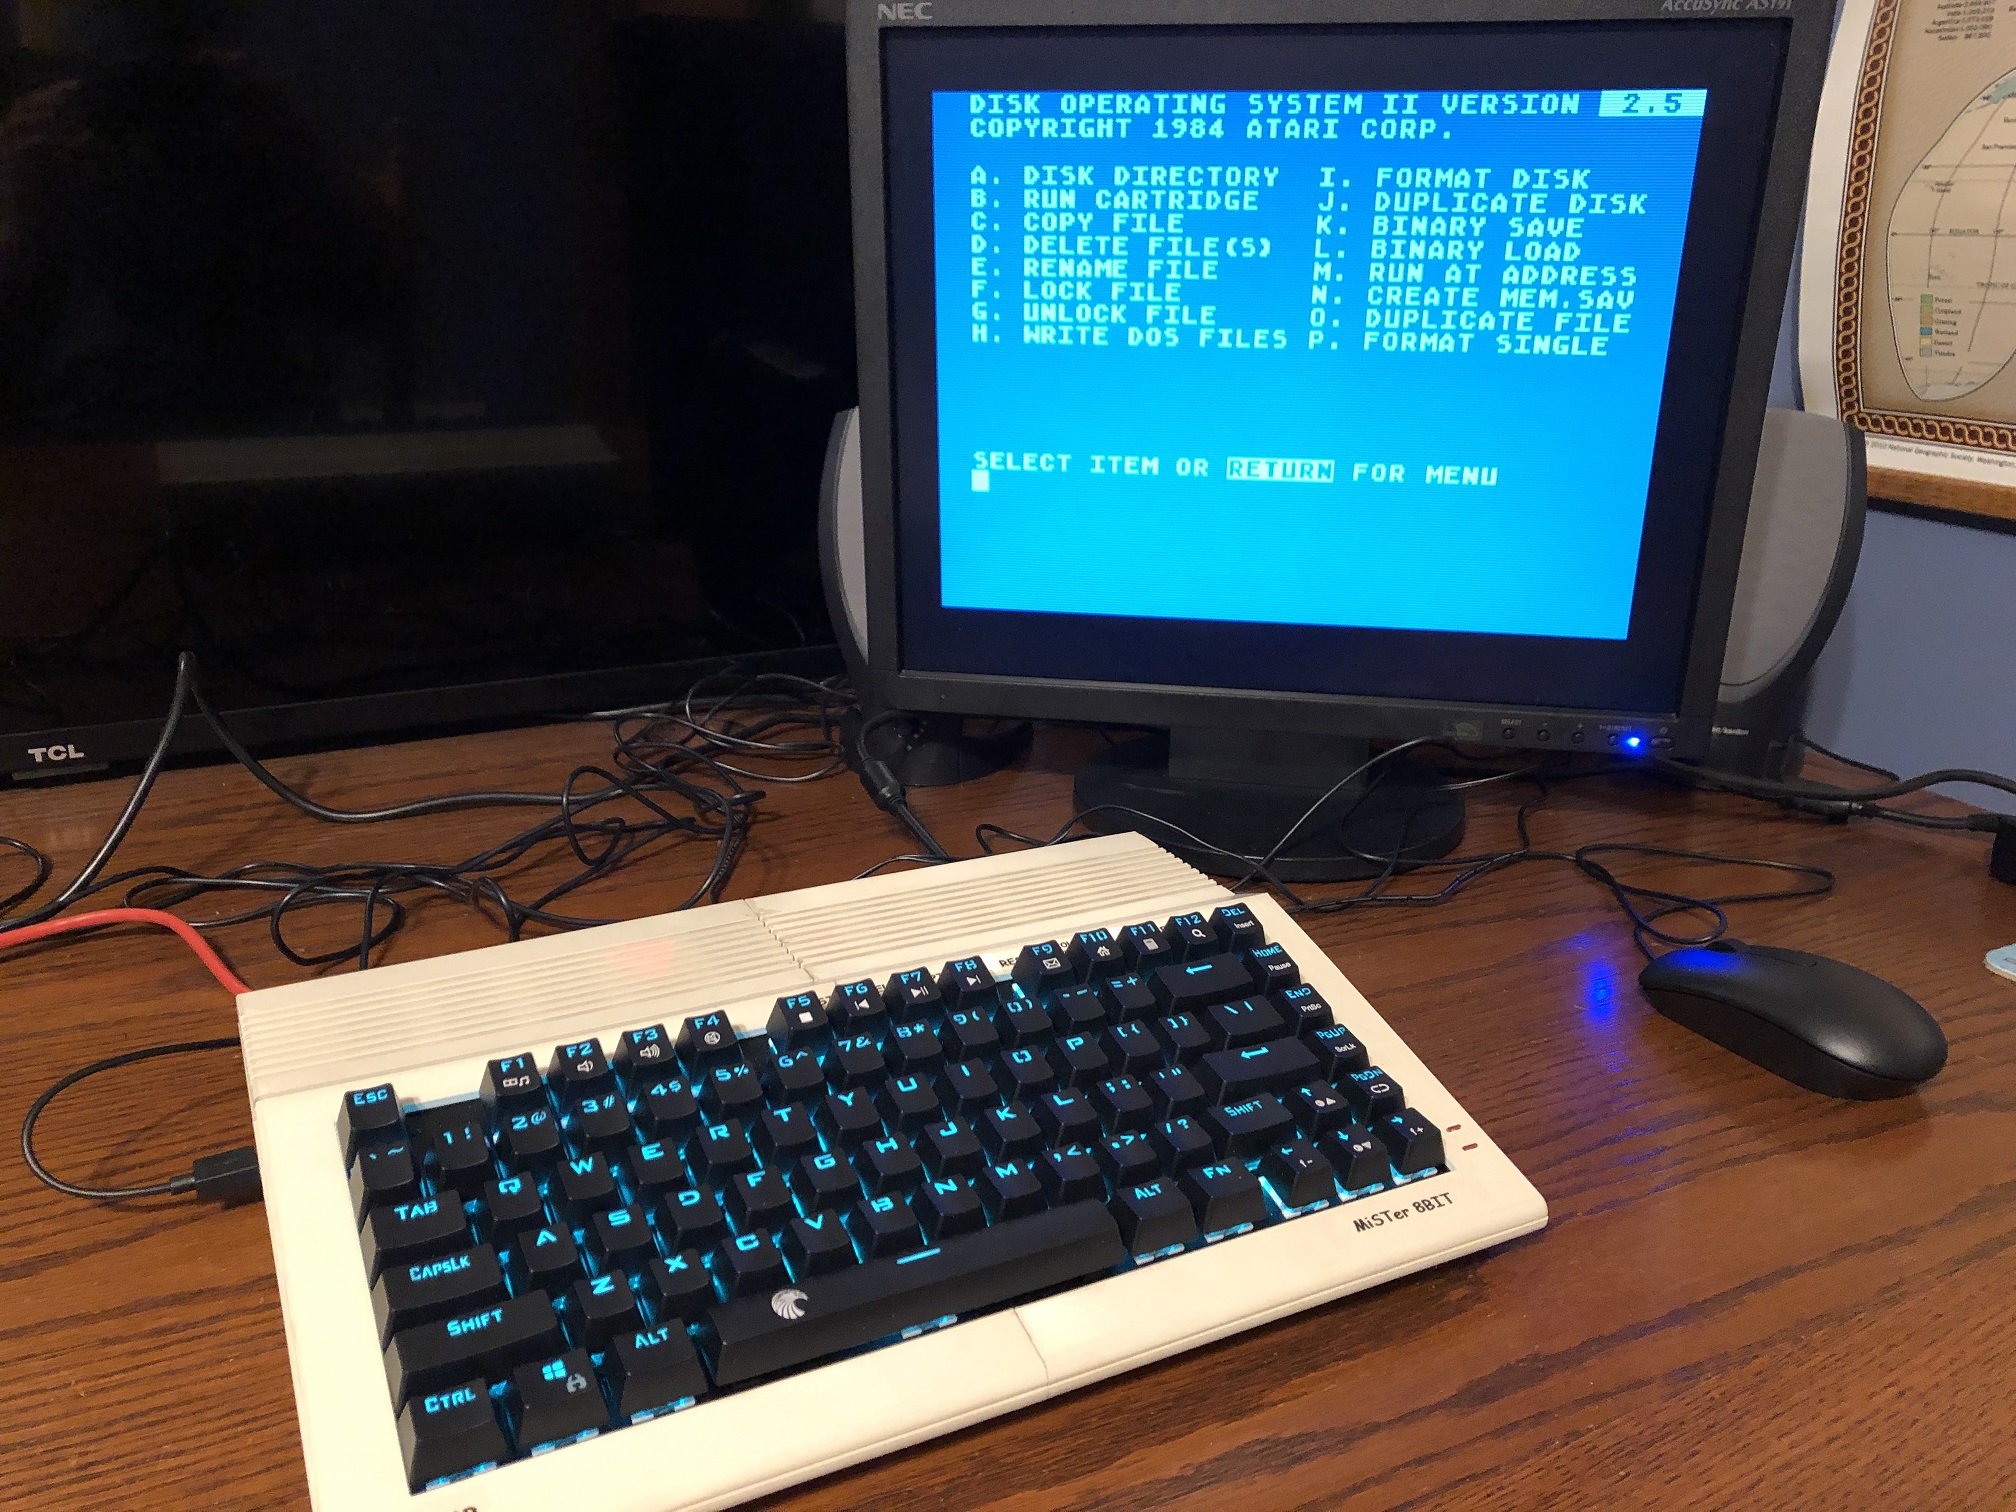
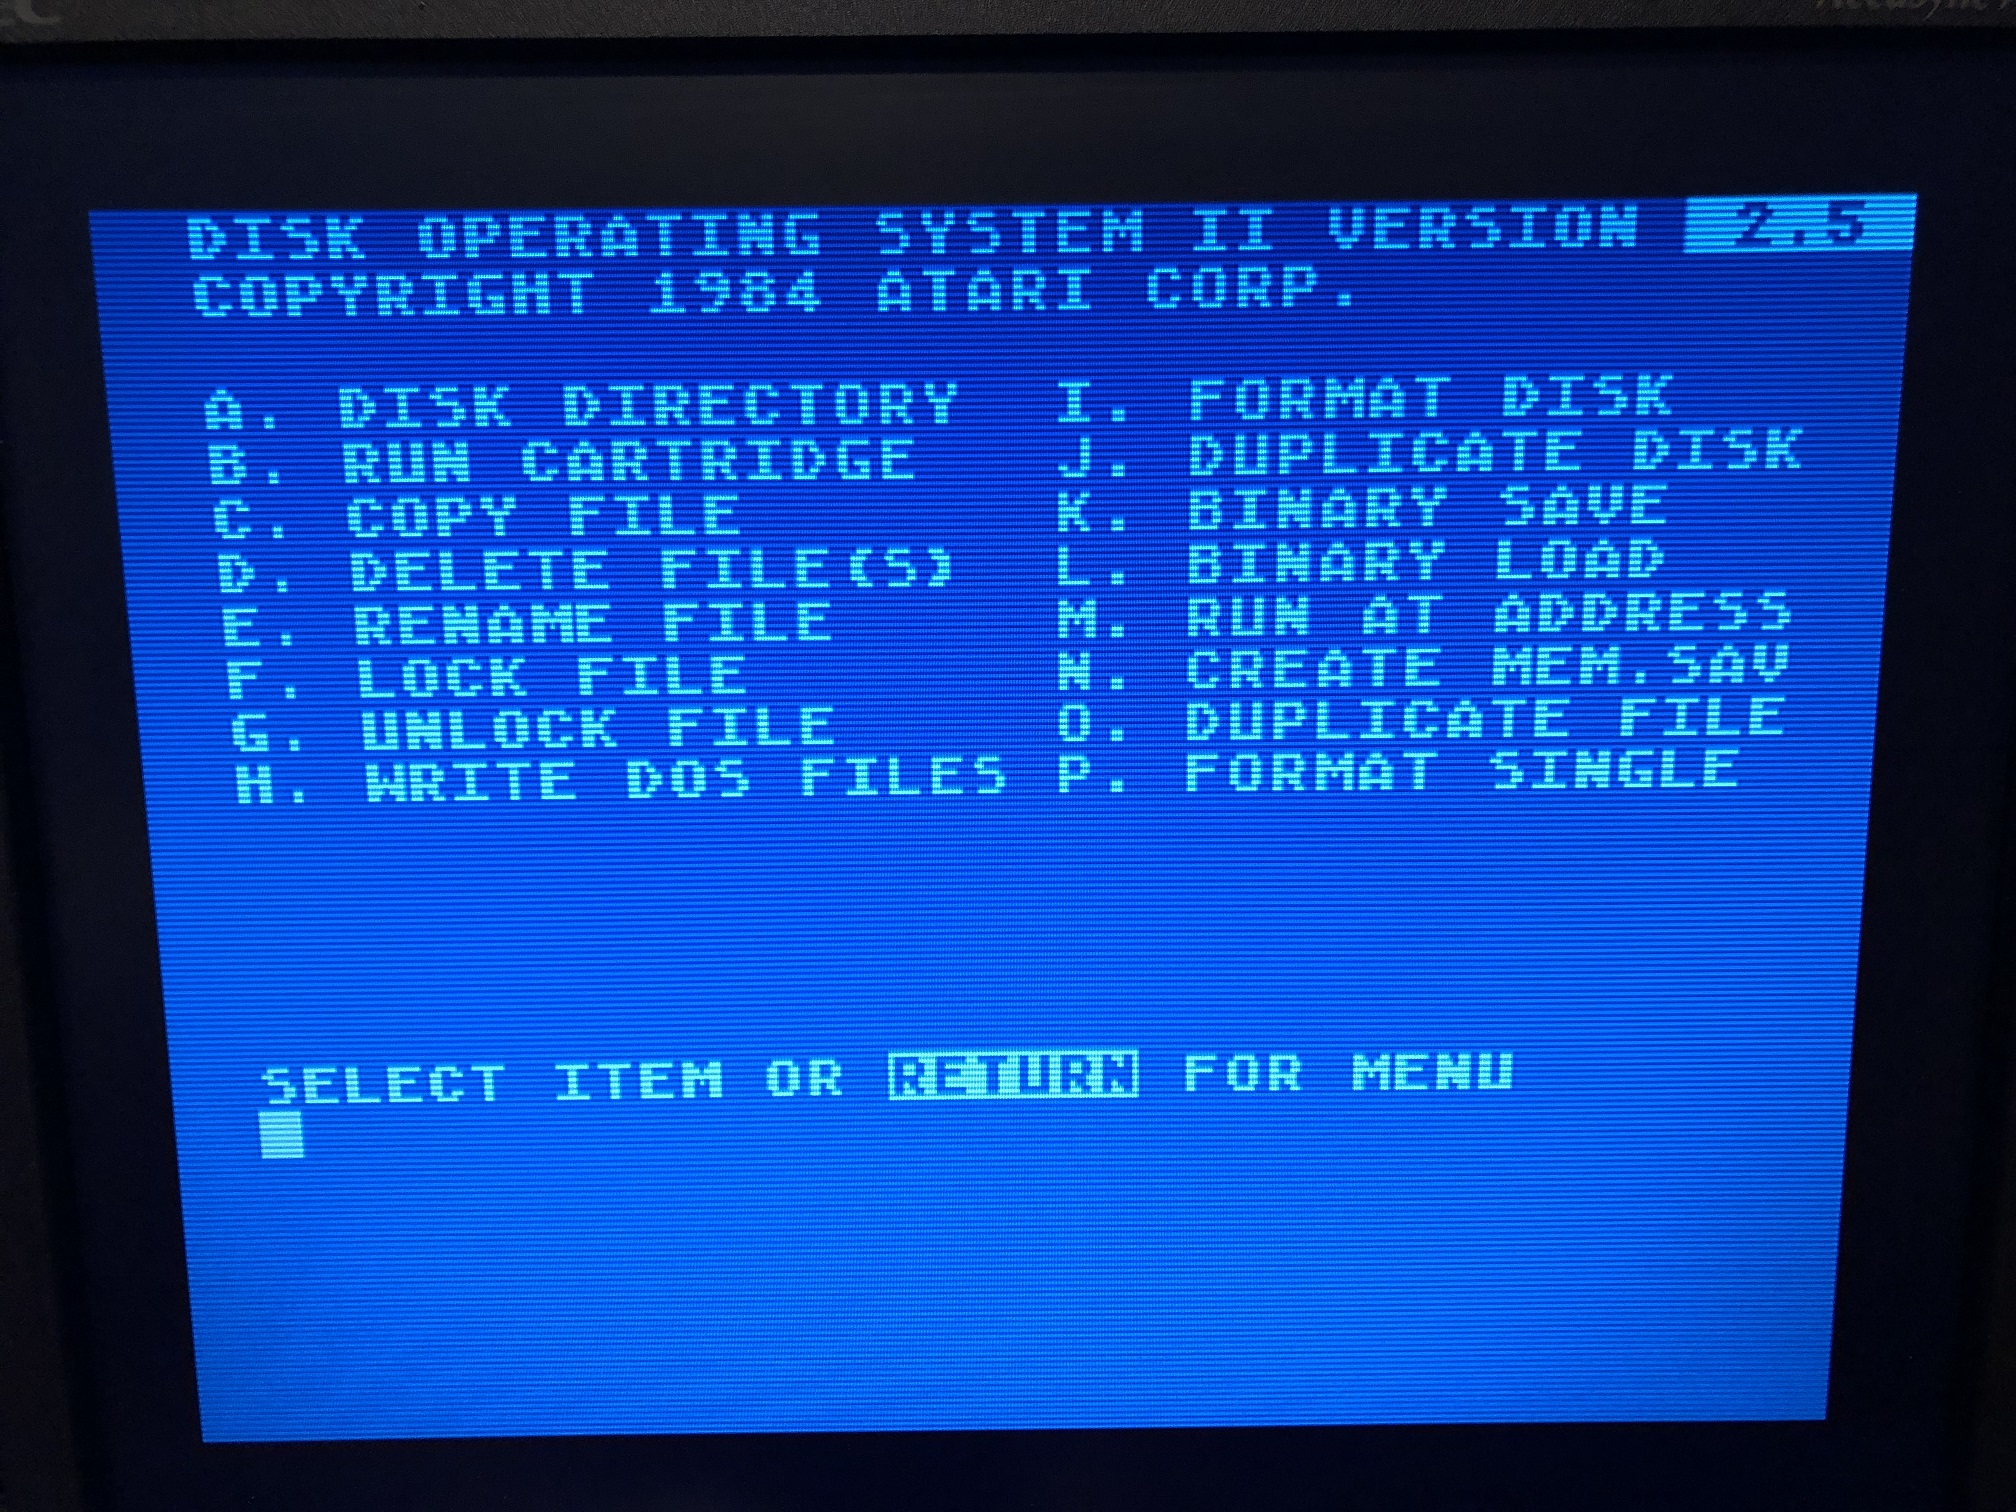
Shown above in the Atari 800XL core. Most cores fully support scan lines as well. They look pretty good and simulate a CRT on a LCD quite well.
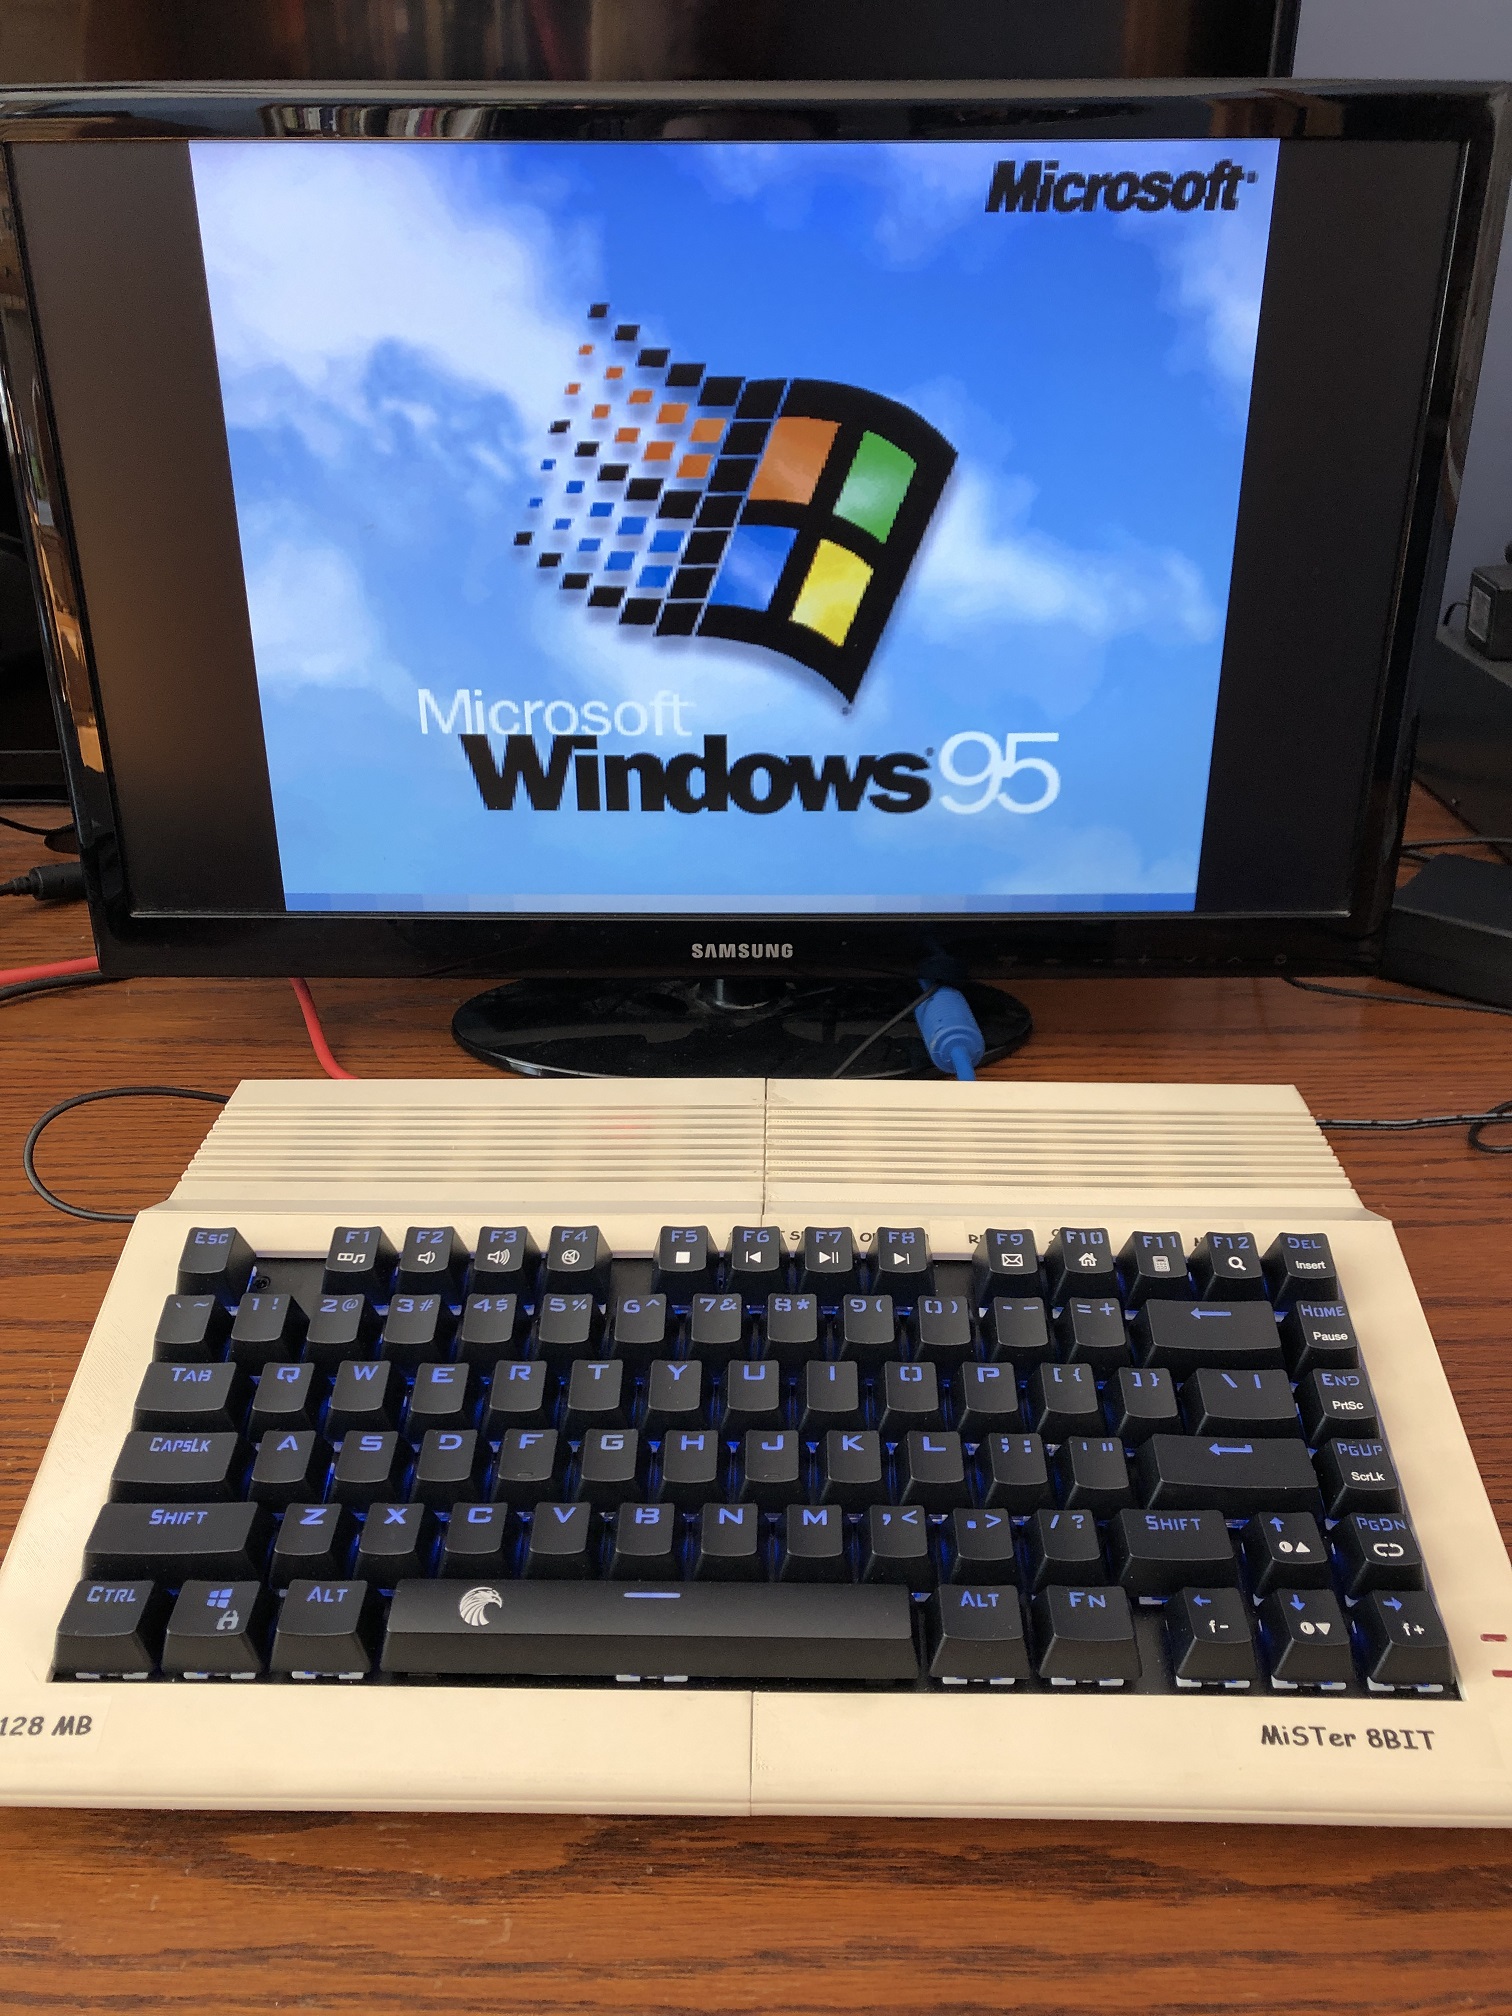
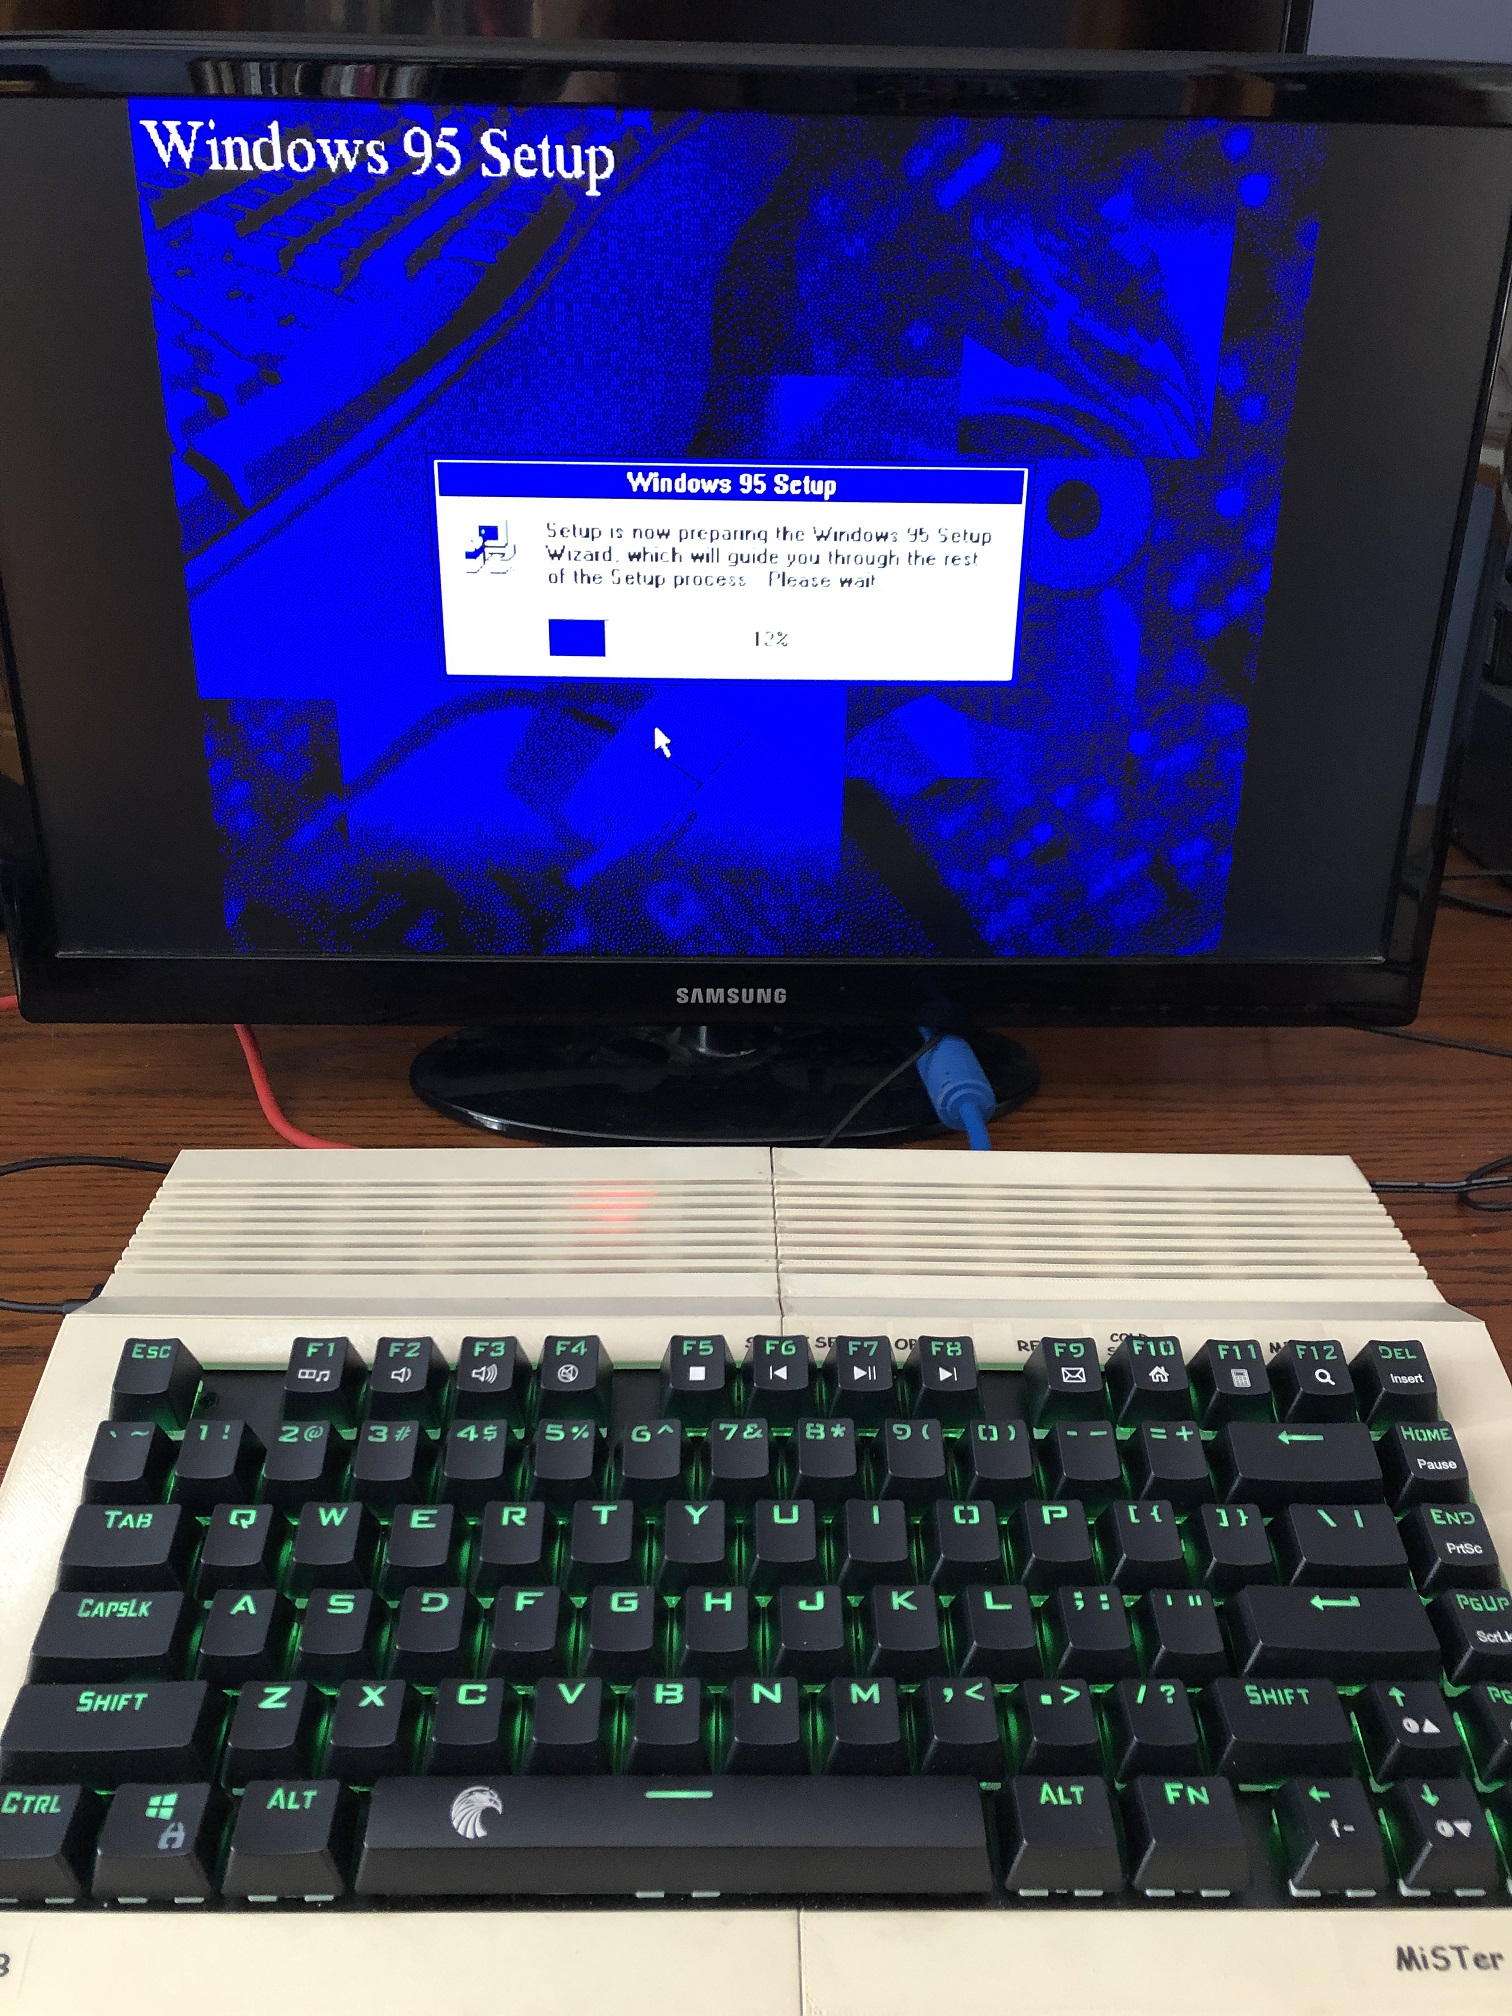
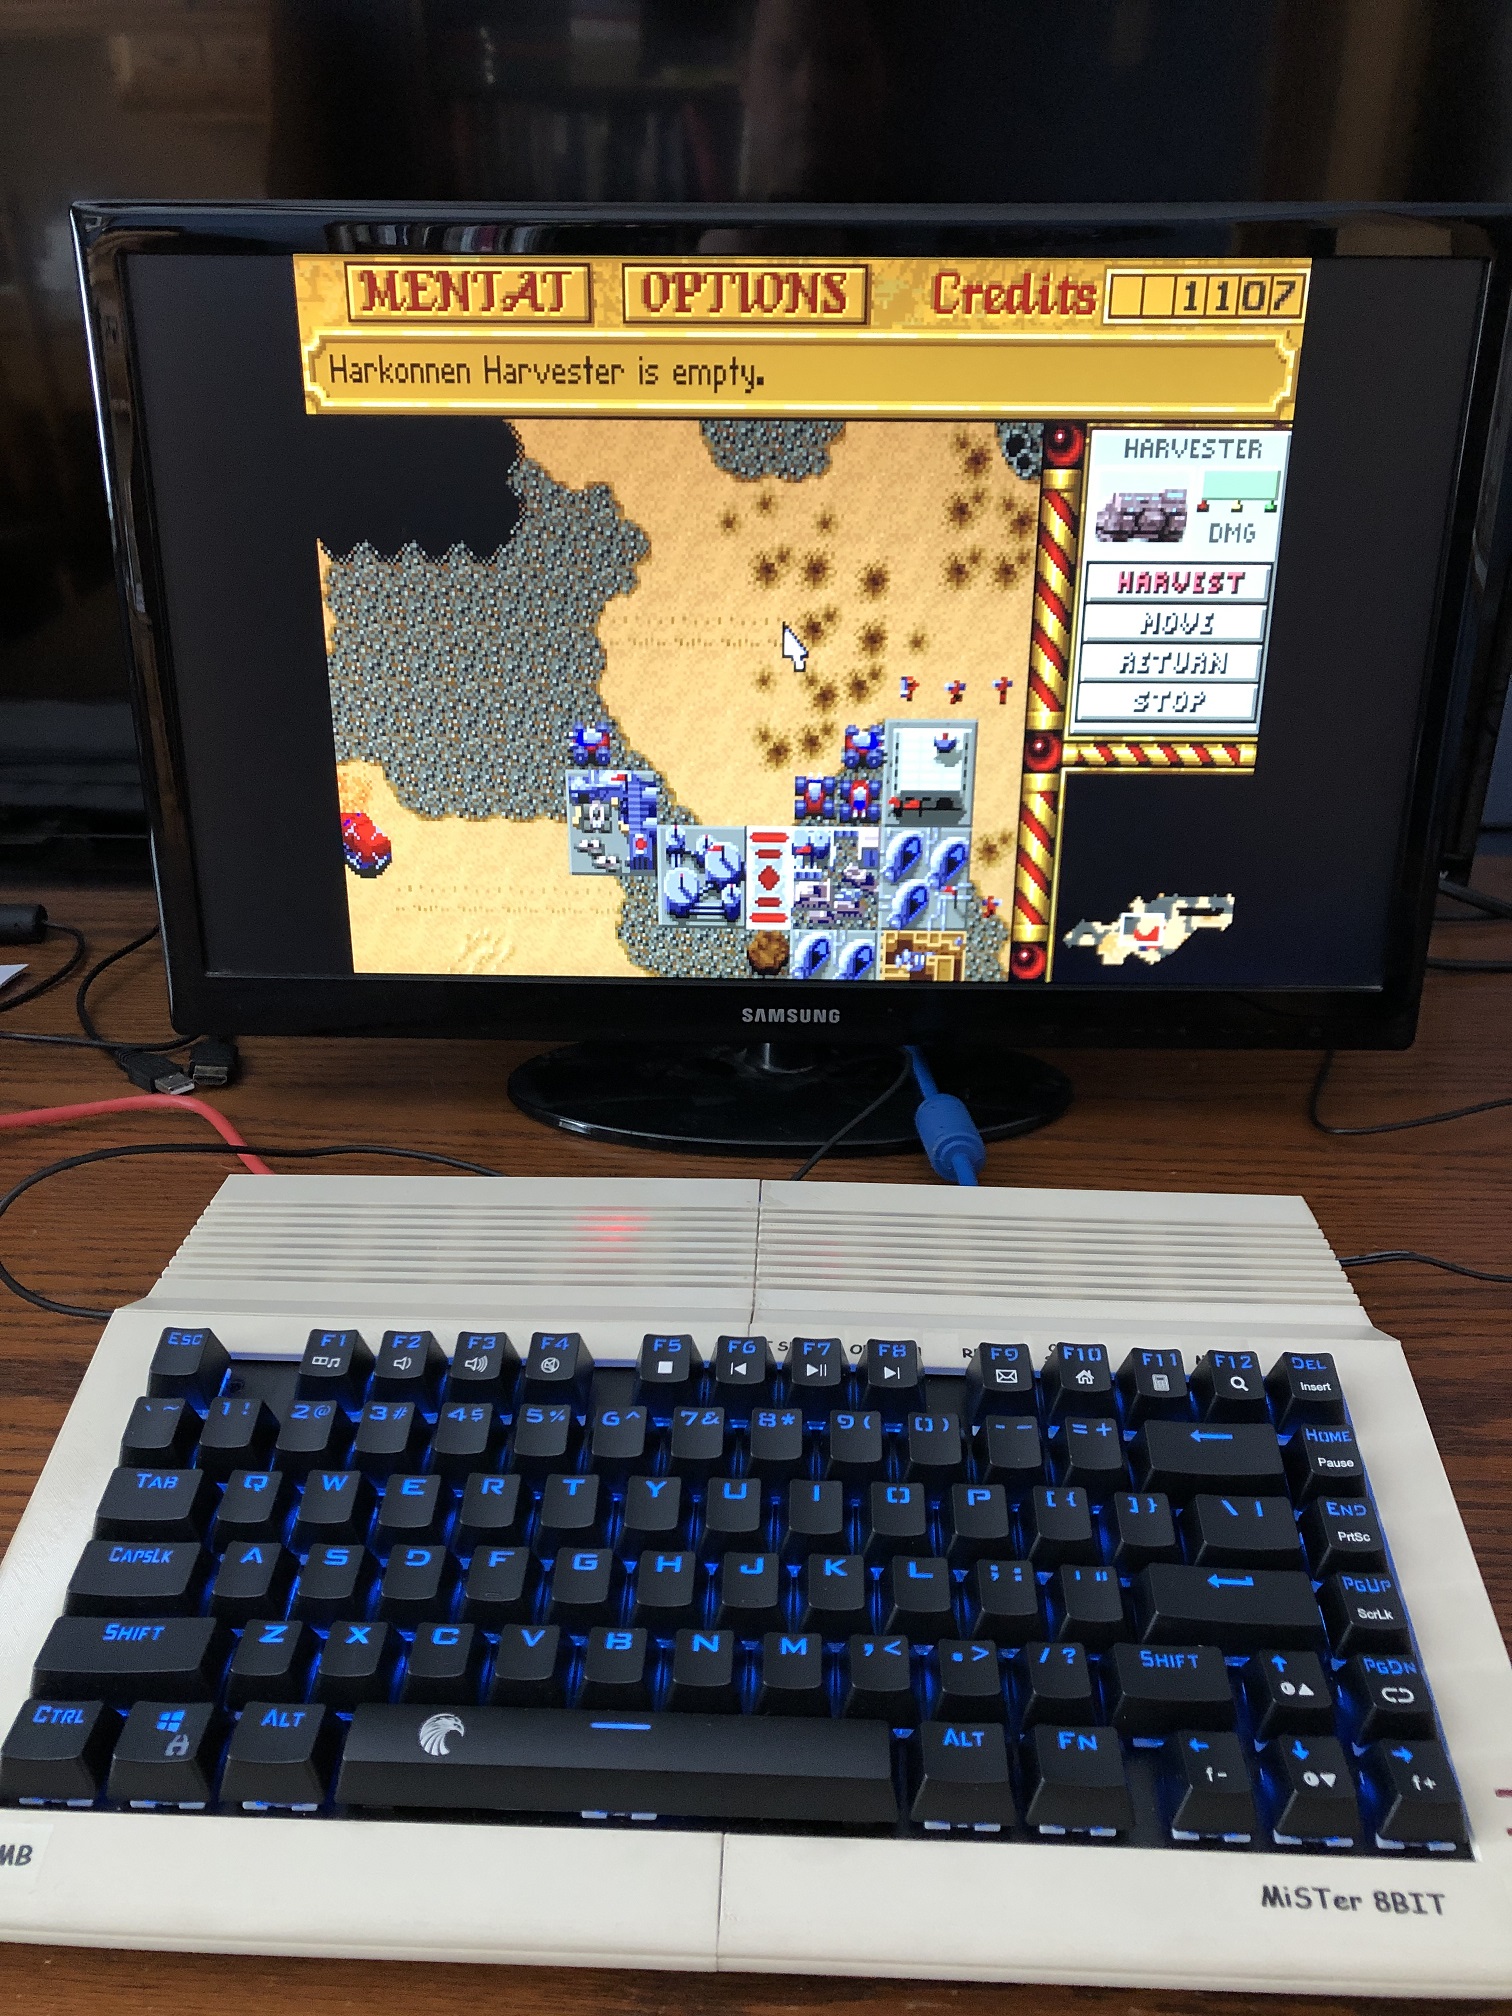
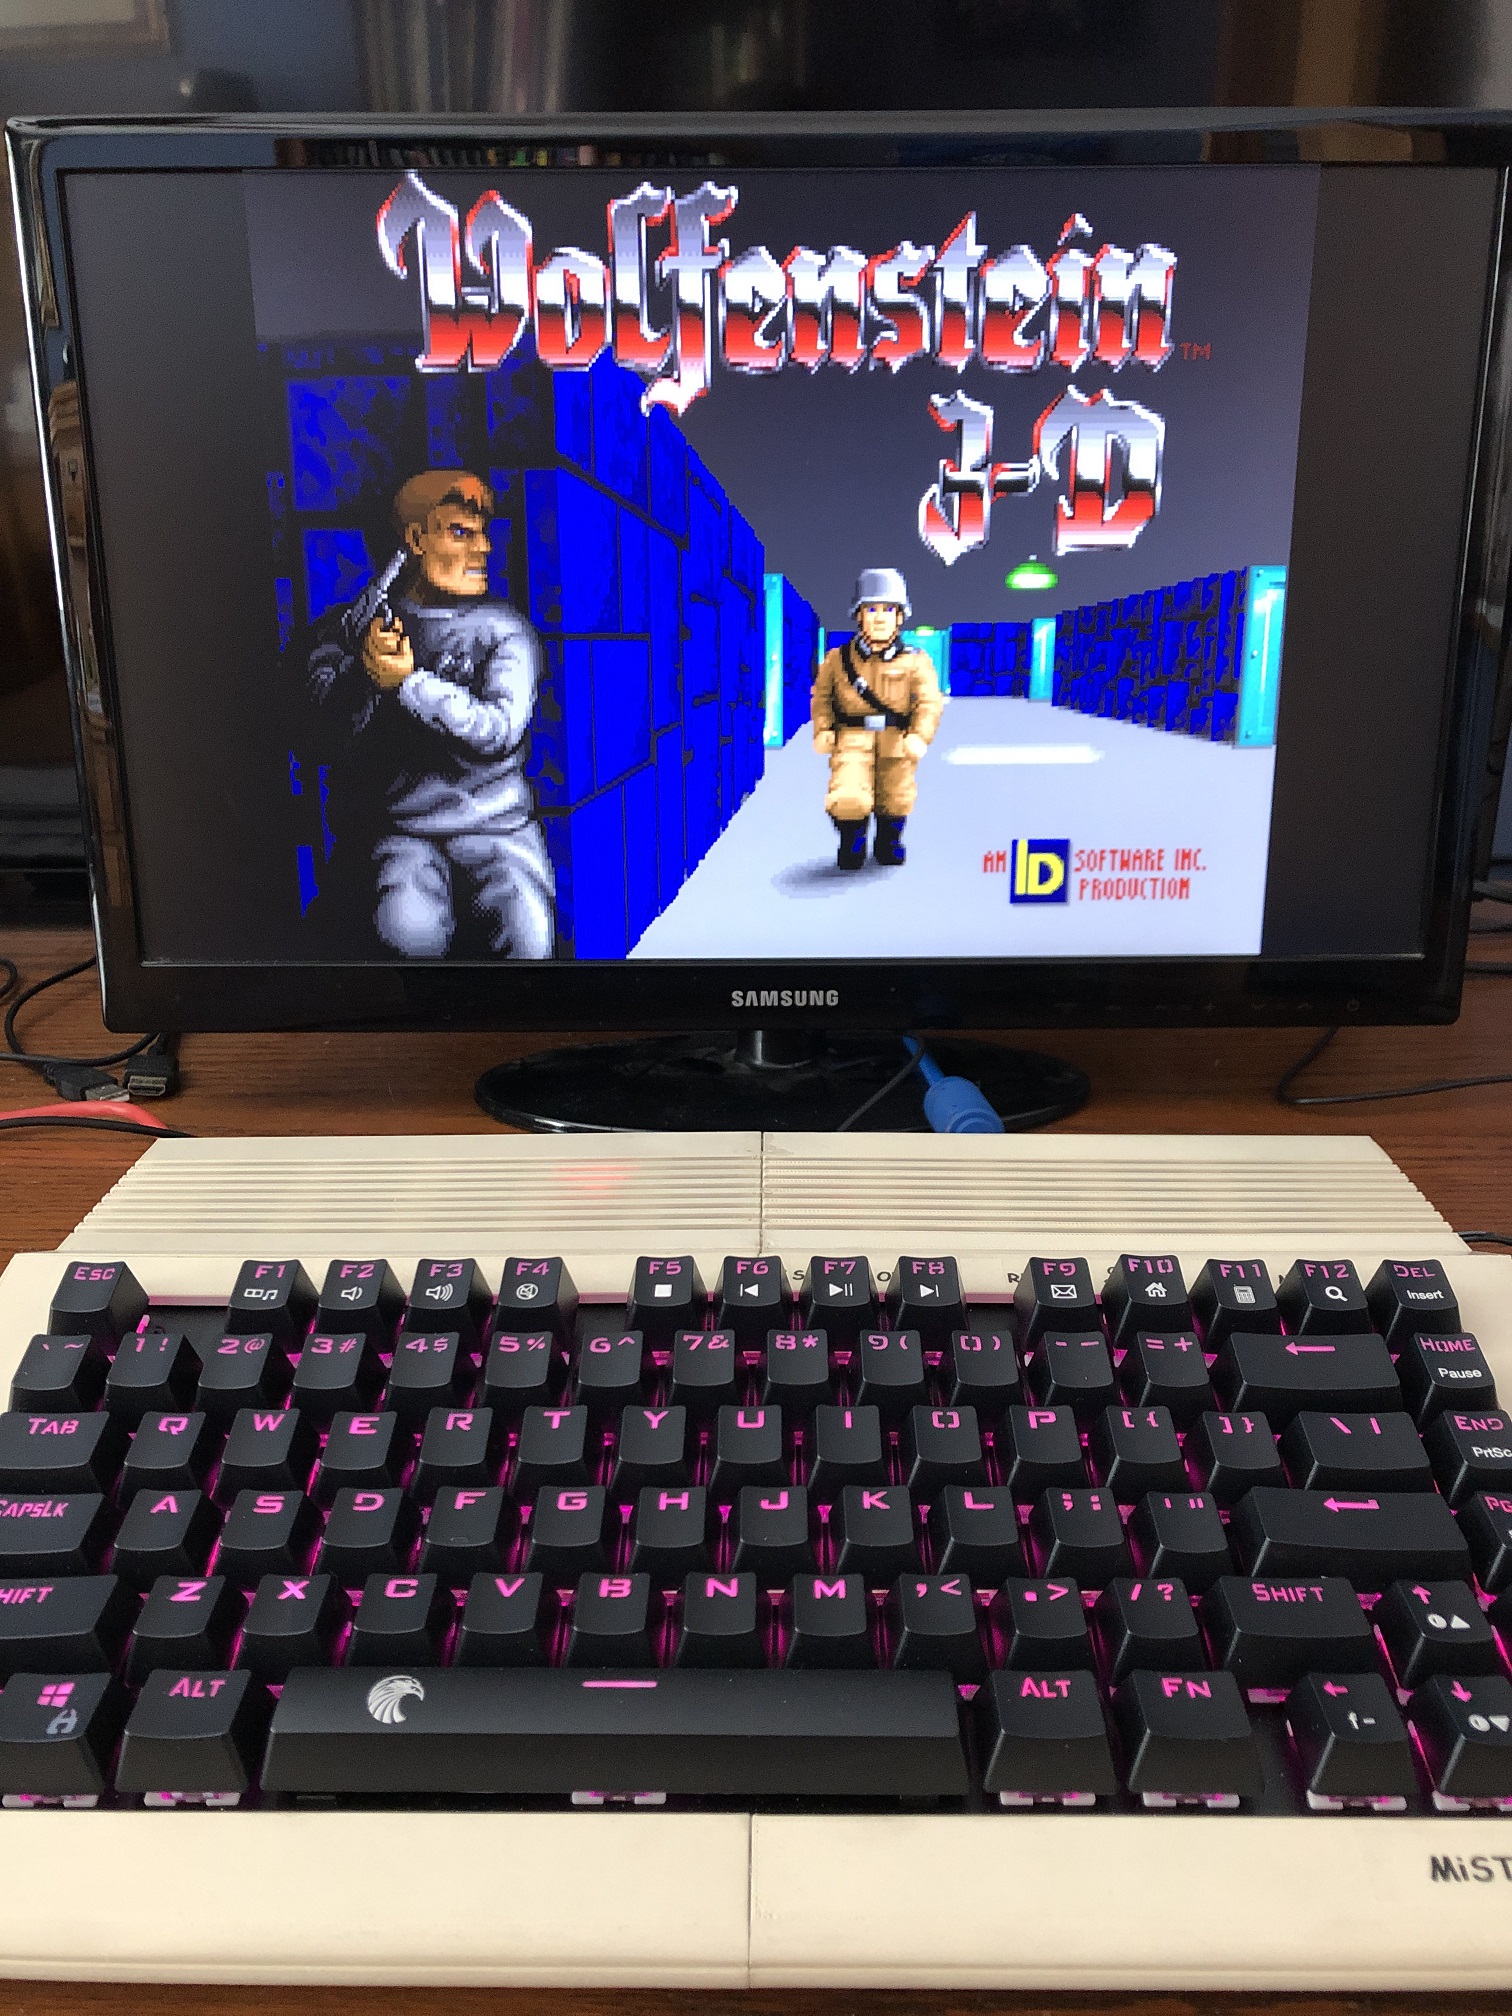
The ao486 Core which is a 486DX33 has no trouble loading Windows 95 and running DOS games.
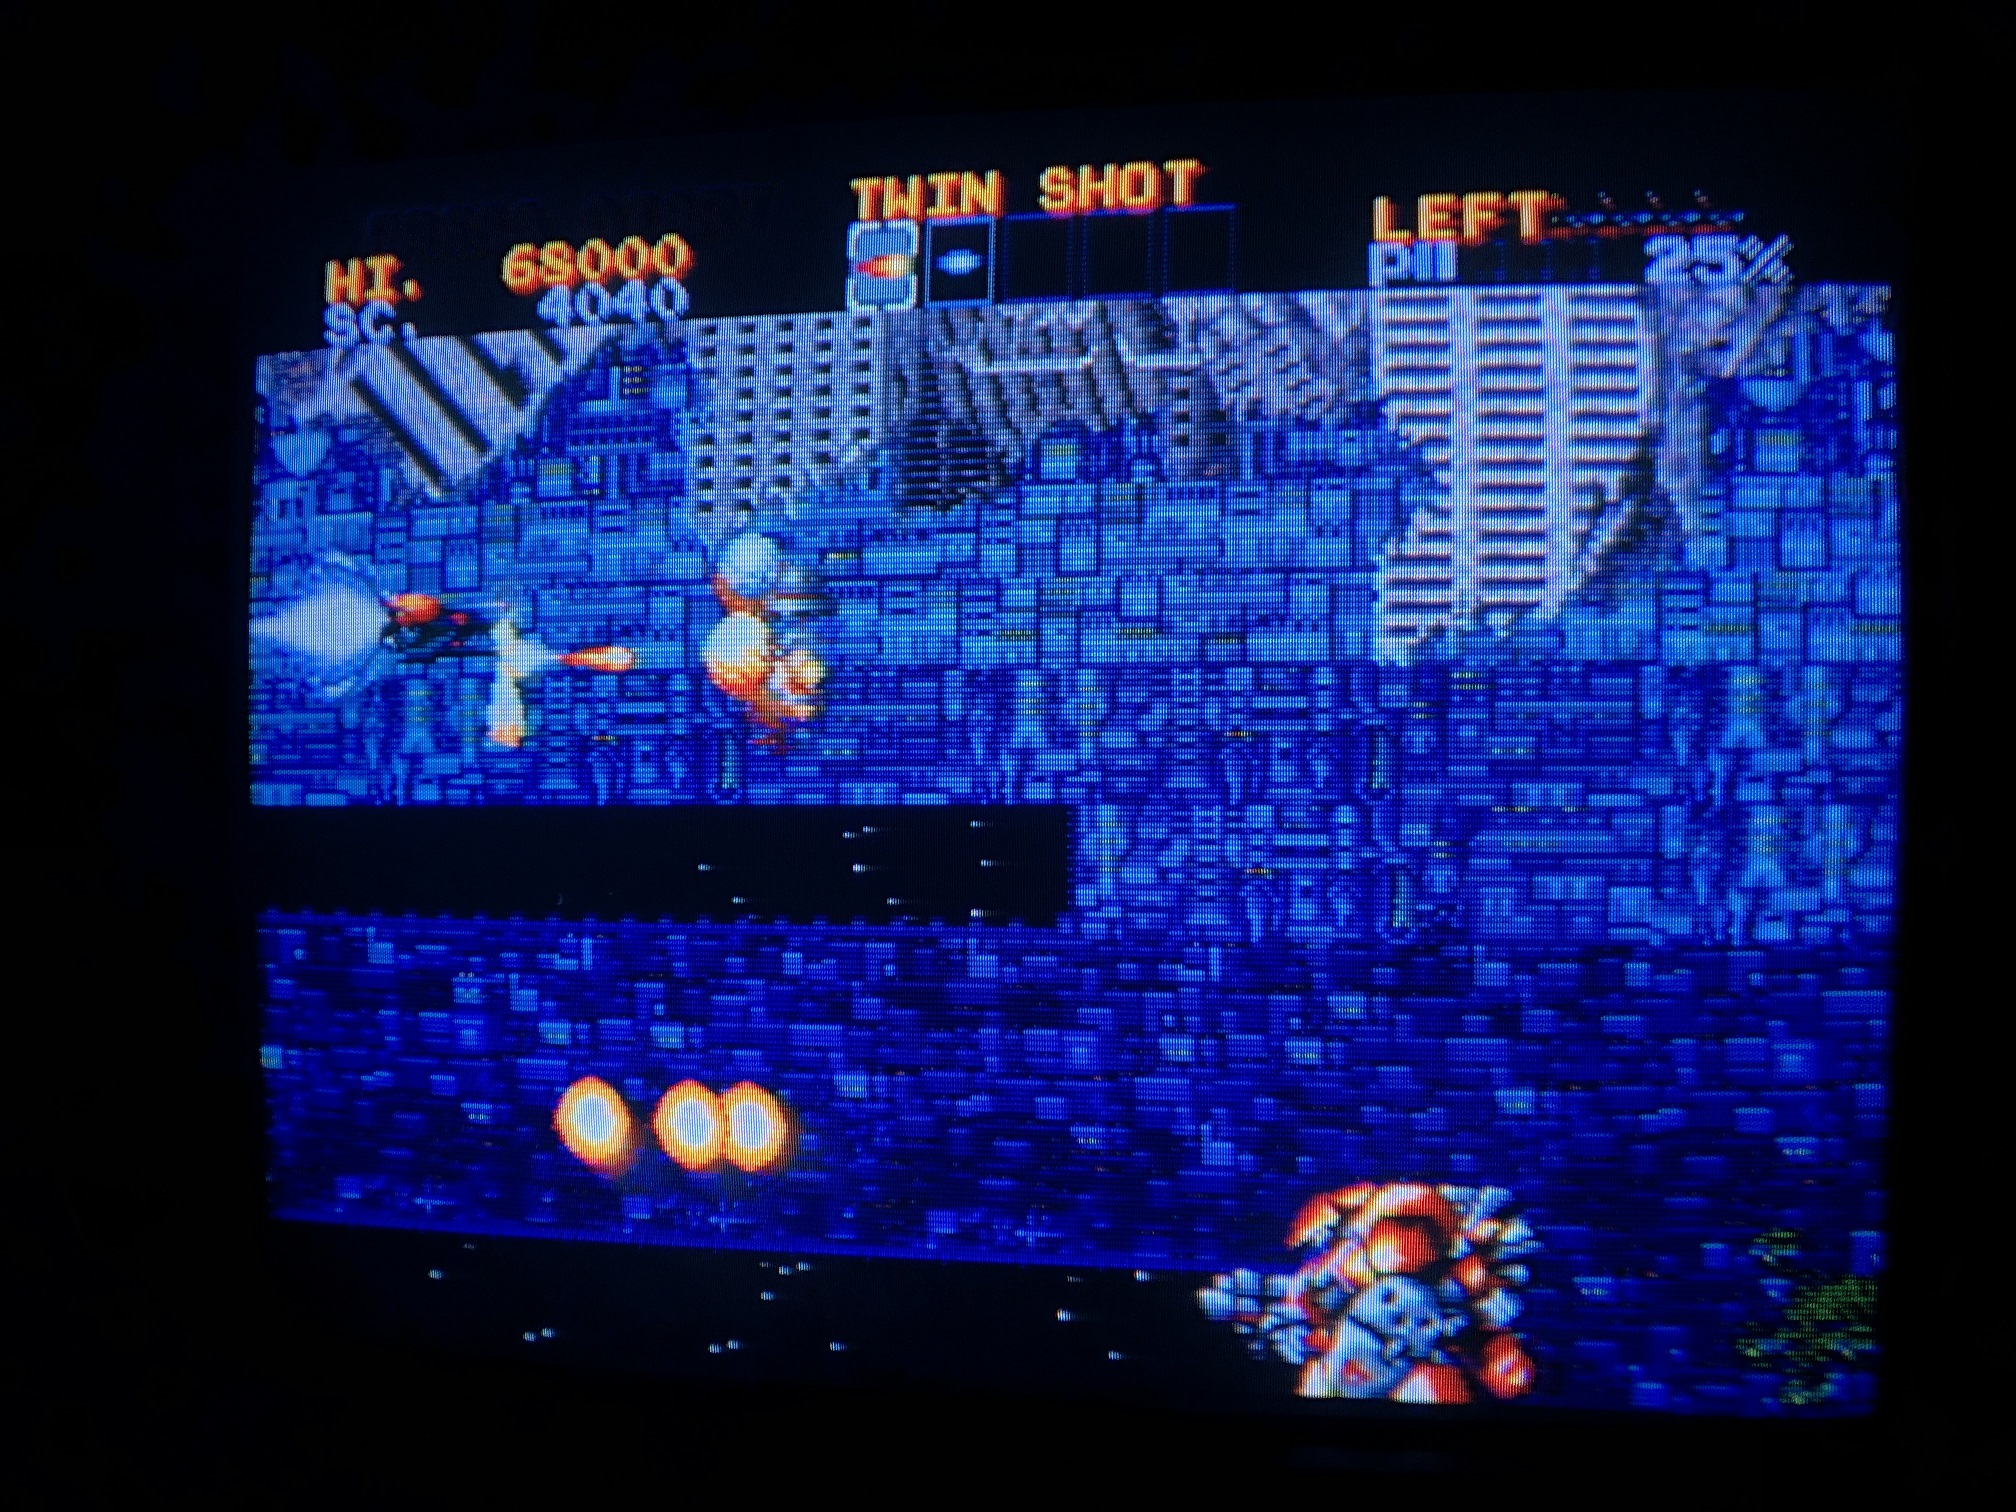
The VGA to composite and S-Video addon is a fantastic way to use a real CRT and I highly recommend it. This is by far my favorite way to use the Mister 8-BIT. Some classic consoles are shown below with the S-Video and a real CRT. Pictures are not perfect as its hard to photograph a CRT screen.

Overall I am quite happy with the way this turned out. I hope this inspires others to try out different ways to use the MiSTer platform.
Hi !
I really like the case you made for this project ! Are the stl files available somewhere ?
Best Regards,
Sebastien
not yet. I think I will post them on Maker World and Printables soon. I need to make some adjustments to it first.
Very good work. I’m considering something like this, or with a wooden case.