
My 10yr old daughter has had her Nexus 7 for 3 yrs. It finally stopped charging a few weeks ago so I got online and ordered a battery and a USB port since I need to take it apart anyways so I might as well do it all. The battery cost $18 and the USB port was $5 of Ebay.
I am not going to go over in detail how to disassemble the Nexus 7. There are 100’s of you tube videos out there so I suggest you watch a few of them.
Here is a good one:
https://www.youtube.com/watch?v=IG6A_RBX-v0
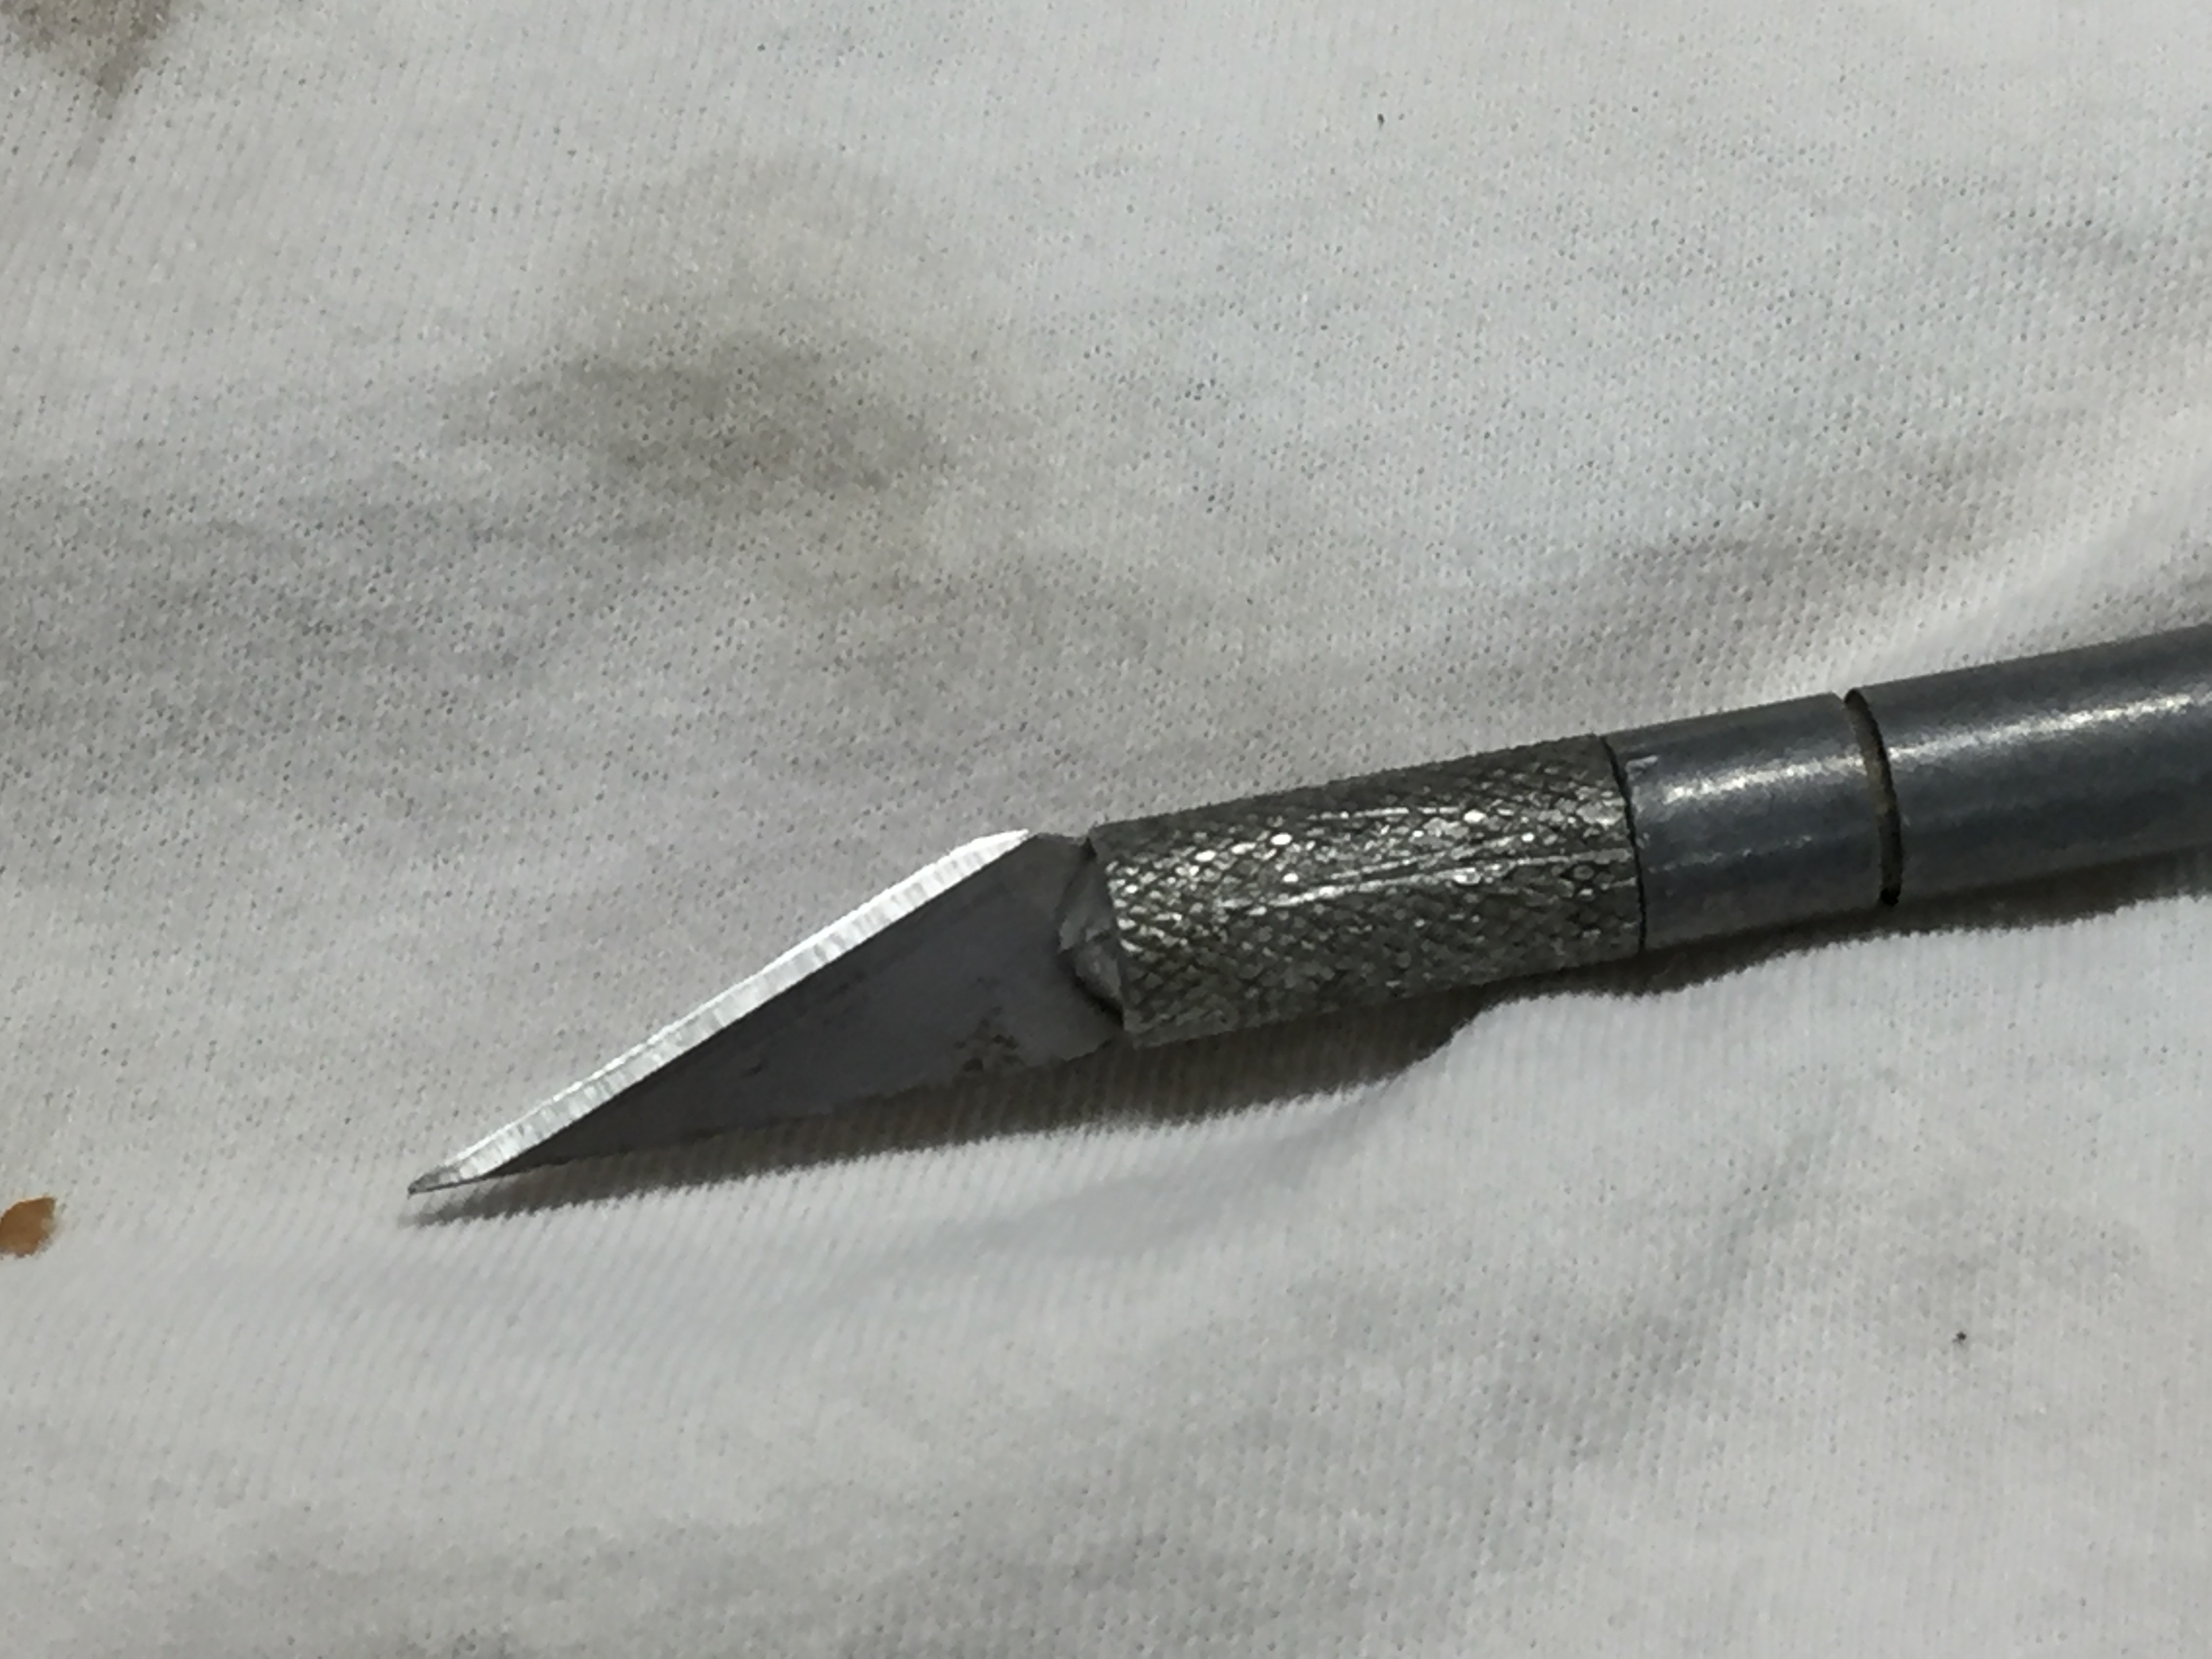
For the USB repair, you only need to take the back cover off. That’s it. You need soldering equipment and a fine point on the solder iron. Also needed is, Xacto Knife, Solder remove tool, tiny screw driver, an eye magnifier (10x at least), and fine flux core solder.
Good soldering skills are a must. The USB port is very tiny and easy to destroy. If you have never soldered before, don’t even try this.
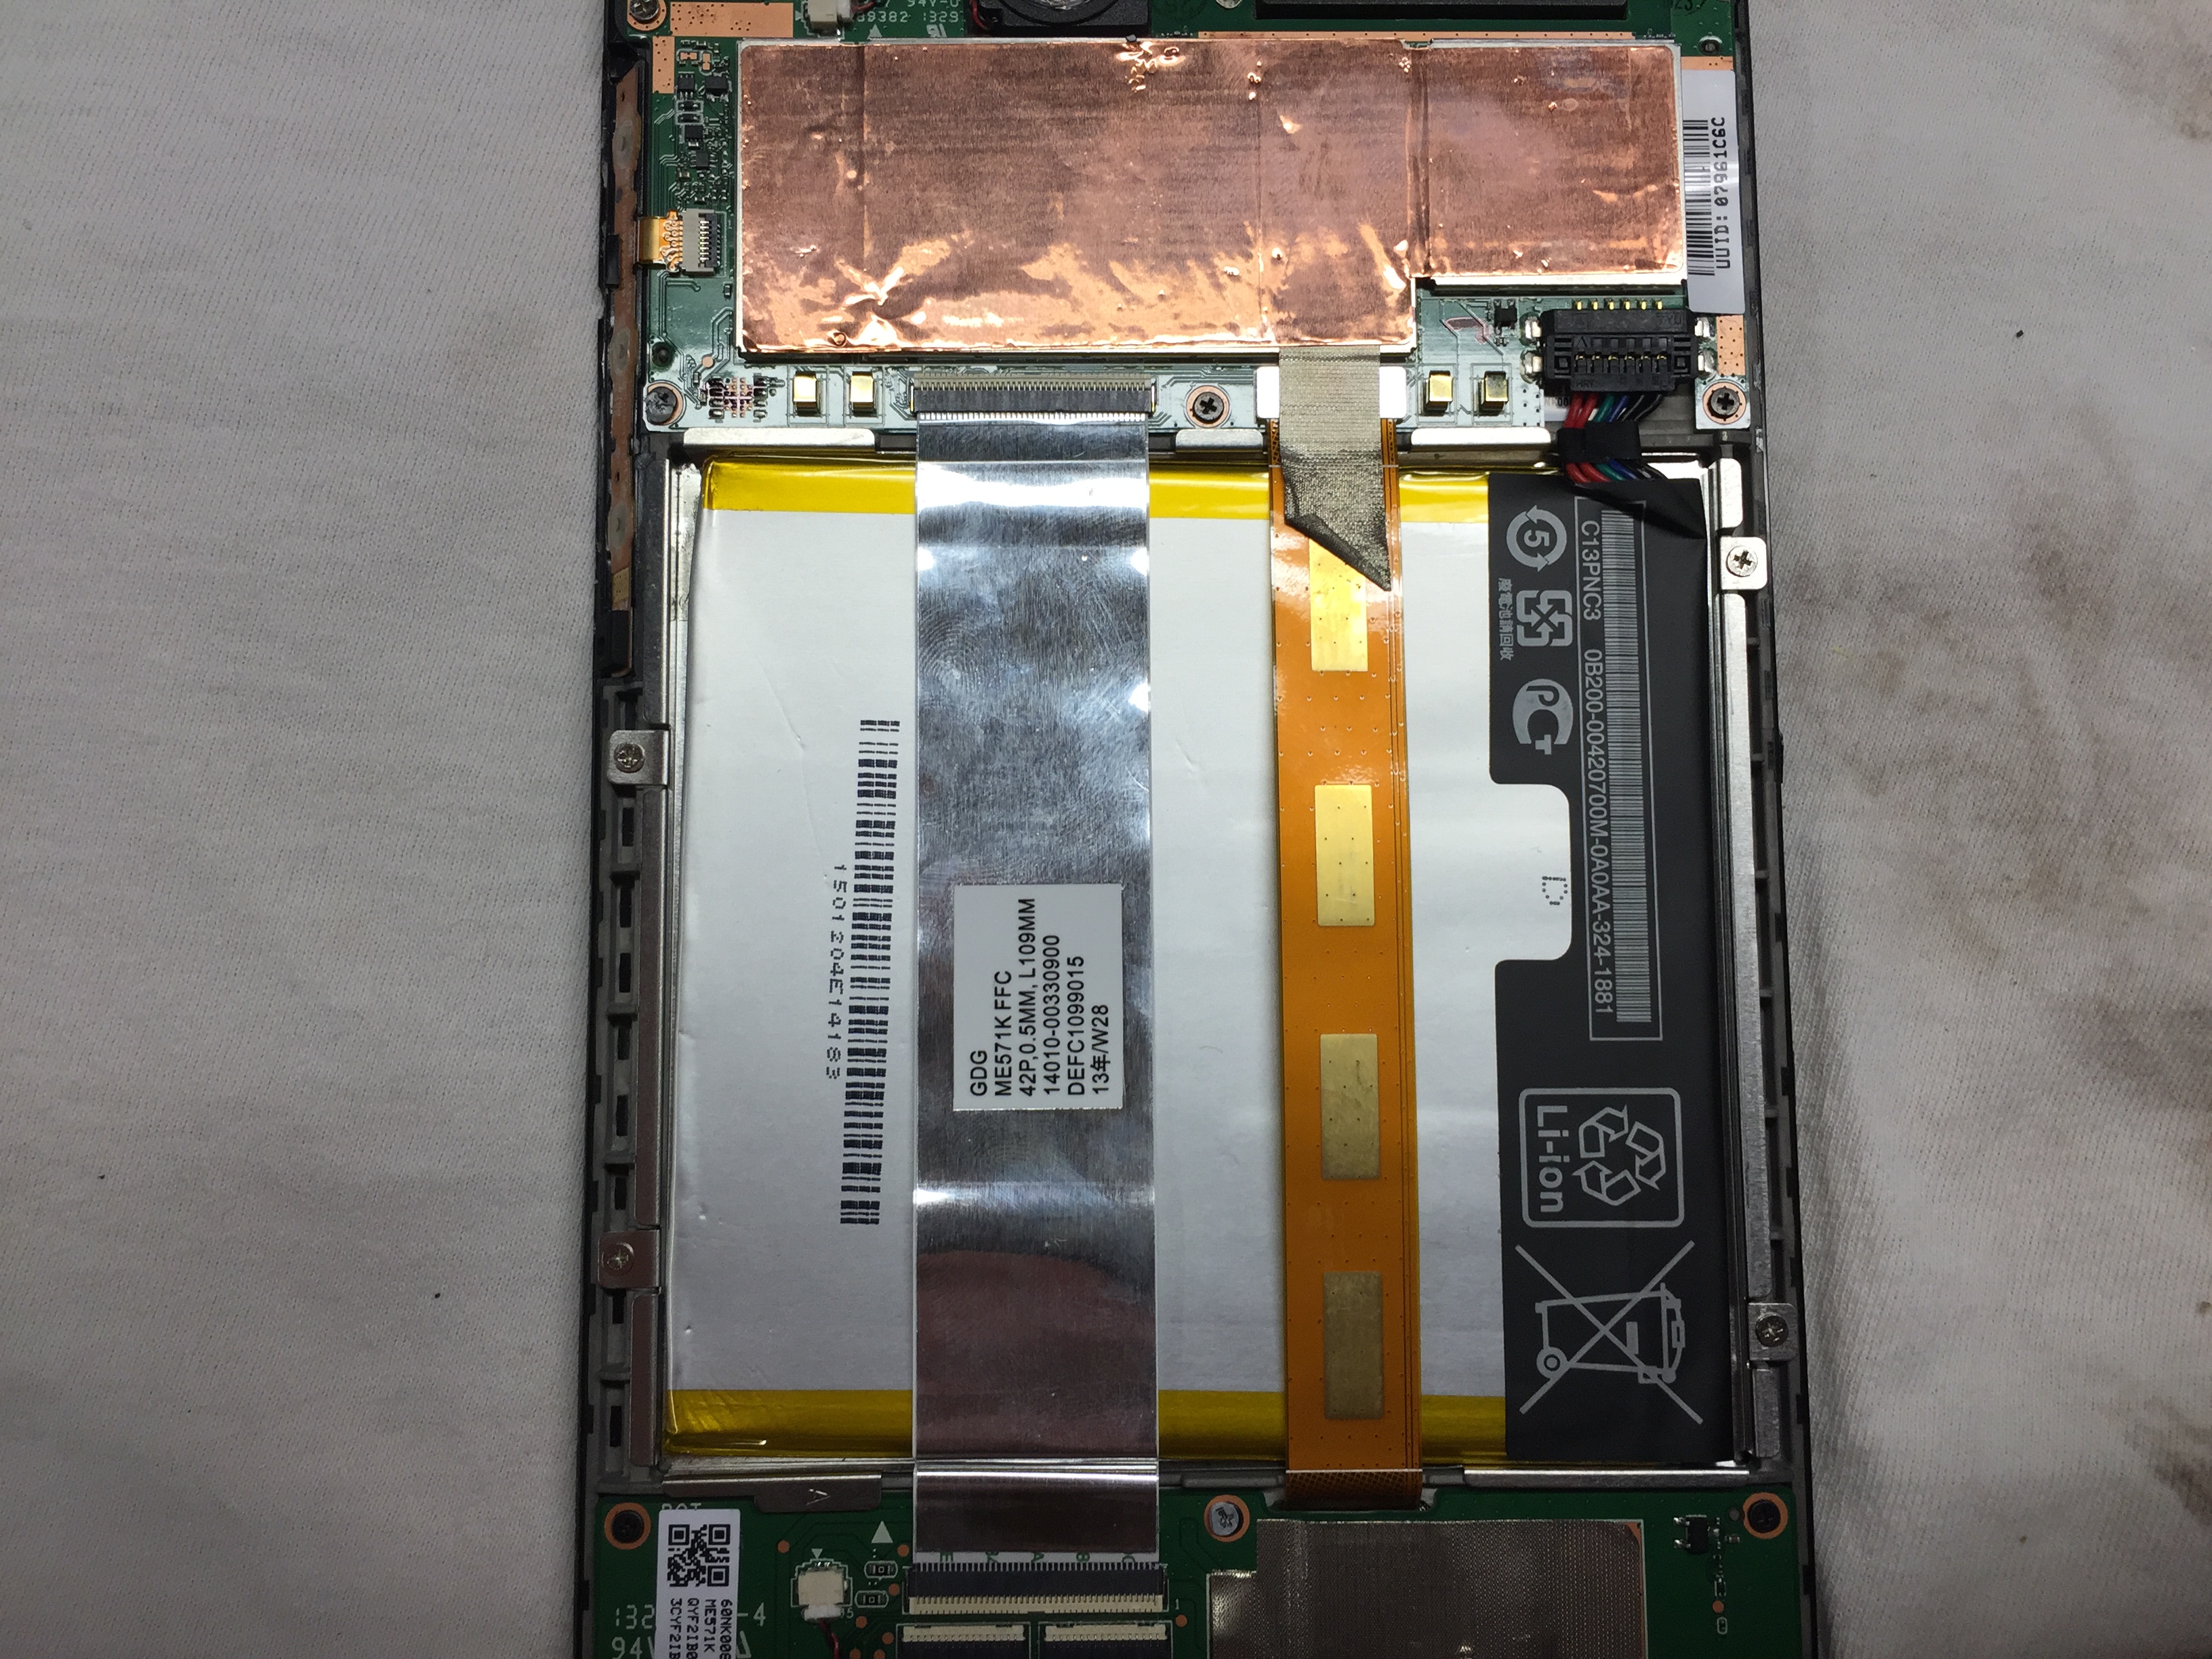
Remove the cover as shown above.
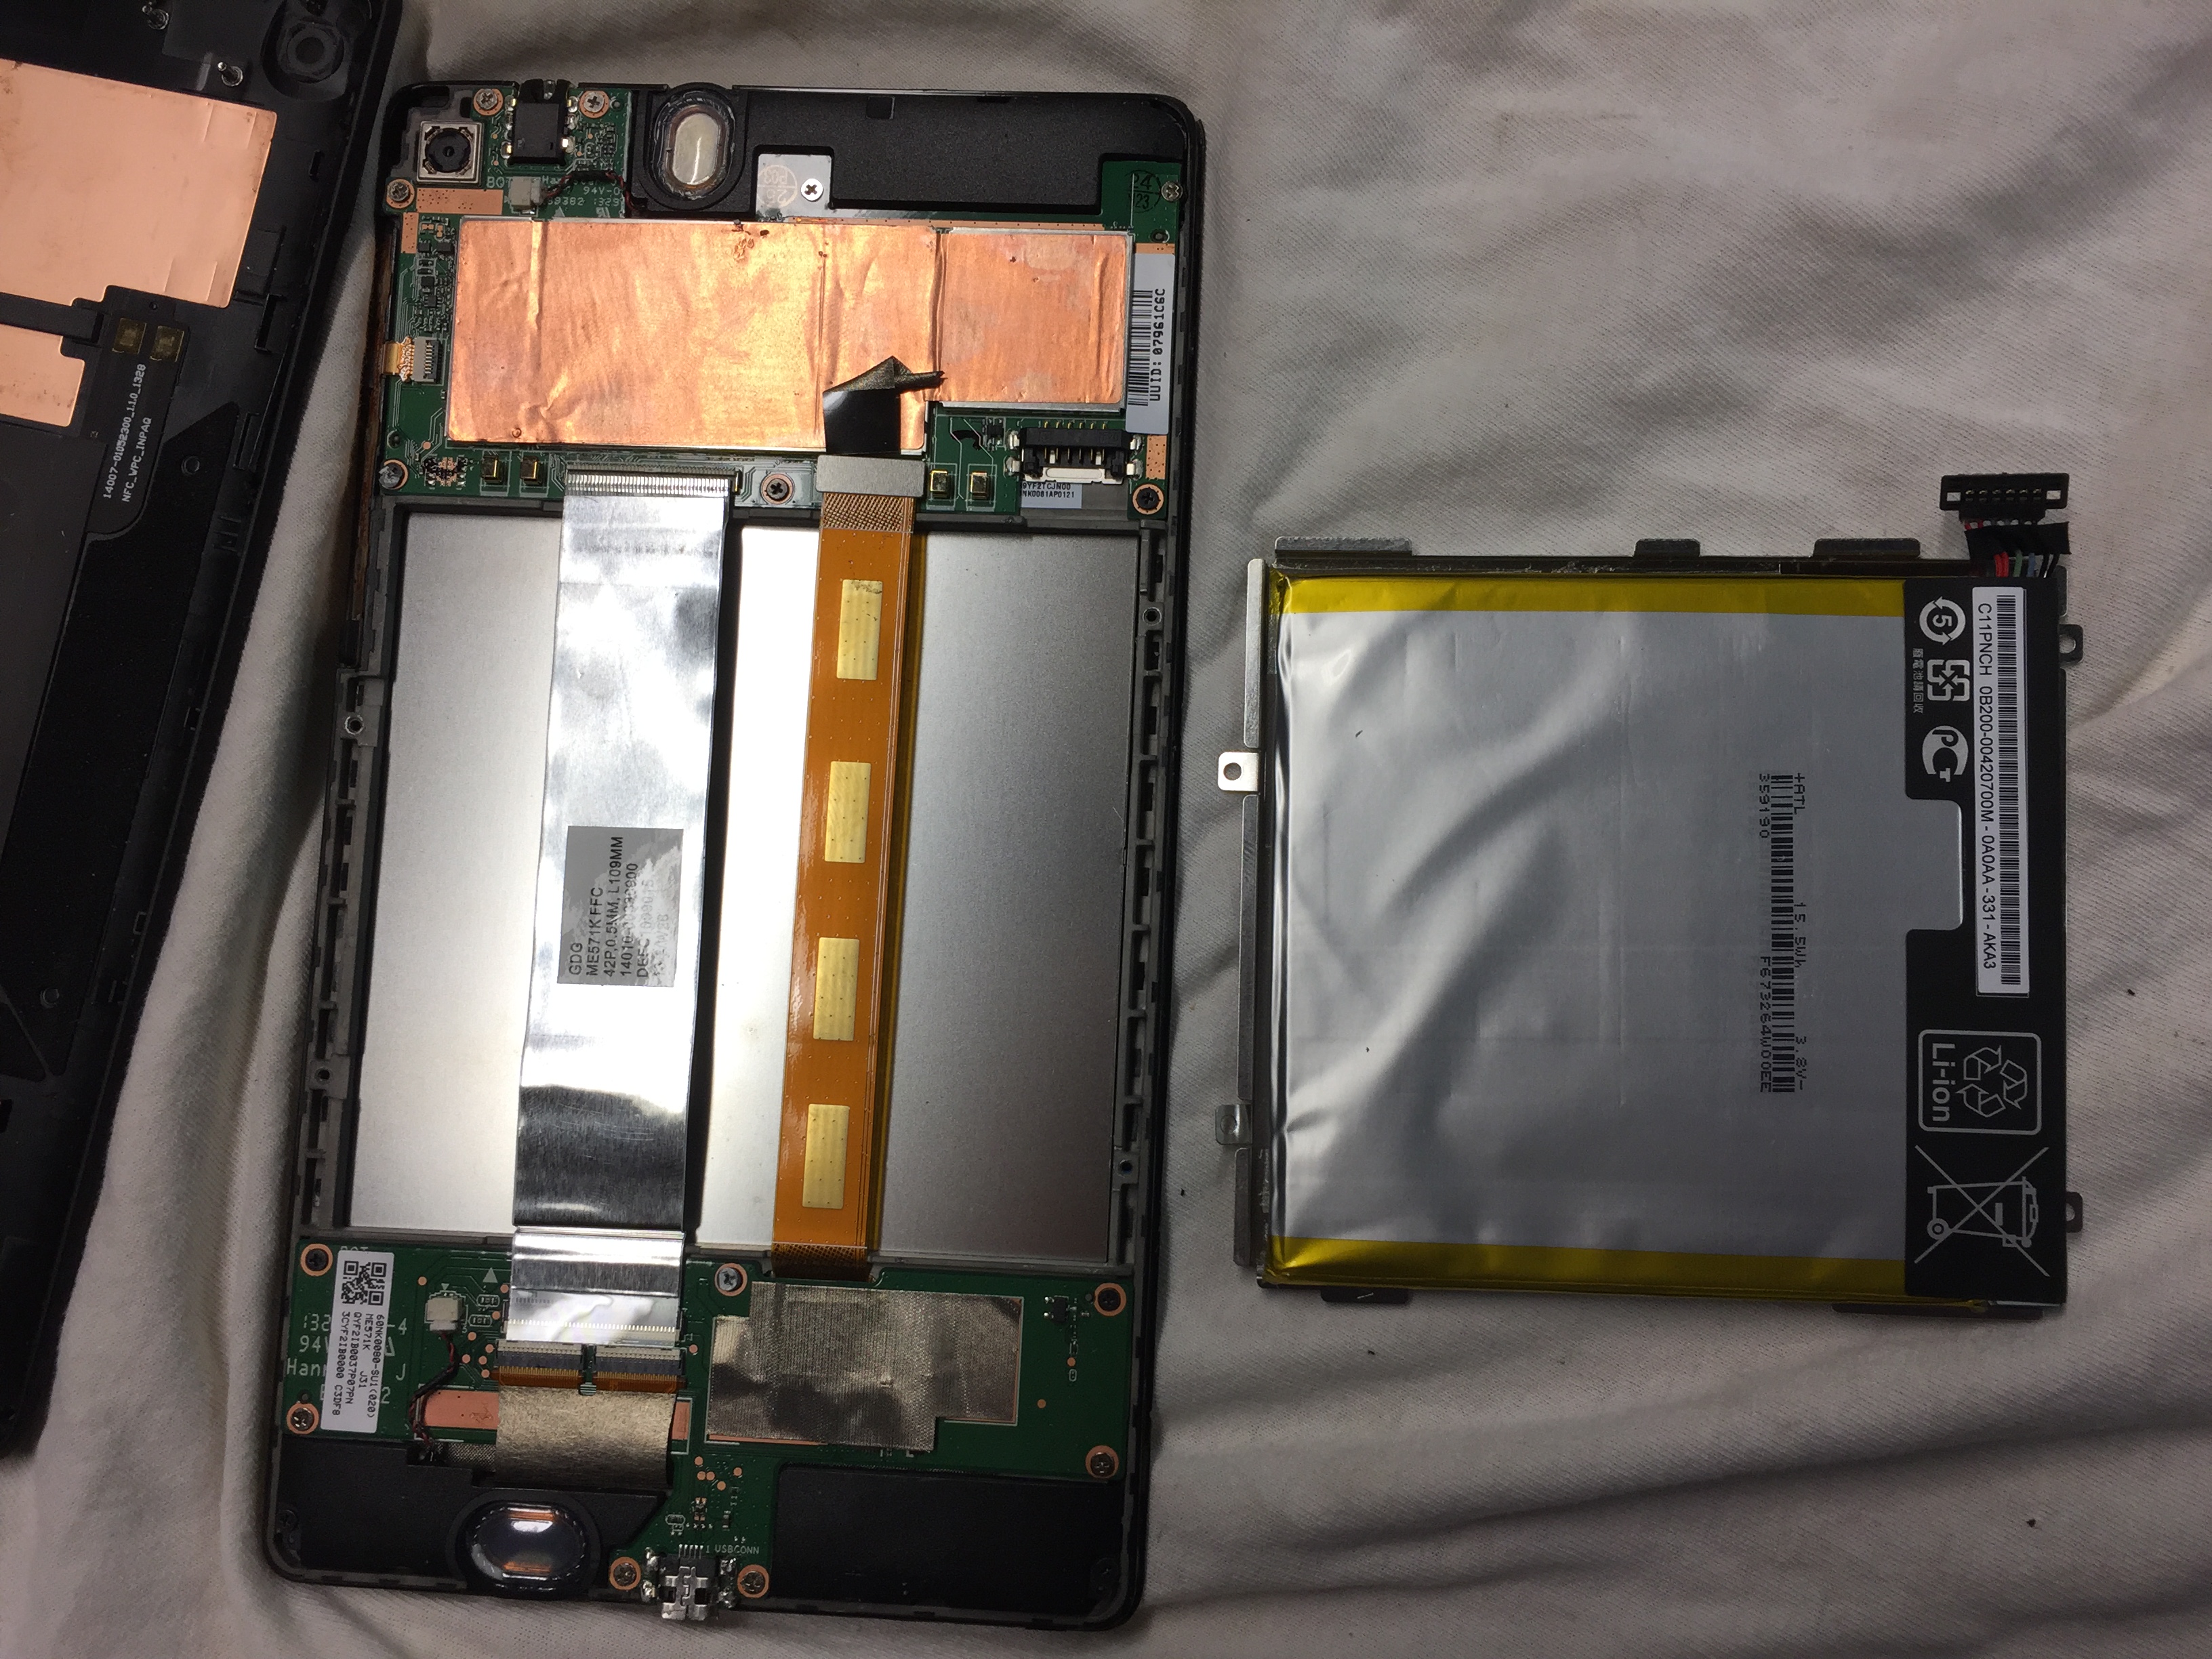
OPTIONAL: You can change the battery if you want. Its easy and takes about 10 min. Remove the 4 screws and disconnect the 2 ribbon cables like shown in the video.
If your not swapping the battery, then read on below.
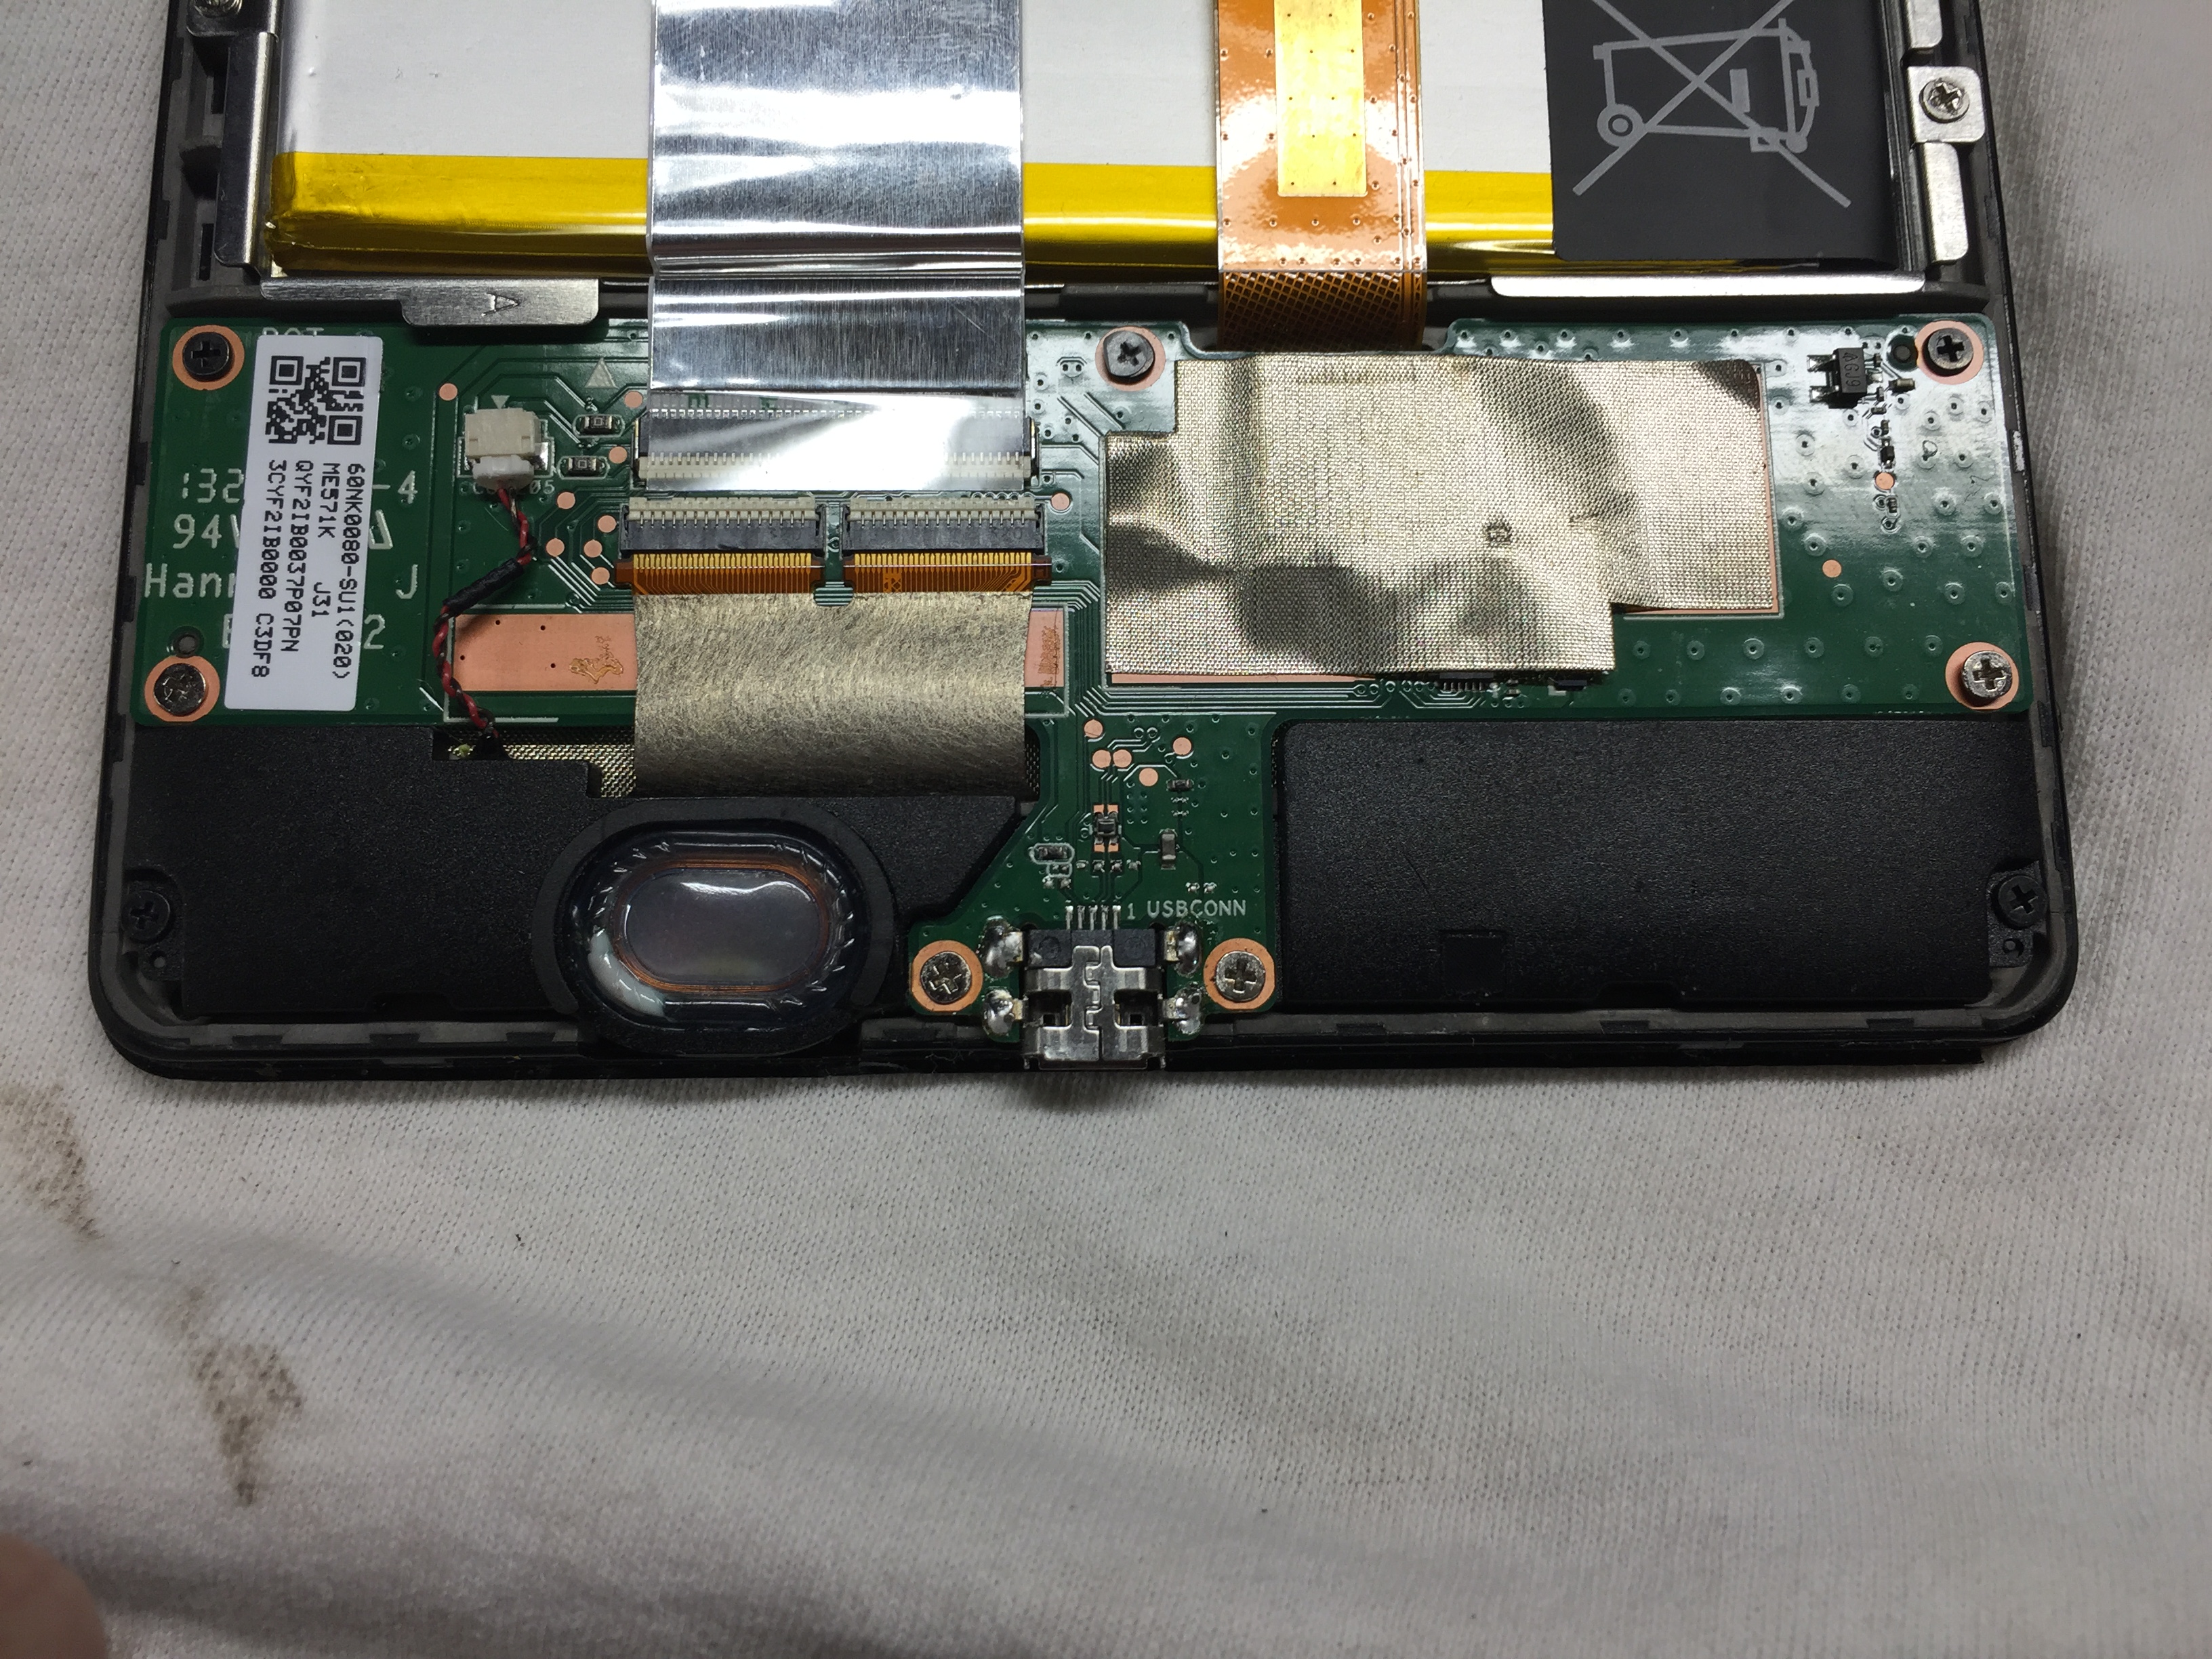
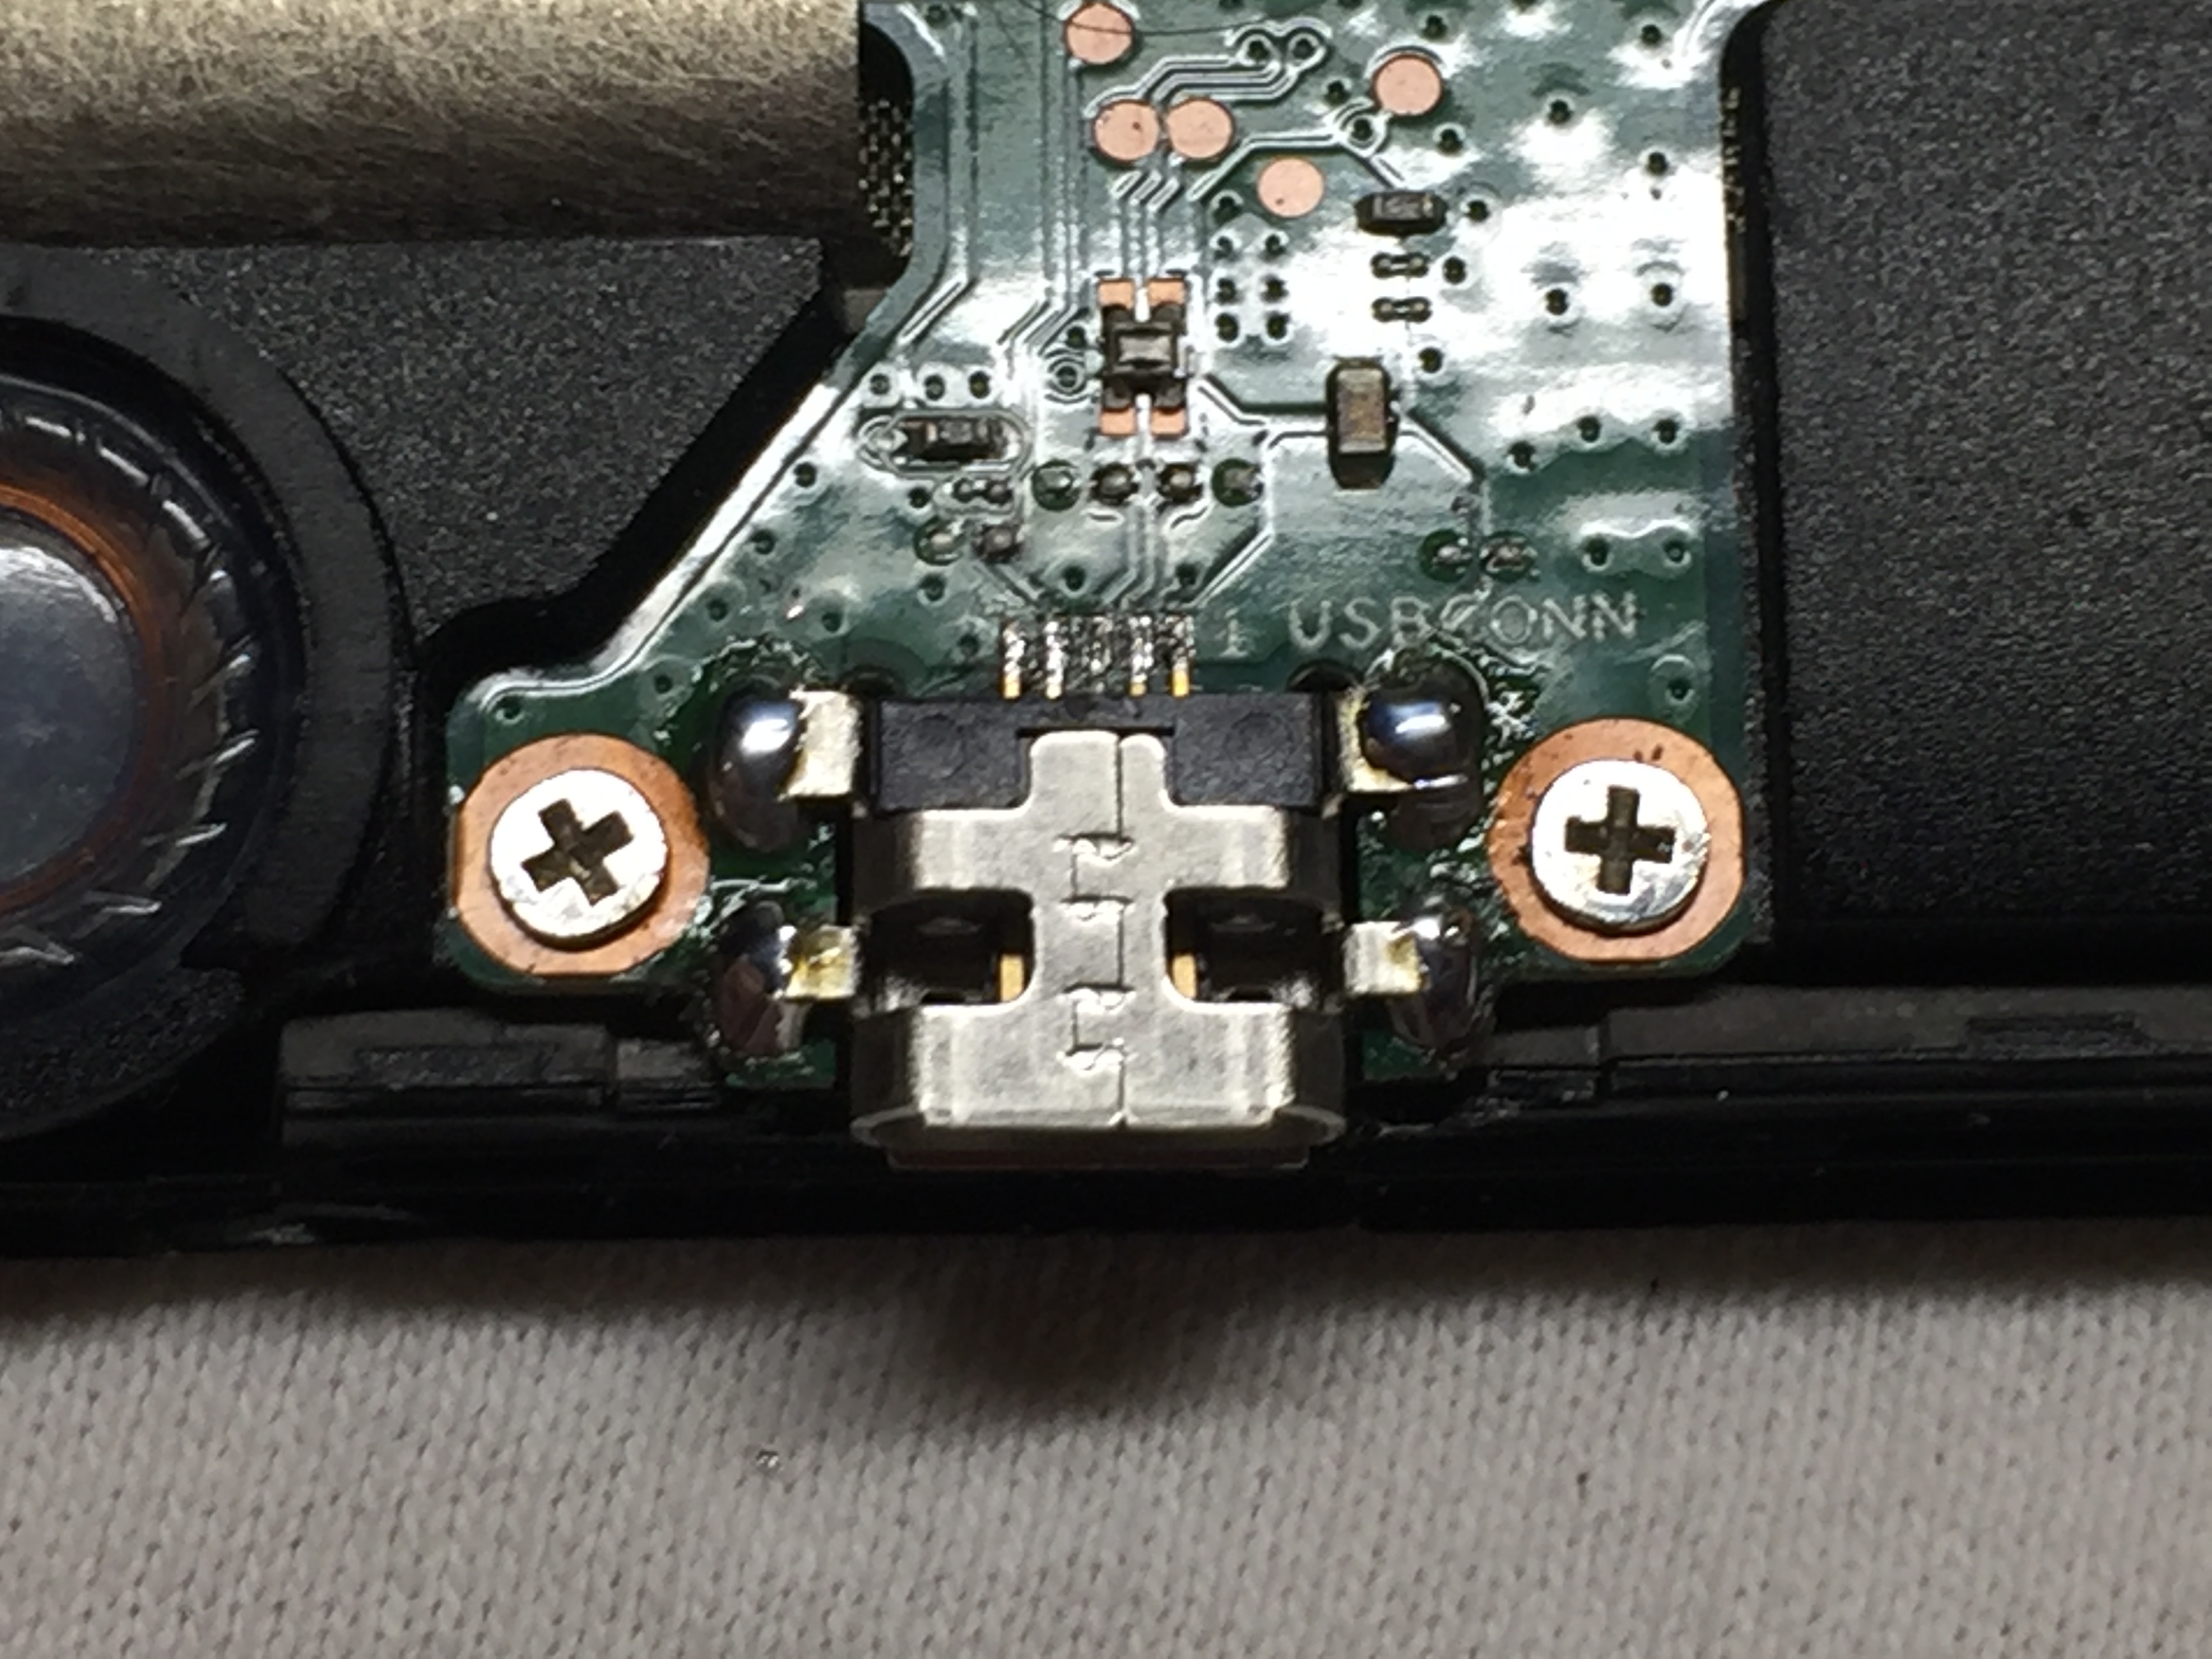
The USB port is located at the bottom of the Nexus 7.
Now starts the tricky stuff. I solder a lot so this only took me about 30 minutes. Take your time even if it takes a few hours. If you mess up the USB board, your out $70 for a replacement.
First take your Xacto knife and cut the 5 USB port traces. Just run the blade tip over them 5 times or so (lightly scratch them over and over in the same place). use light pressure and cut as close to the USB port as you can. You will end up leaving the 5 traces soldered on the board for now. Don’t worry they come right off with the hot solder iron once the USB connector is out of the way.
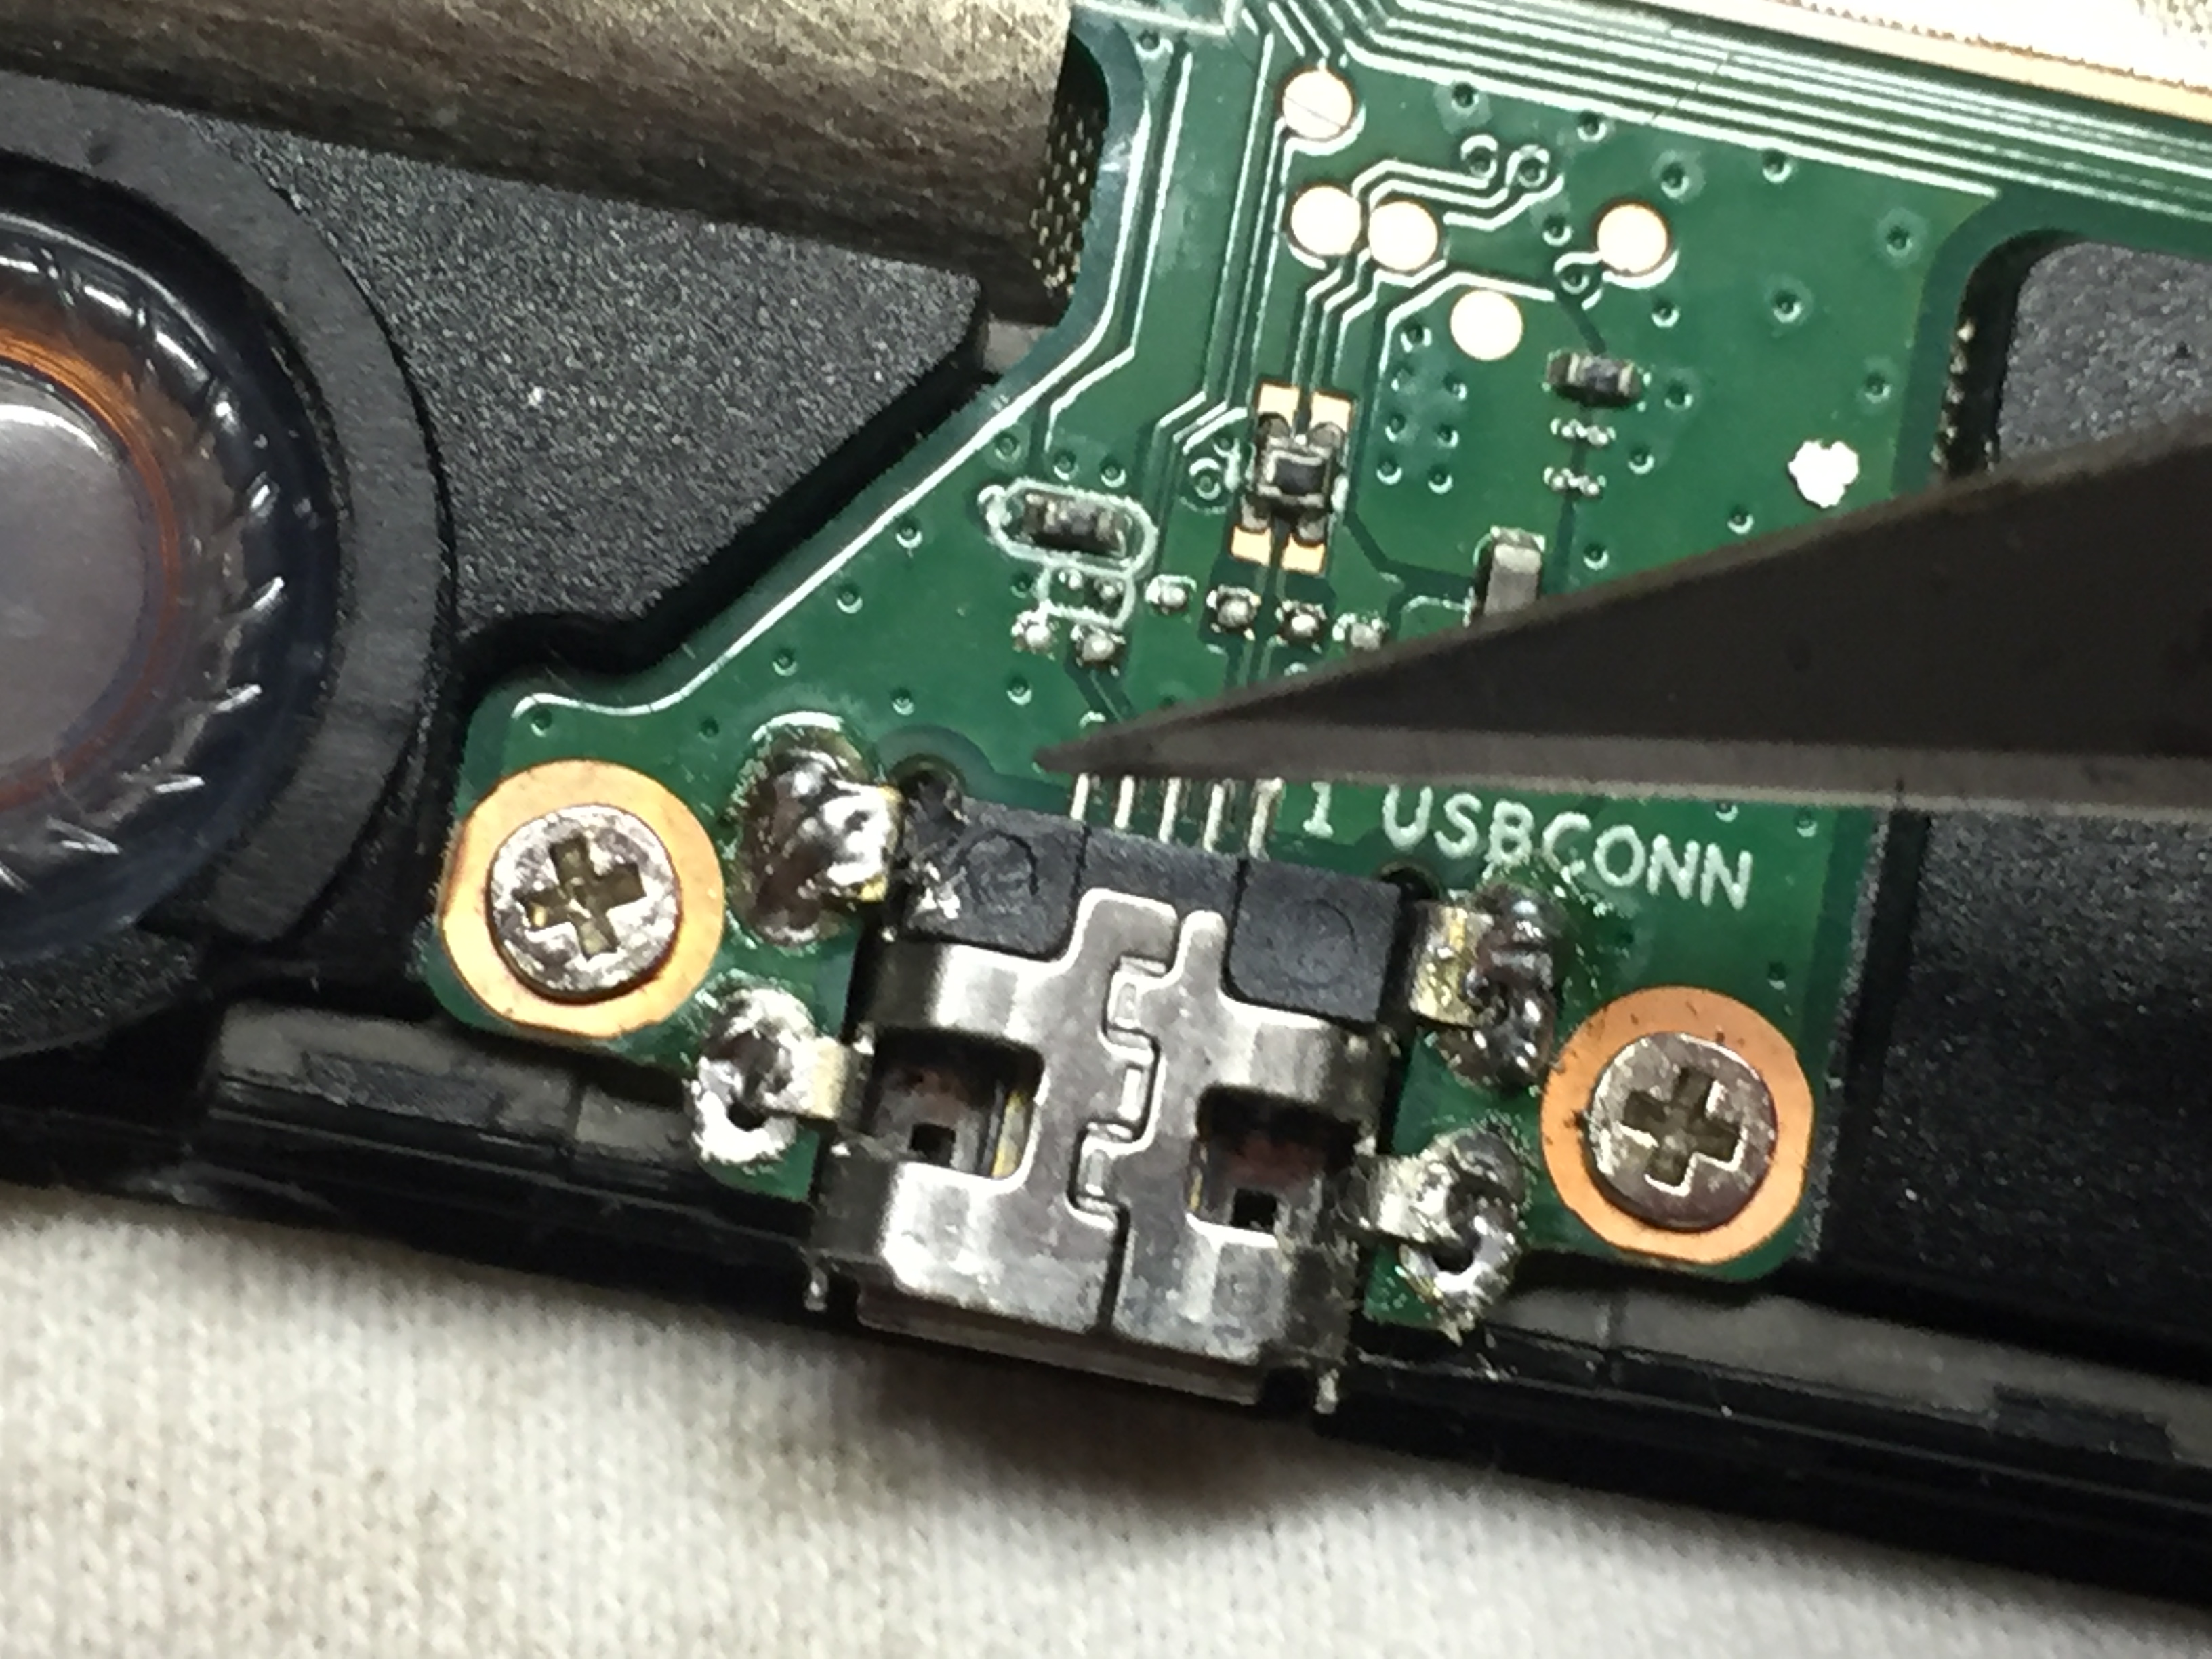
You need to cut the traces because its very difficult to de-solder them. The USB circuit board is delicate and you can damage the trace leads on the board if you try and pull off the USB connector with an accidental trace still soldered.
Get your de-solder tool and soldering iron ready and de-solder the 4 main posts that hold the USB connector on.

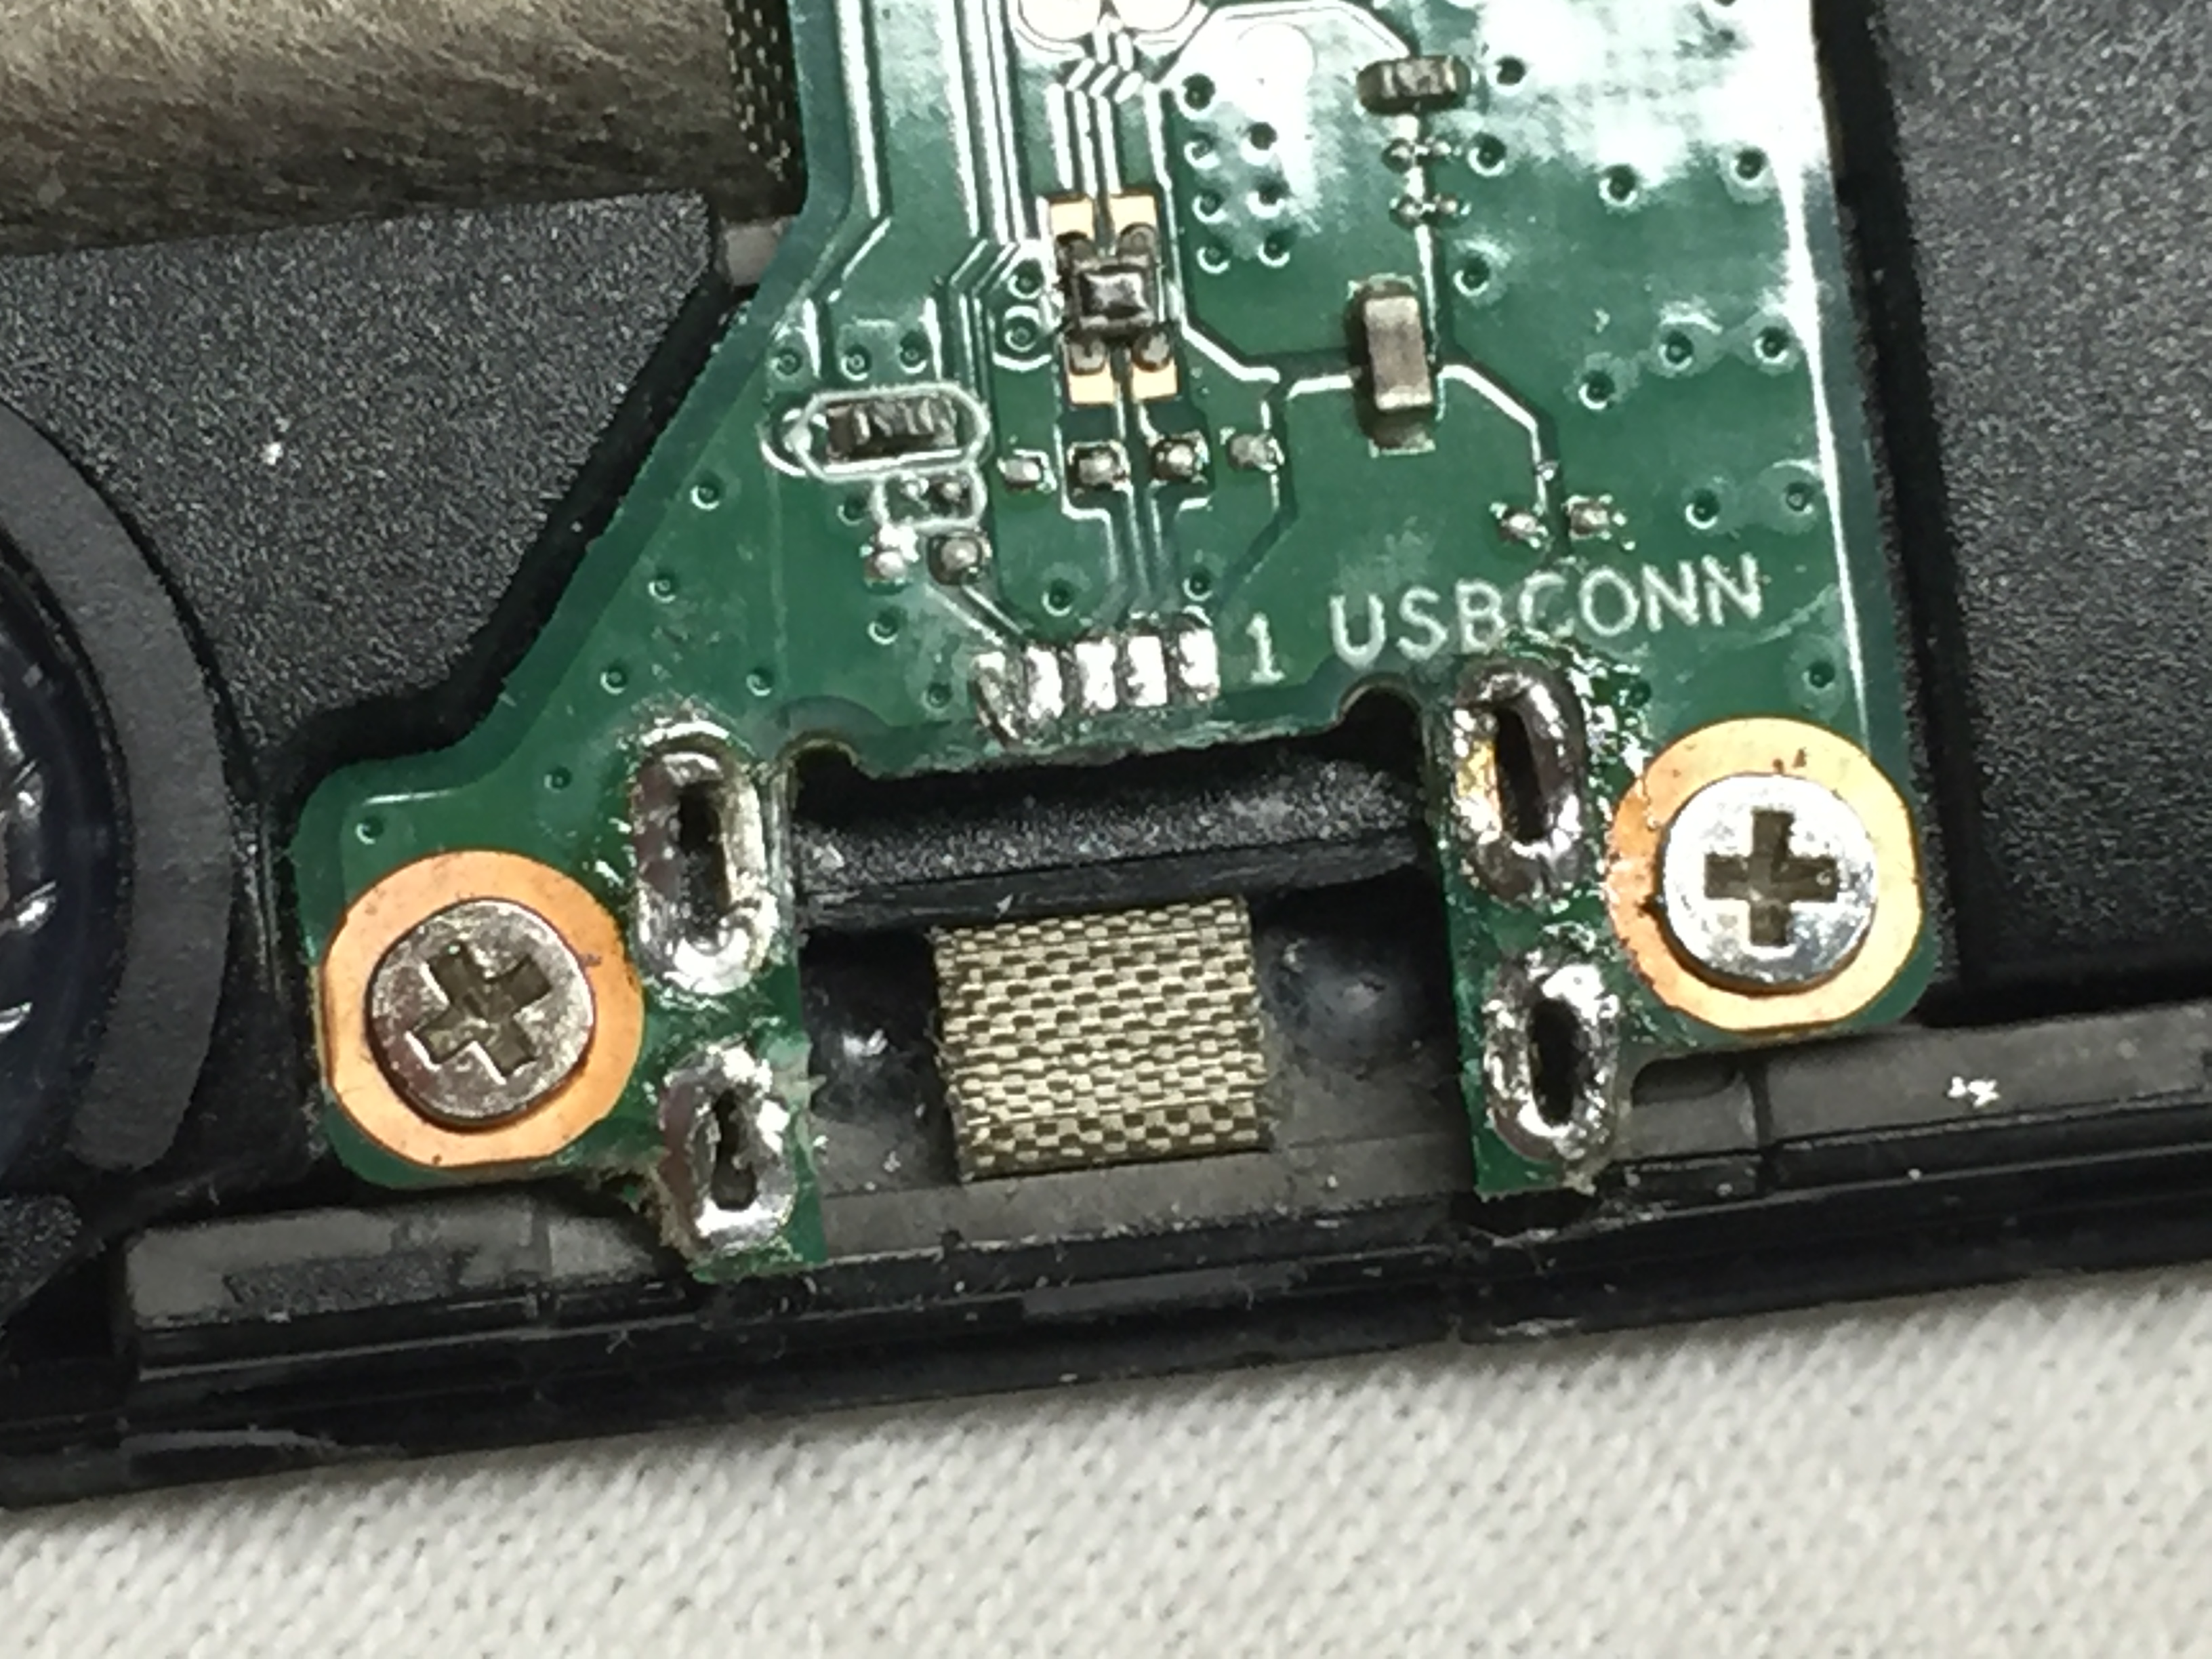
When the solder is removed, the USB port can be easily lifted off with a tiny screw driver. I was able to clean up the 5 trace pads with my solder iron tip easily. Remember you cut the traces with a knife and now is the time to remove them with the solder iron. They will scrape right off with a hot soldering iron.
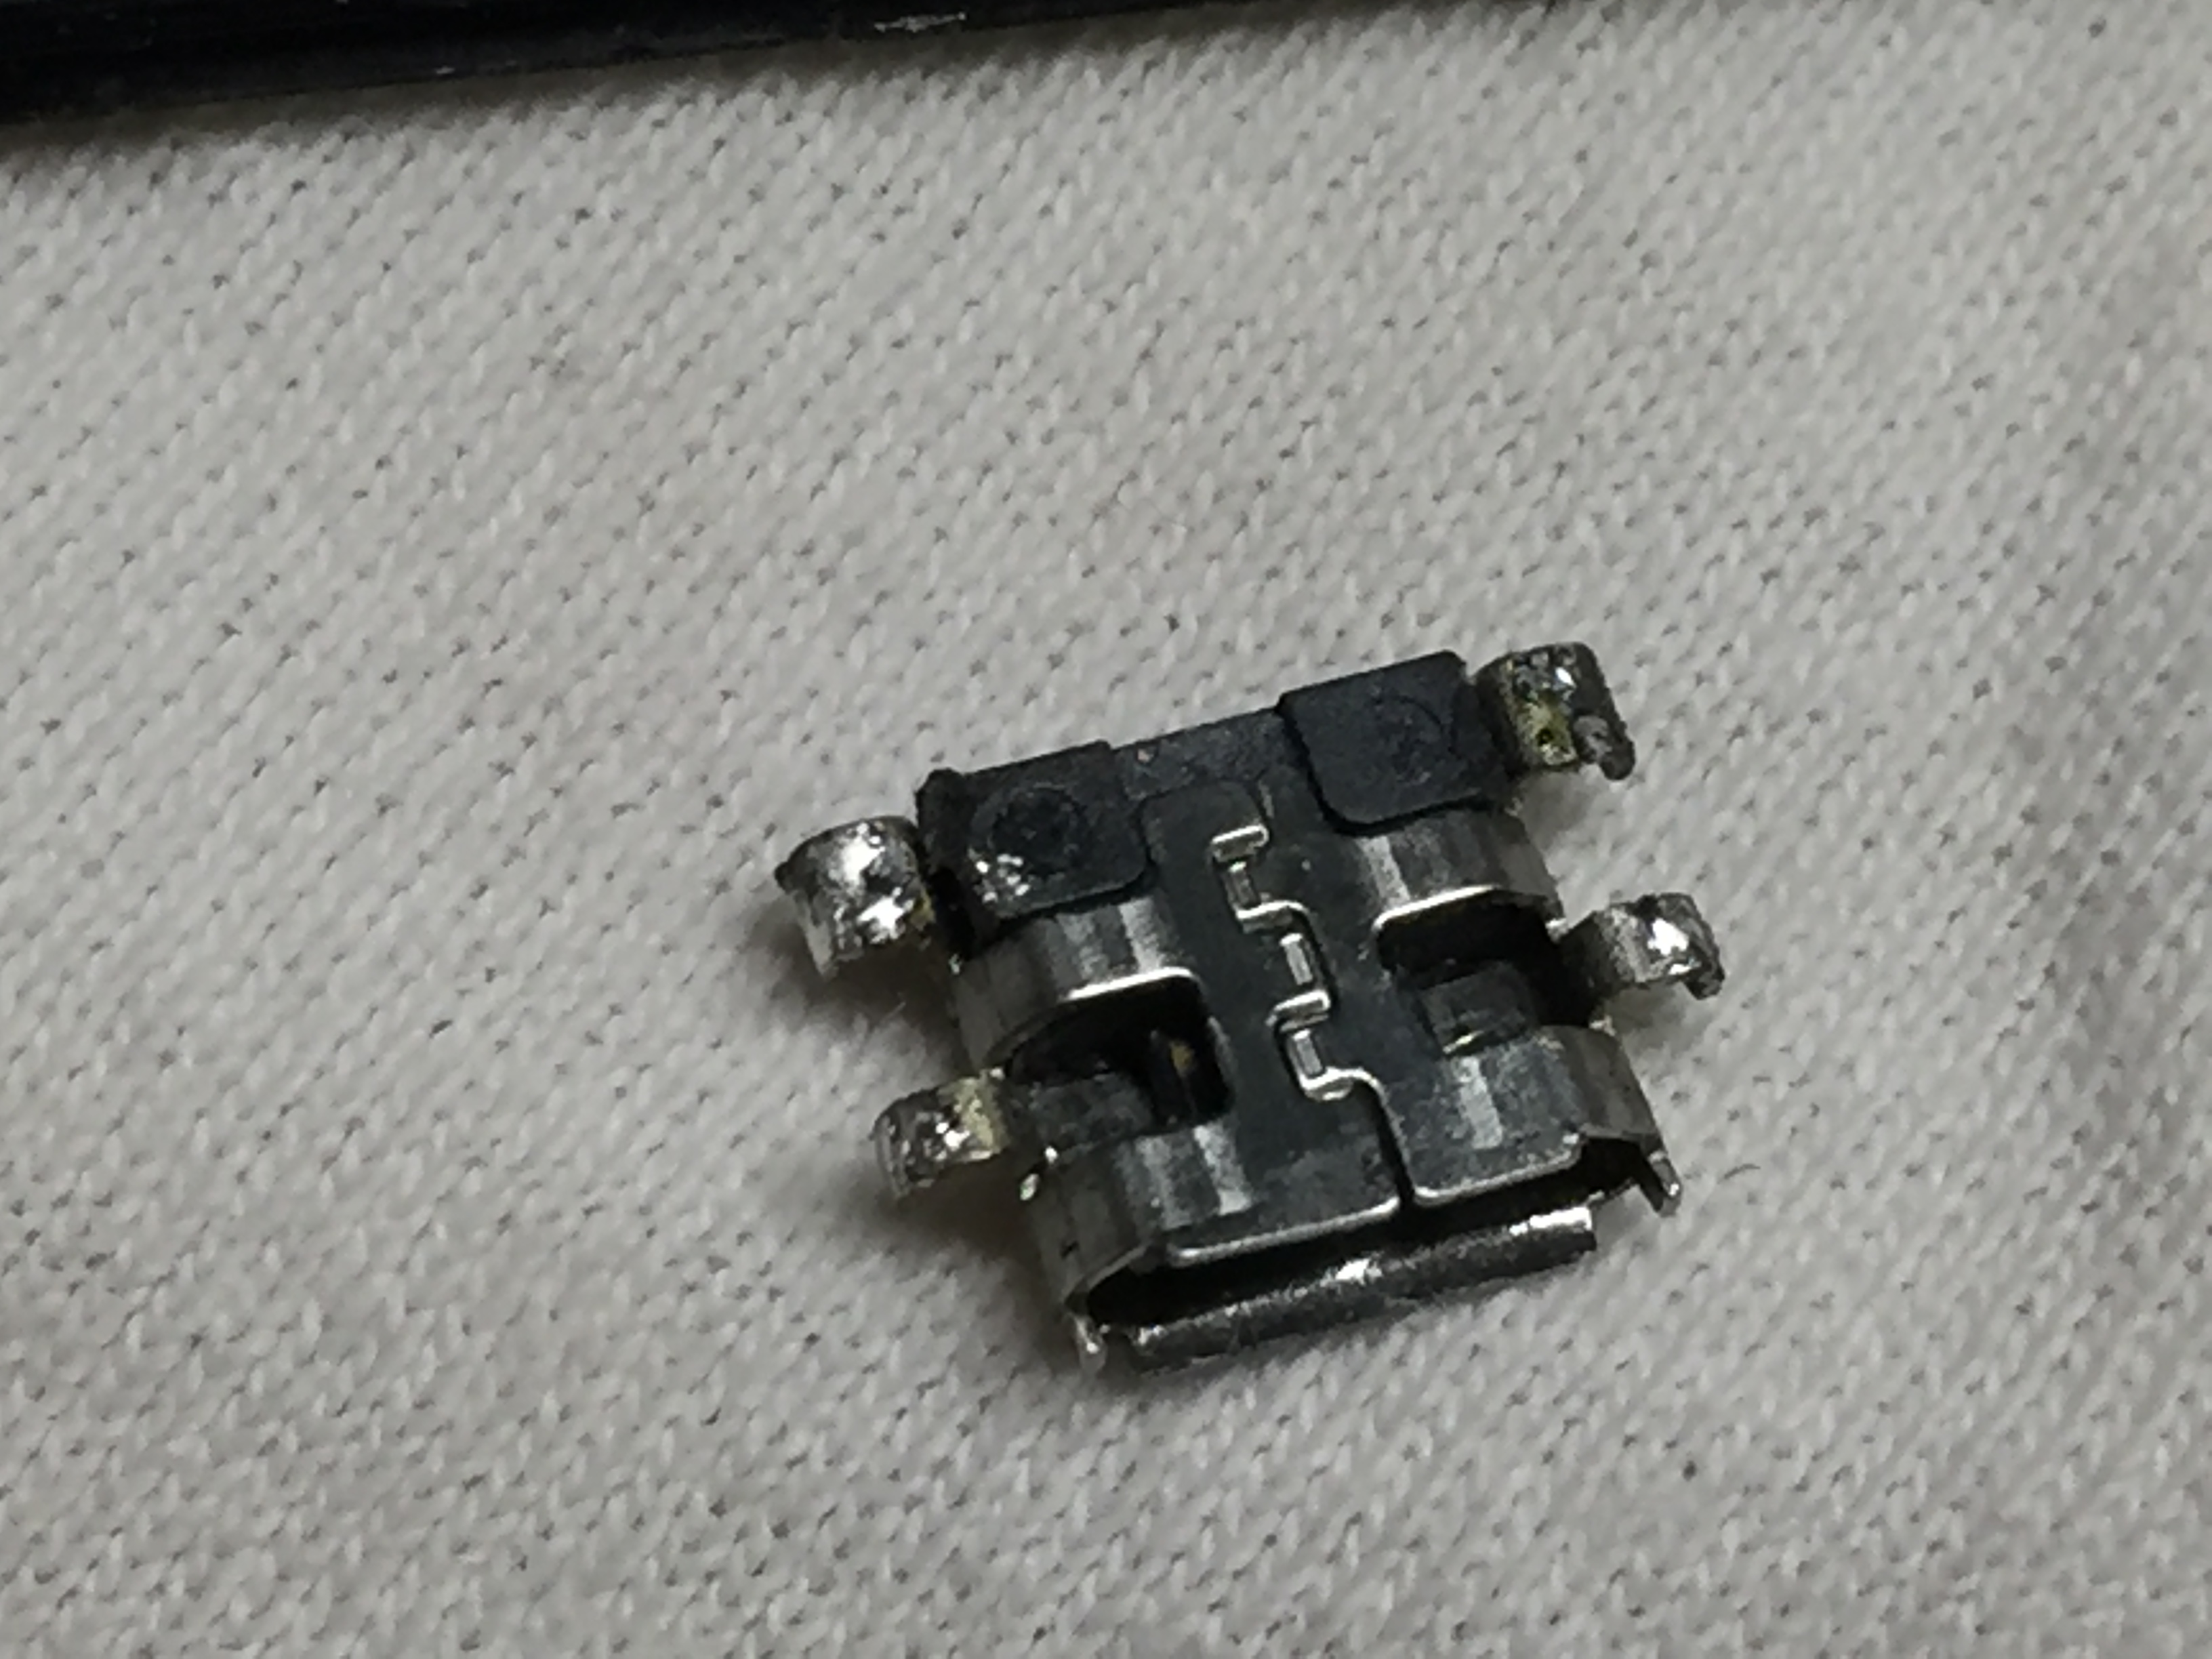
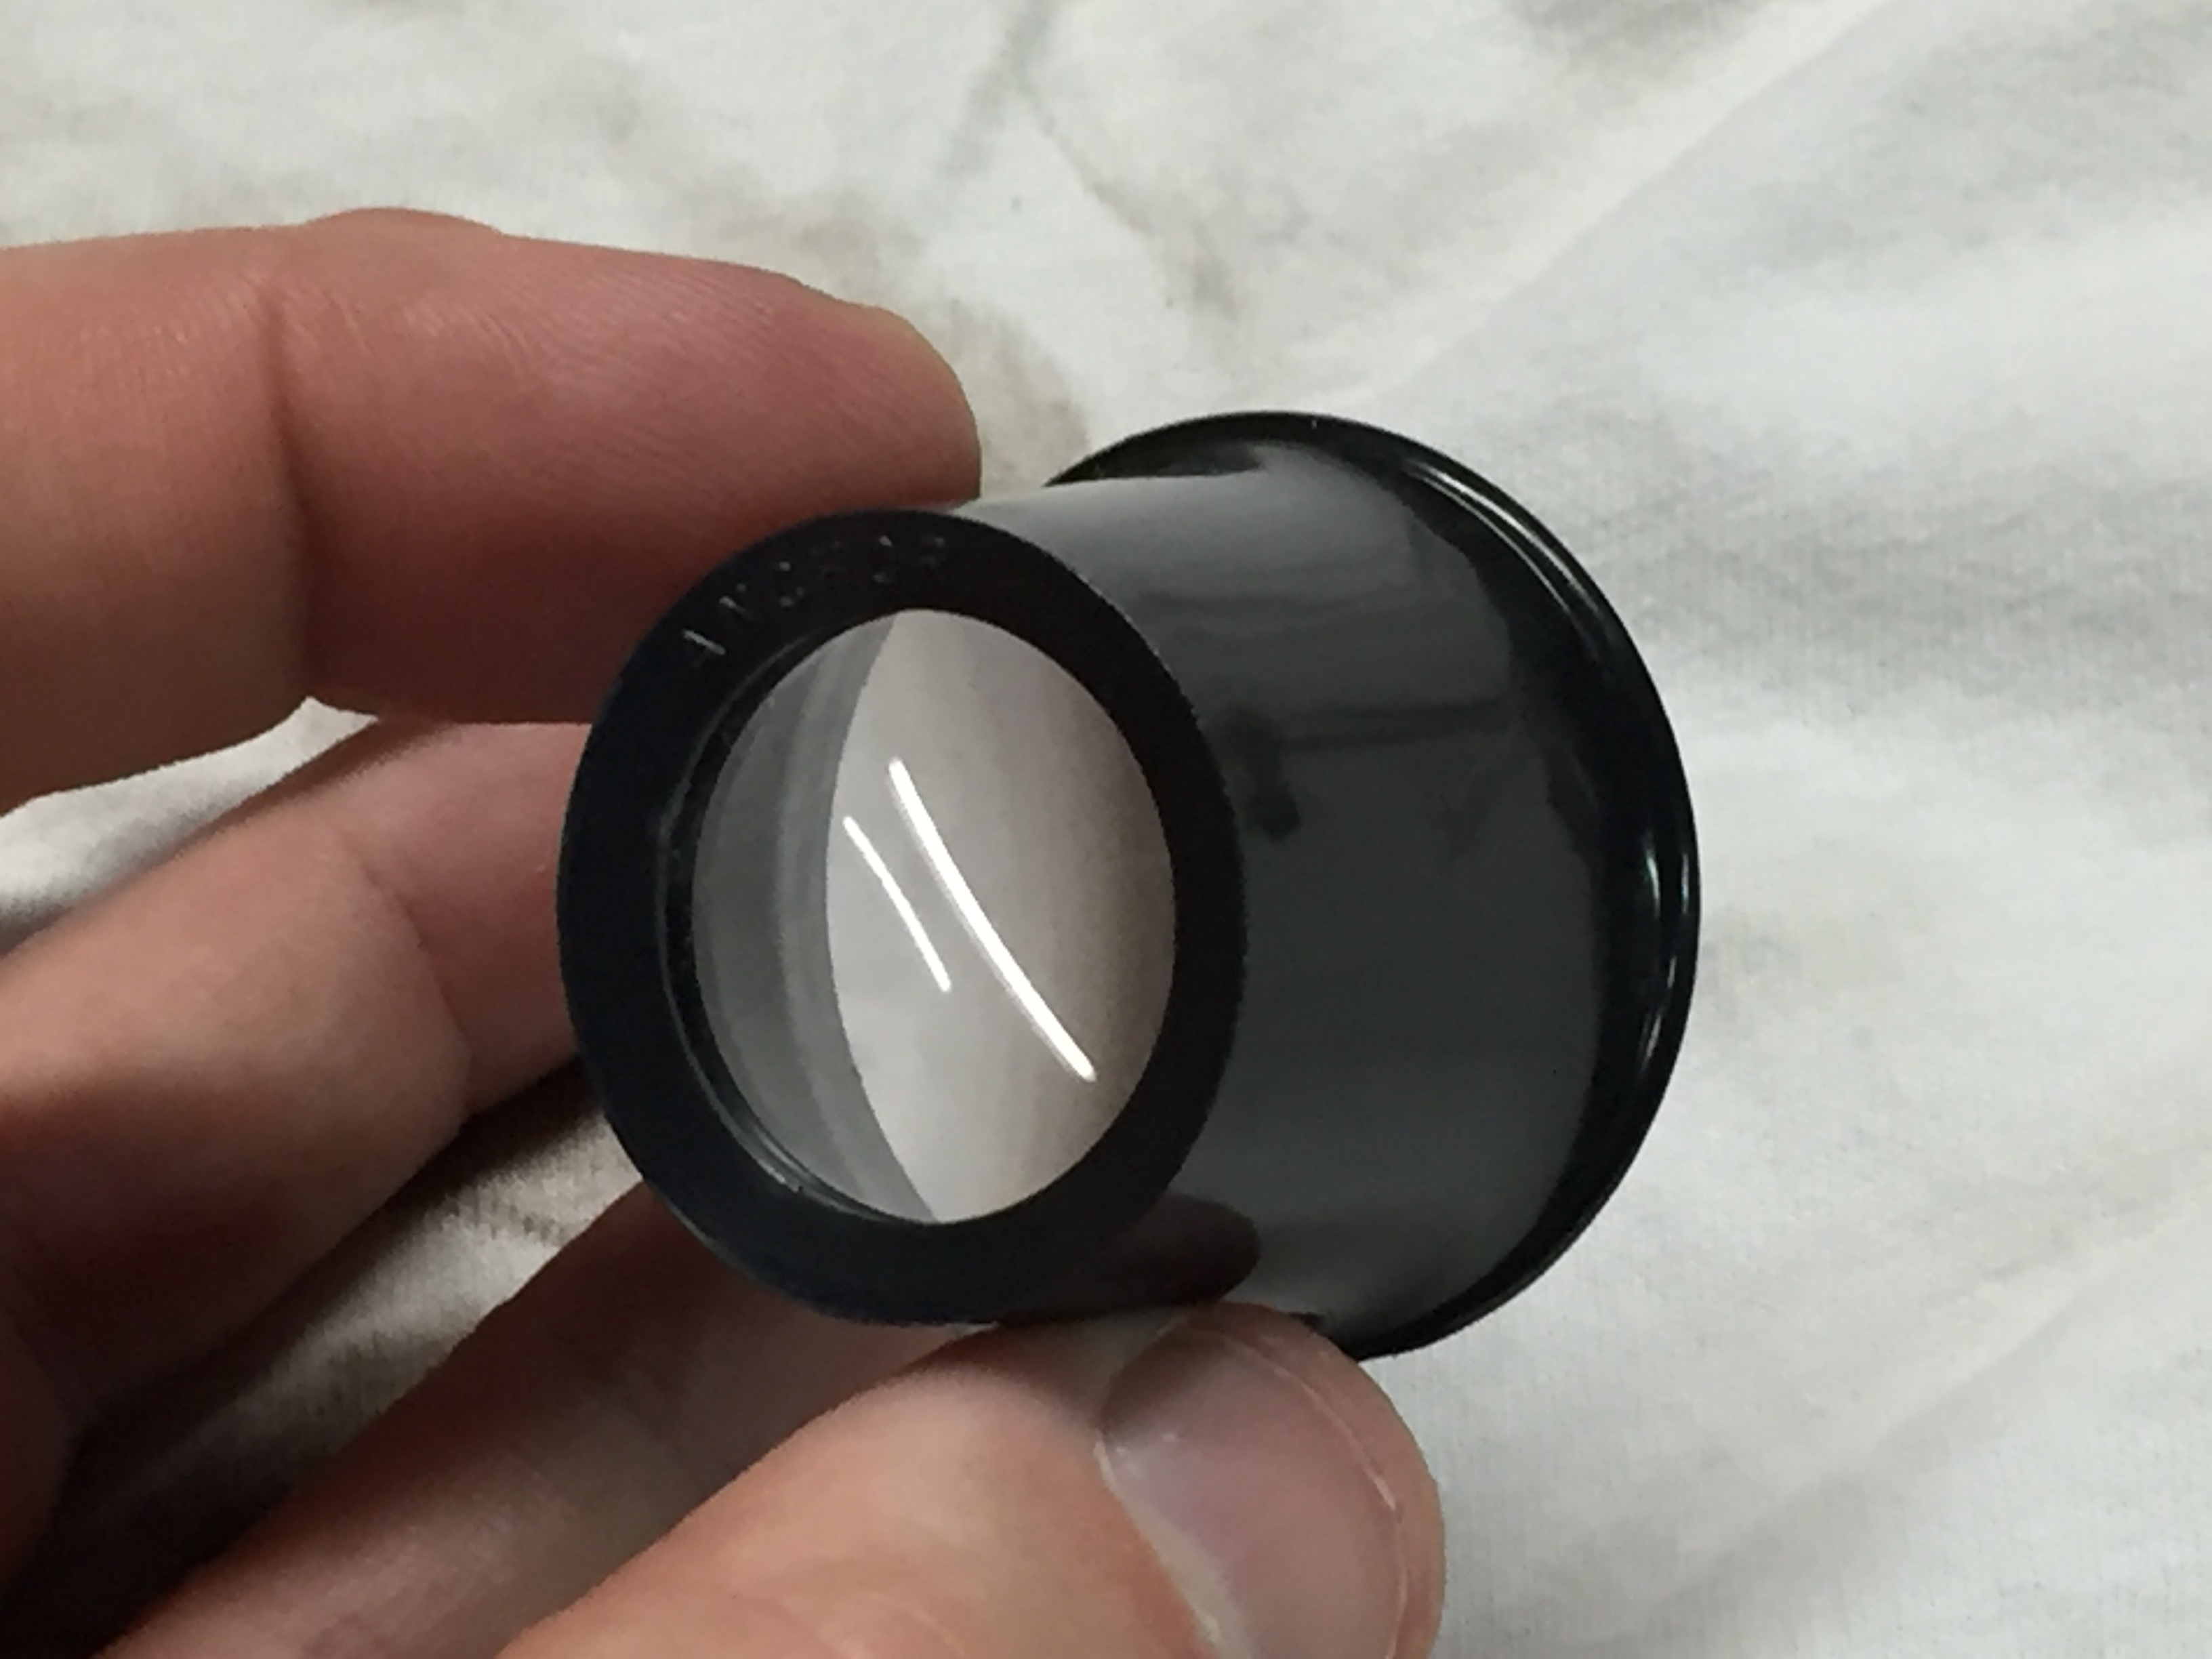
Shown above is the old USB Port after removal. Junk!
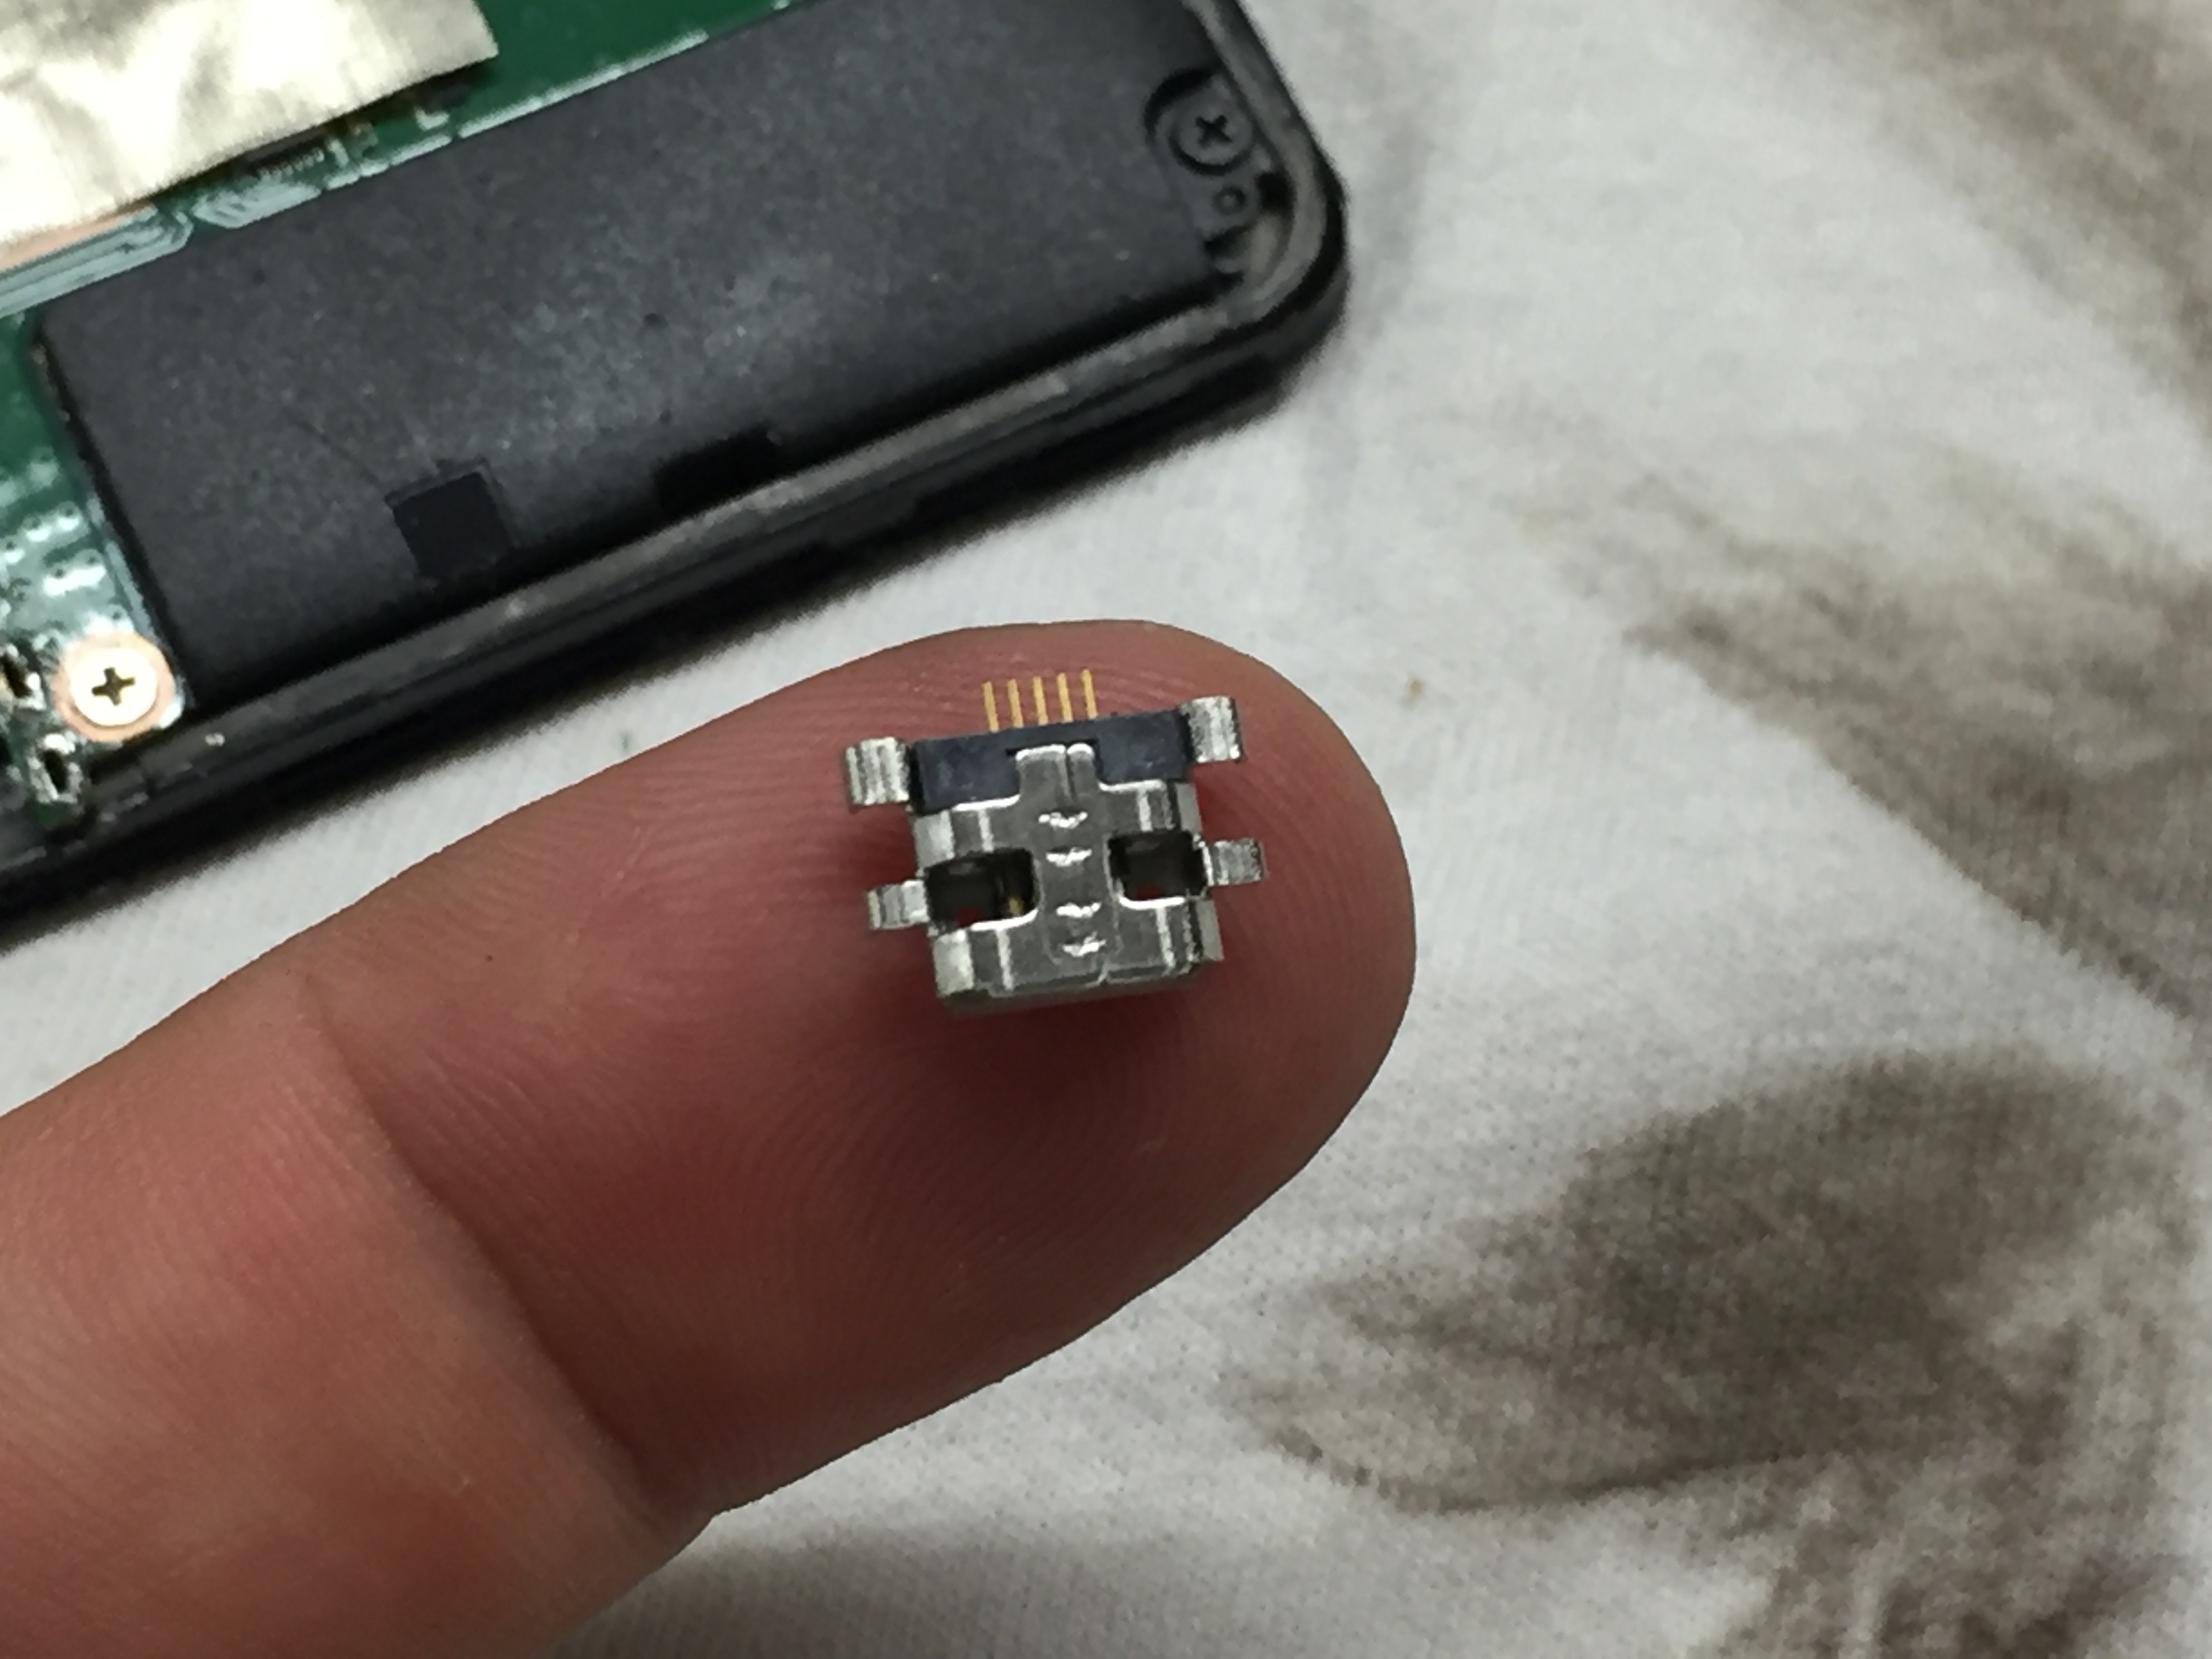
Here is the new port. Pretty tiny. There is some prep work you need to do to the new USB port before you install it.

Clamp the USB port into a holder and “tin” the 5 leads with solder. (shown above). Tinning the 5 leads makes this job much easier for the leads to solder to the board later on.
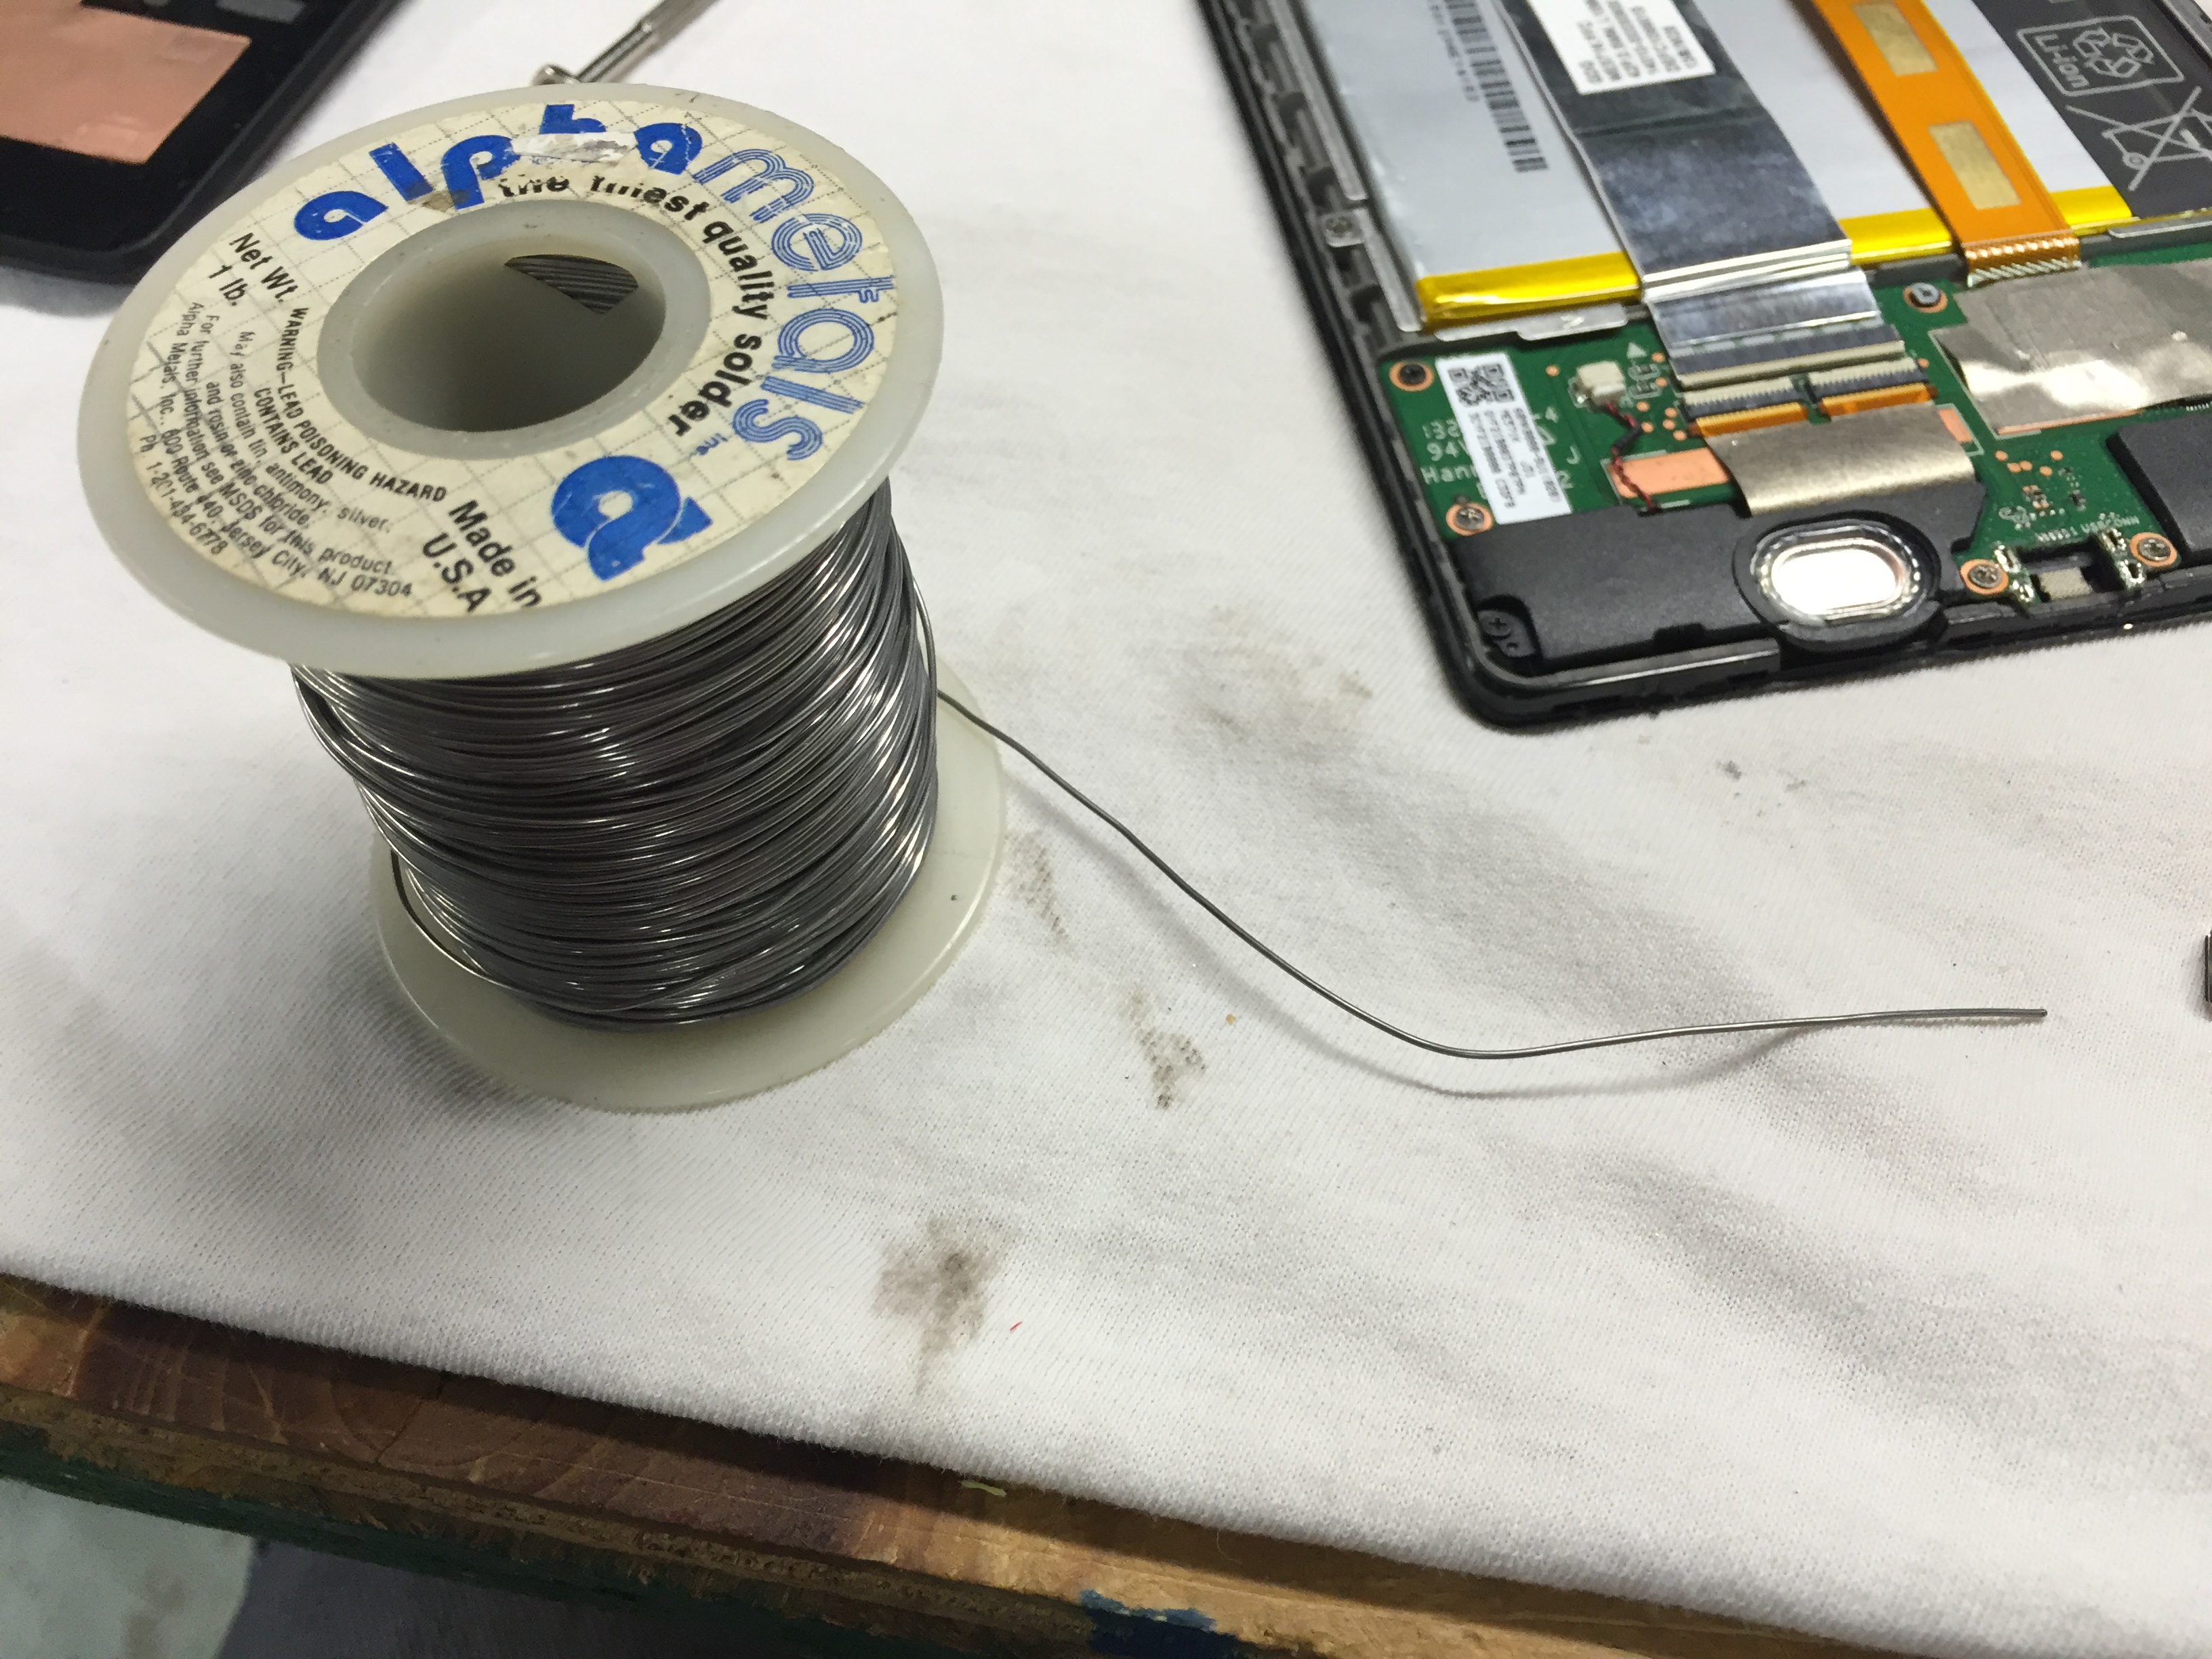
I use small solder. Big solder makes a mess.
Shown above is a 10x eye magnifier. I have trouble seeing the small traces to solder so I need to use this.
Insert the new USB port. Solder the 5 traces first, all you have to do is touch them with a clean hot soldering iron and the “pre tin” you applied earlier will solder to the trace tabs easily. Don’t try and add more solder or you will make a huge mess and end up soldering all the traces together. Then you have a huge problem. Use a small tip (0.030″ Weller) is what I use.
After you solder the 5 traces, solder the 4 main posts with some solder and that’s it!
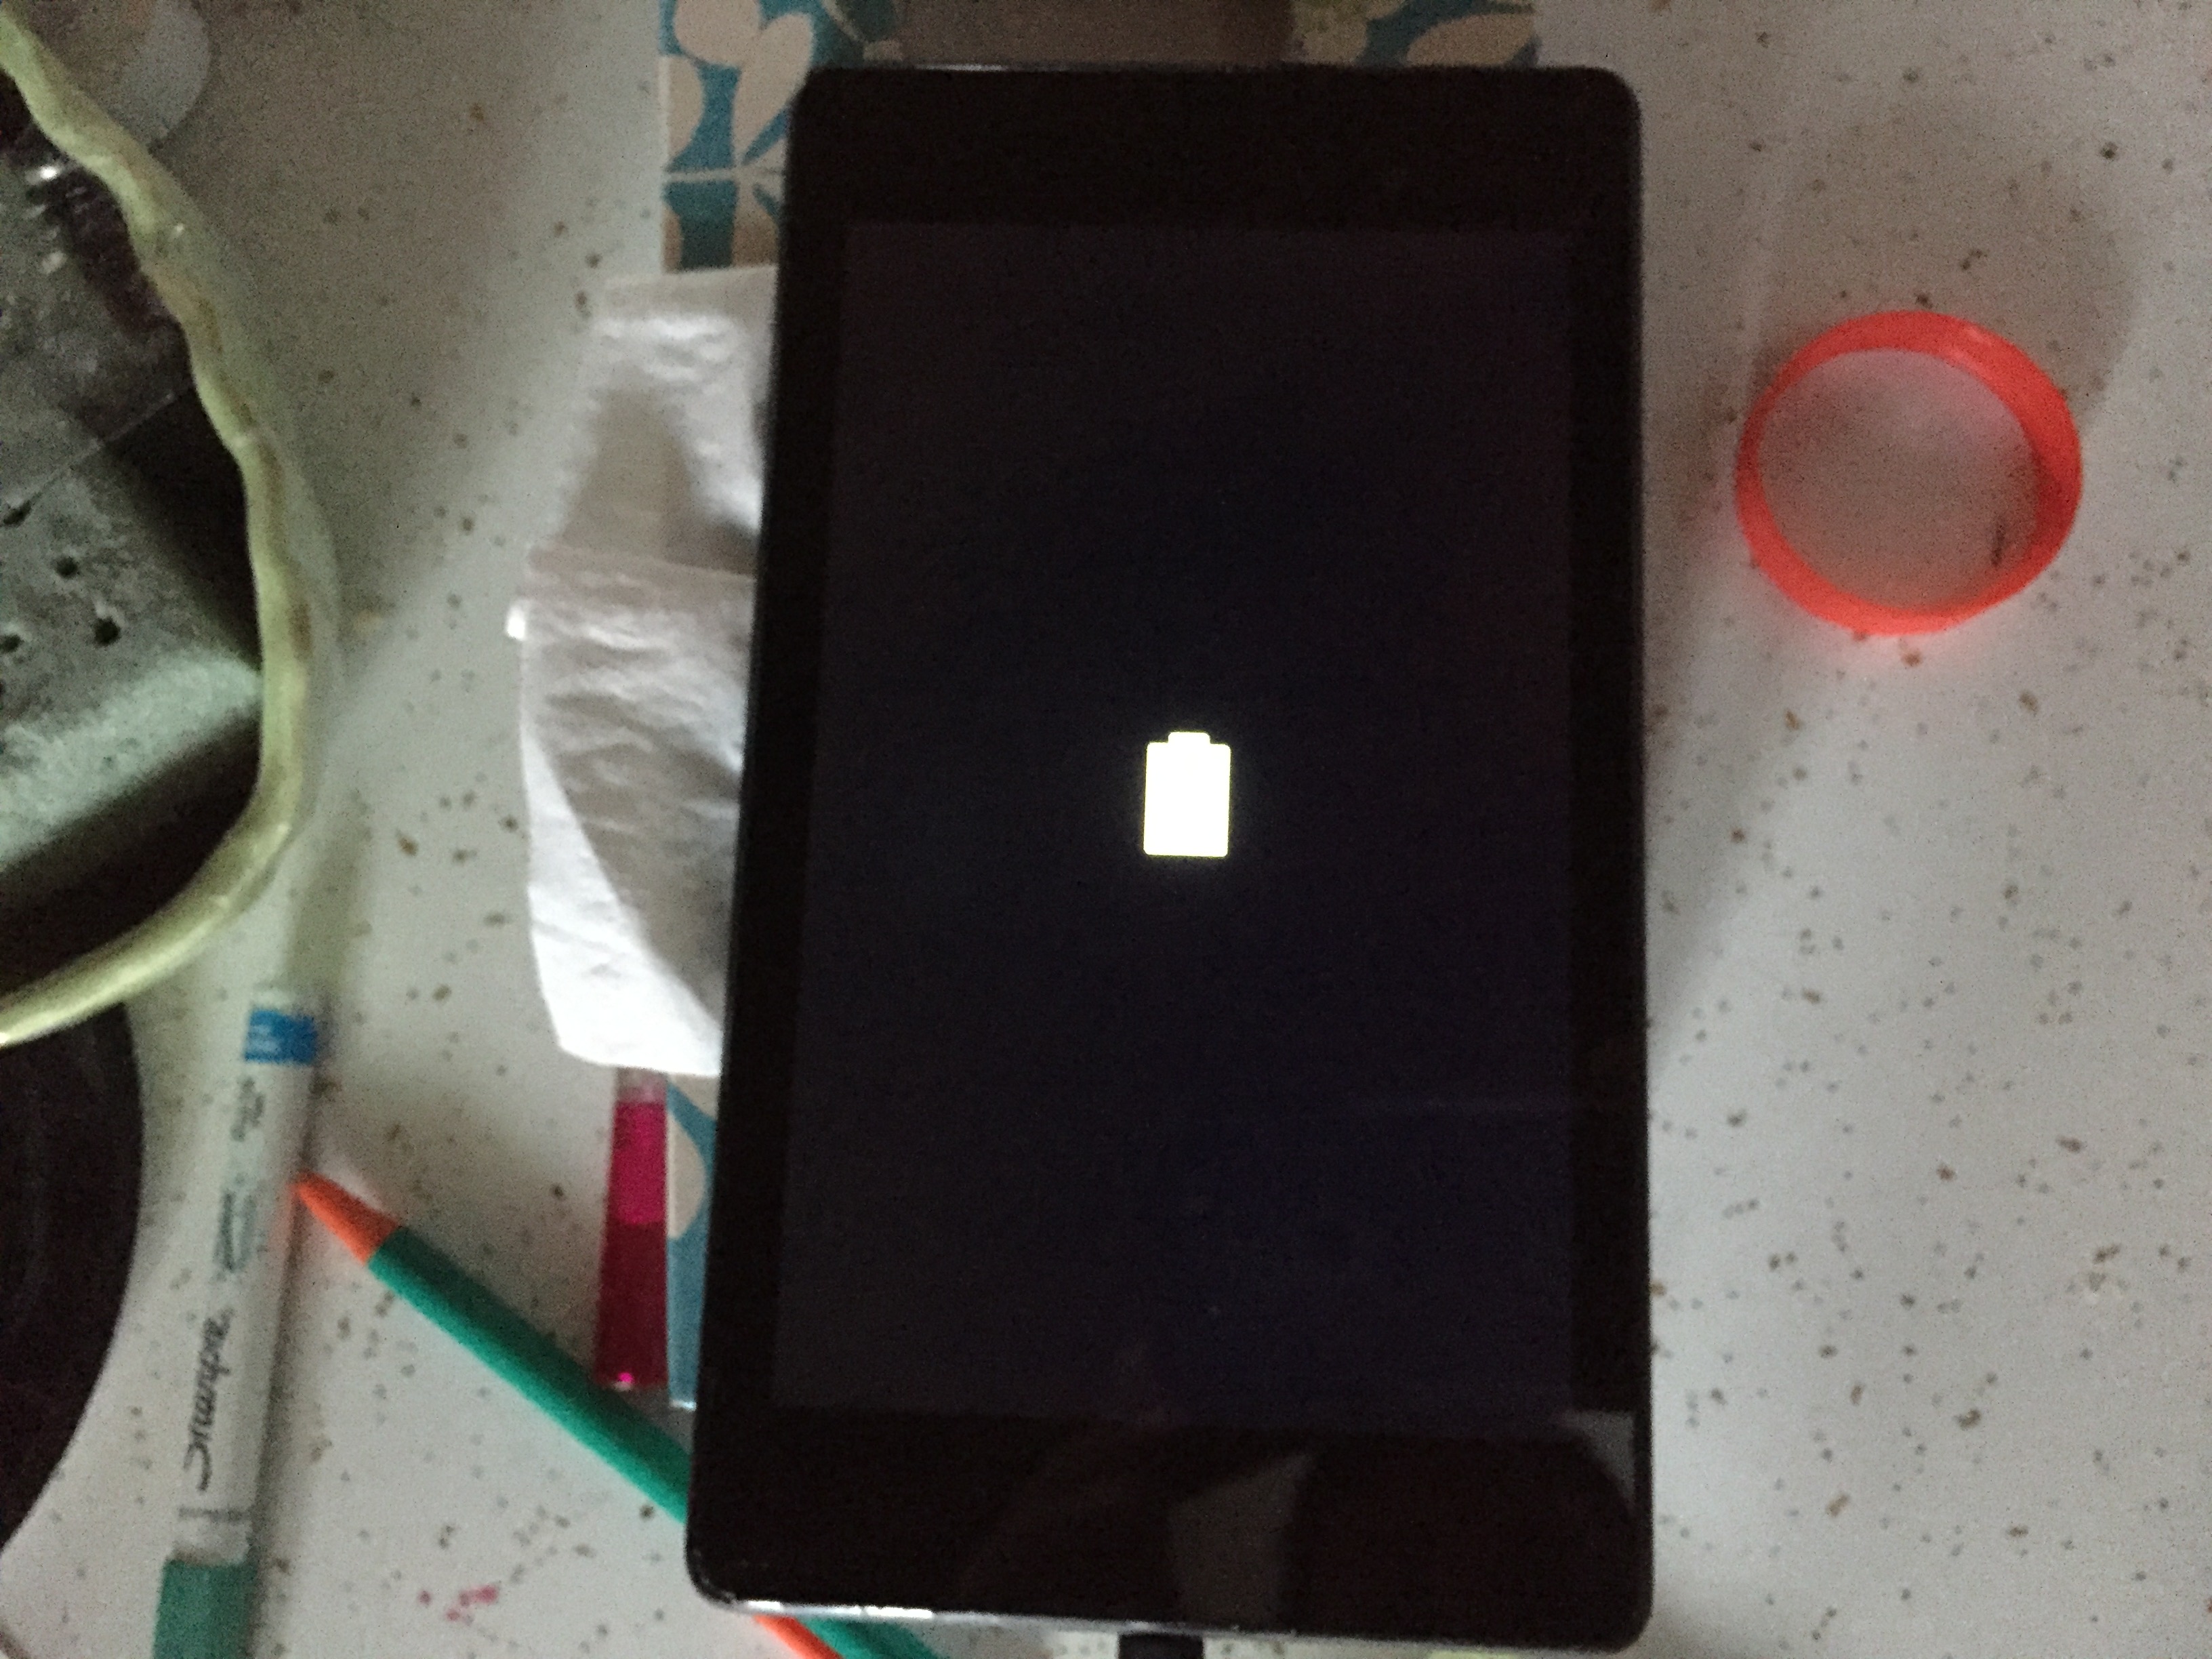
At this time, plug in the charger and make sure it works. The battery icon should immediately come on for a few seconds when you plug in the charger. If the Nexus is super dead, you will have to wait an hour for the battery to charge enough to turn it on. If your charge icon does not turn on, apply some heat to the 5 traces again and make sure they are connected.
#1 trace and #5 trace (the ones on the ends) are for power. Those two will be the culprit if it still does not charge. I had no issues and it worked the first time.
I’m worried about damaging the board while removing the 5 traces with a hot soldering iron (this is after they have been cut close the the usb port). Is this an issue, or can they also be cut off with an Xacto knife? Thanks
Before going for replacement it’s worth checking if the problem is just that one or more of the so termed ‘traces’ (pins) have simply fractured at the solder joint on the board, that’s all that was wrong with mine and once identified two minutes with a soldering iron saw it fixed completely.
Also when soldering a common technique is to allow solder to flow across all the pins as one block then use solder wick to remove the excess, it’s a method by which even soldered in CPU’s and other multi legged devices can be replaced.
Here’s the result on mine:
[img]http://i.imgur.com/DsARBJt.jpg[/img]
Thanks for these instructions. The tip about cutting the traces before desoldering was very useful. Now I have a working charging port on my Nexus again!
I squeezed the USB socket and placed soldering iron on each of the five pins. Physical and electrical connection is now great and no more charging problems. My problem must have been a dry joint and loose socket. Thanks for this post.