
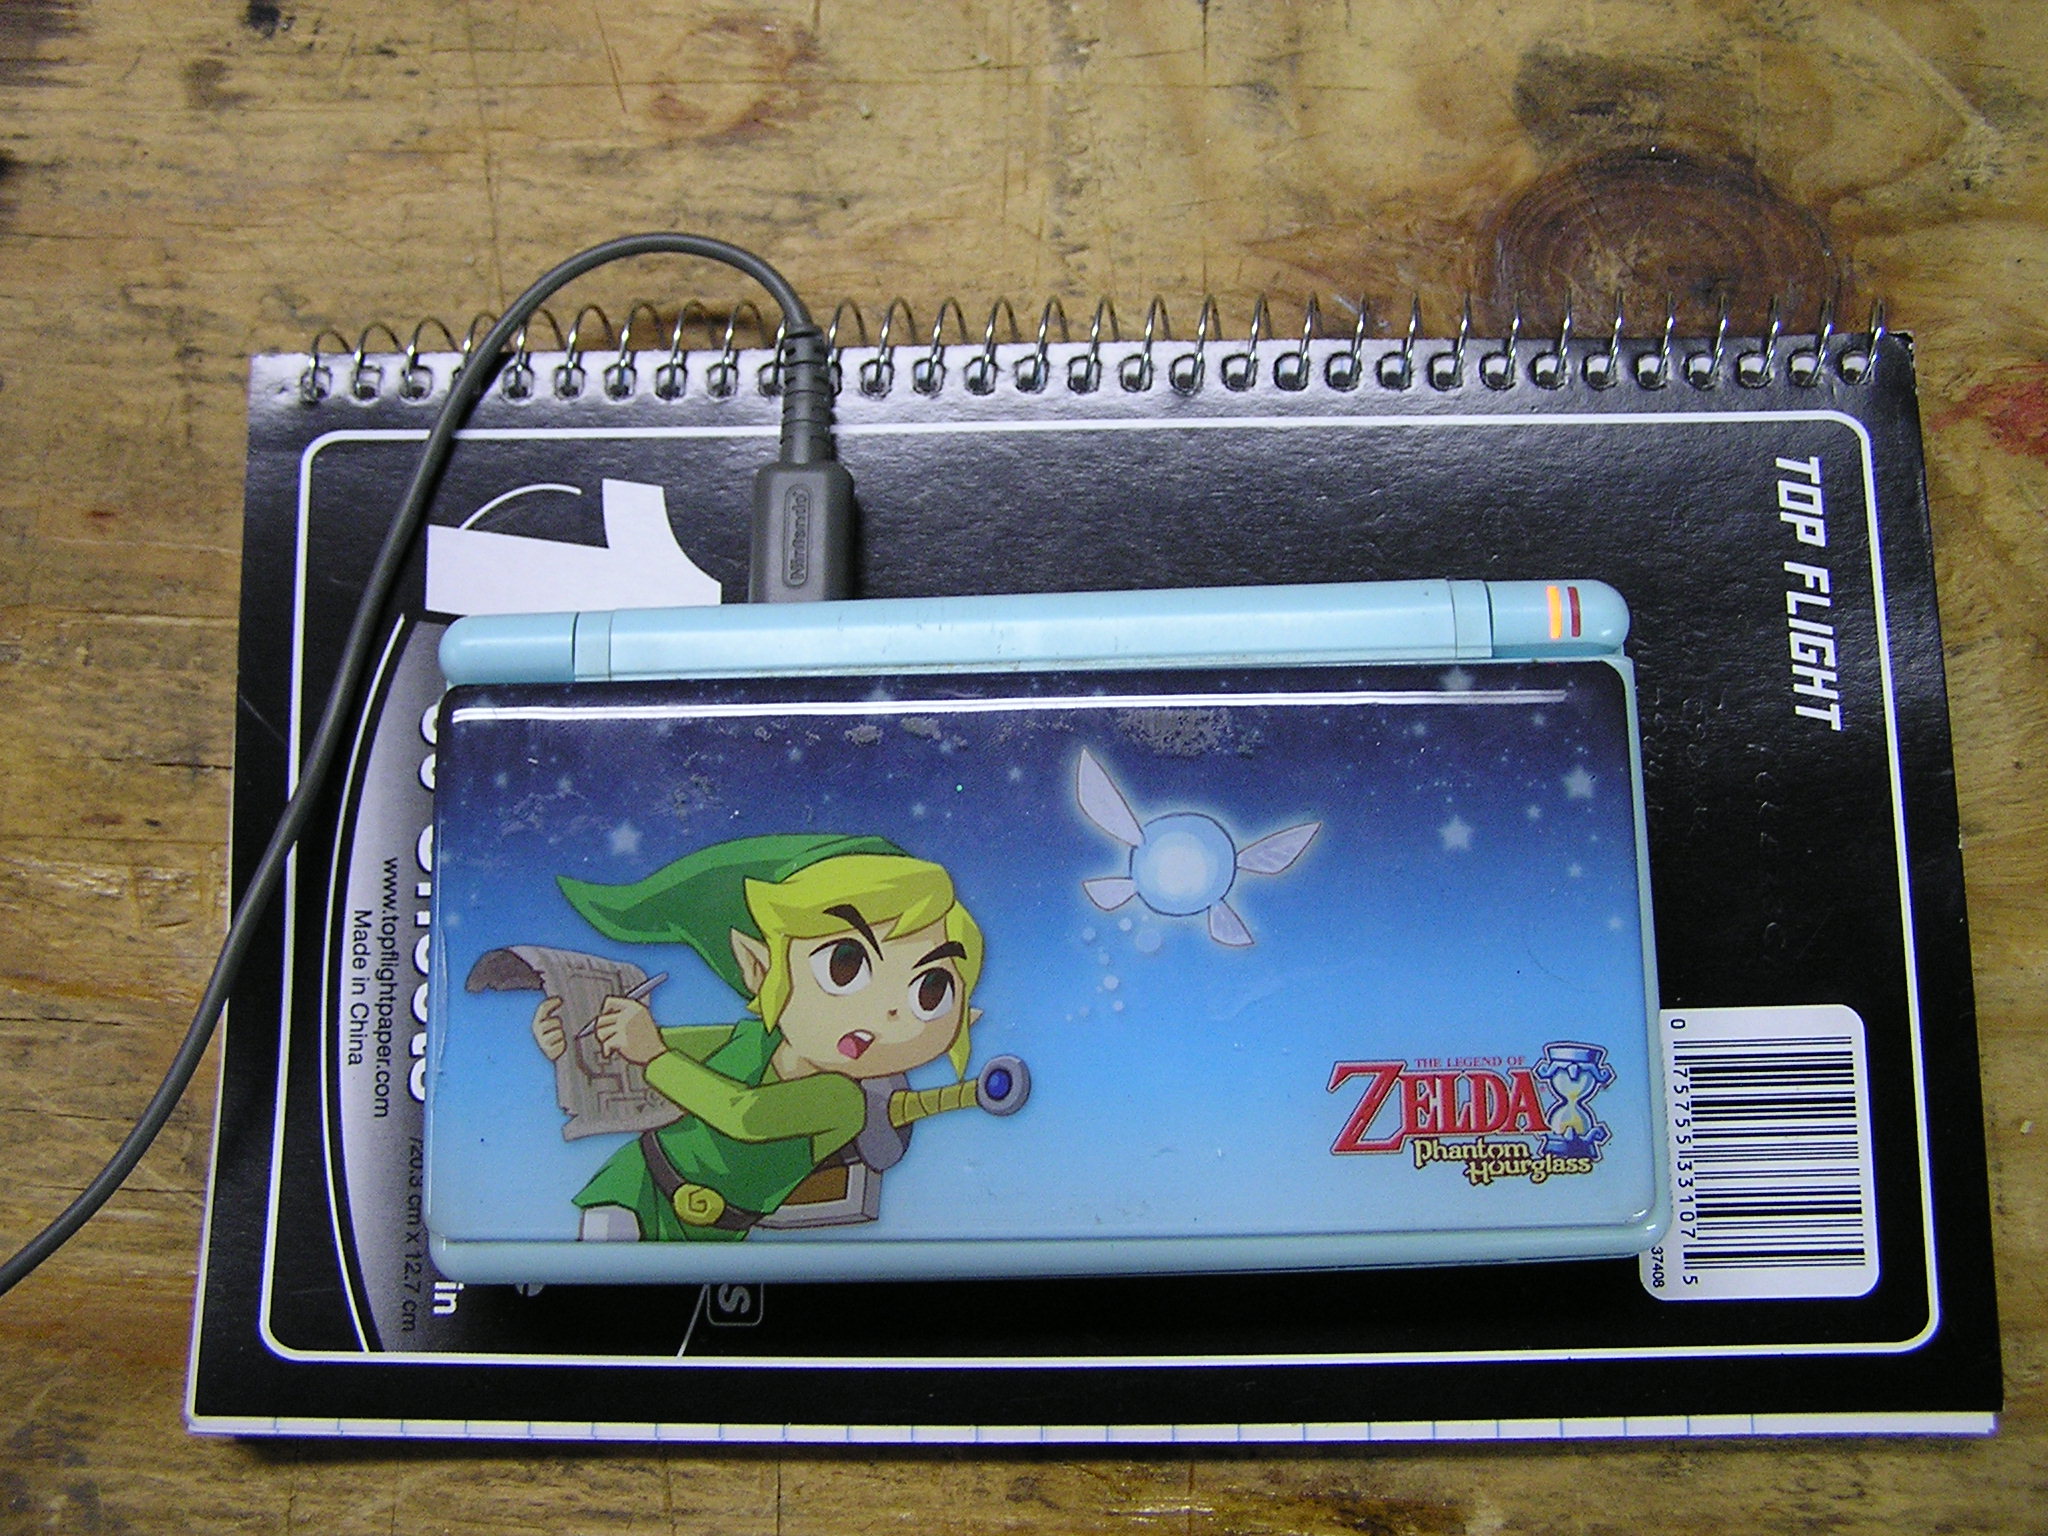
My daughter brought me her DS lite the other day and it was not working. The charge light would not come on when plugged in and the green power light would not turn on either. The DS lite was dead for sure.
My first thought was a possible defective battery however I quickly ruled that out with a second battery out of a working DS lite.
A quick search on the internet revealed quite a few websites on how to dismantle and repair a DS lite. I was quite surprised to read that my problem is a rather common issue (blown fuses).
I am not going into great detail on how to disassemble a DS lite. A simple search on google will give you detailed instructions on how to disassemble. I think I even found a youtube video.
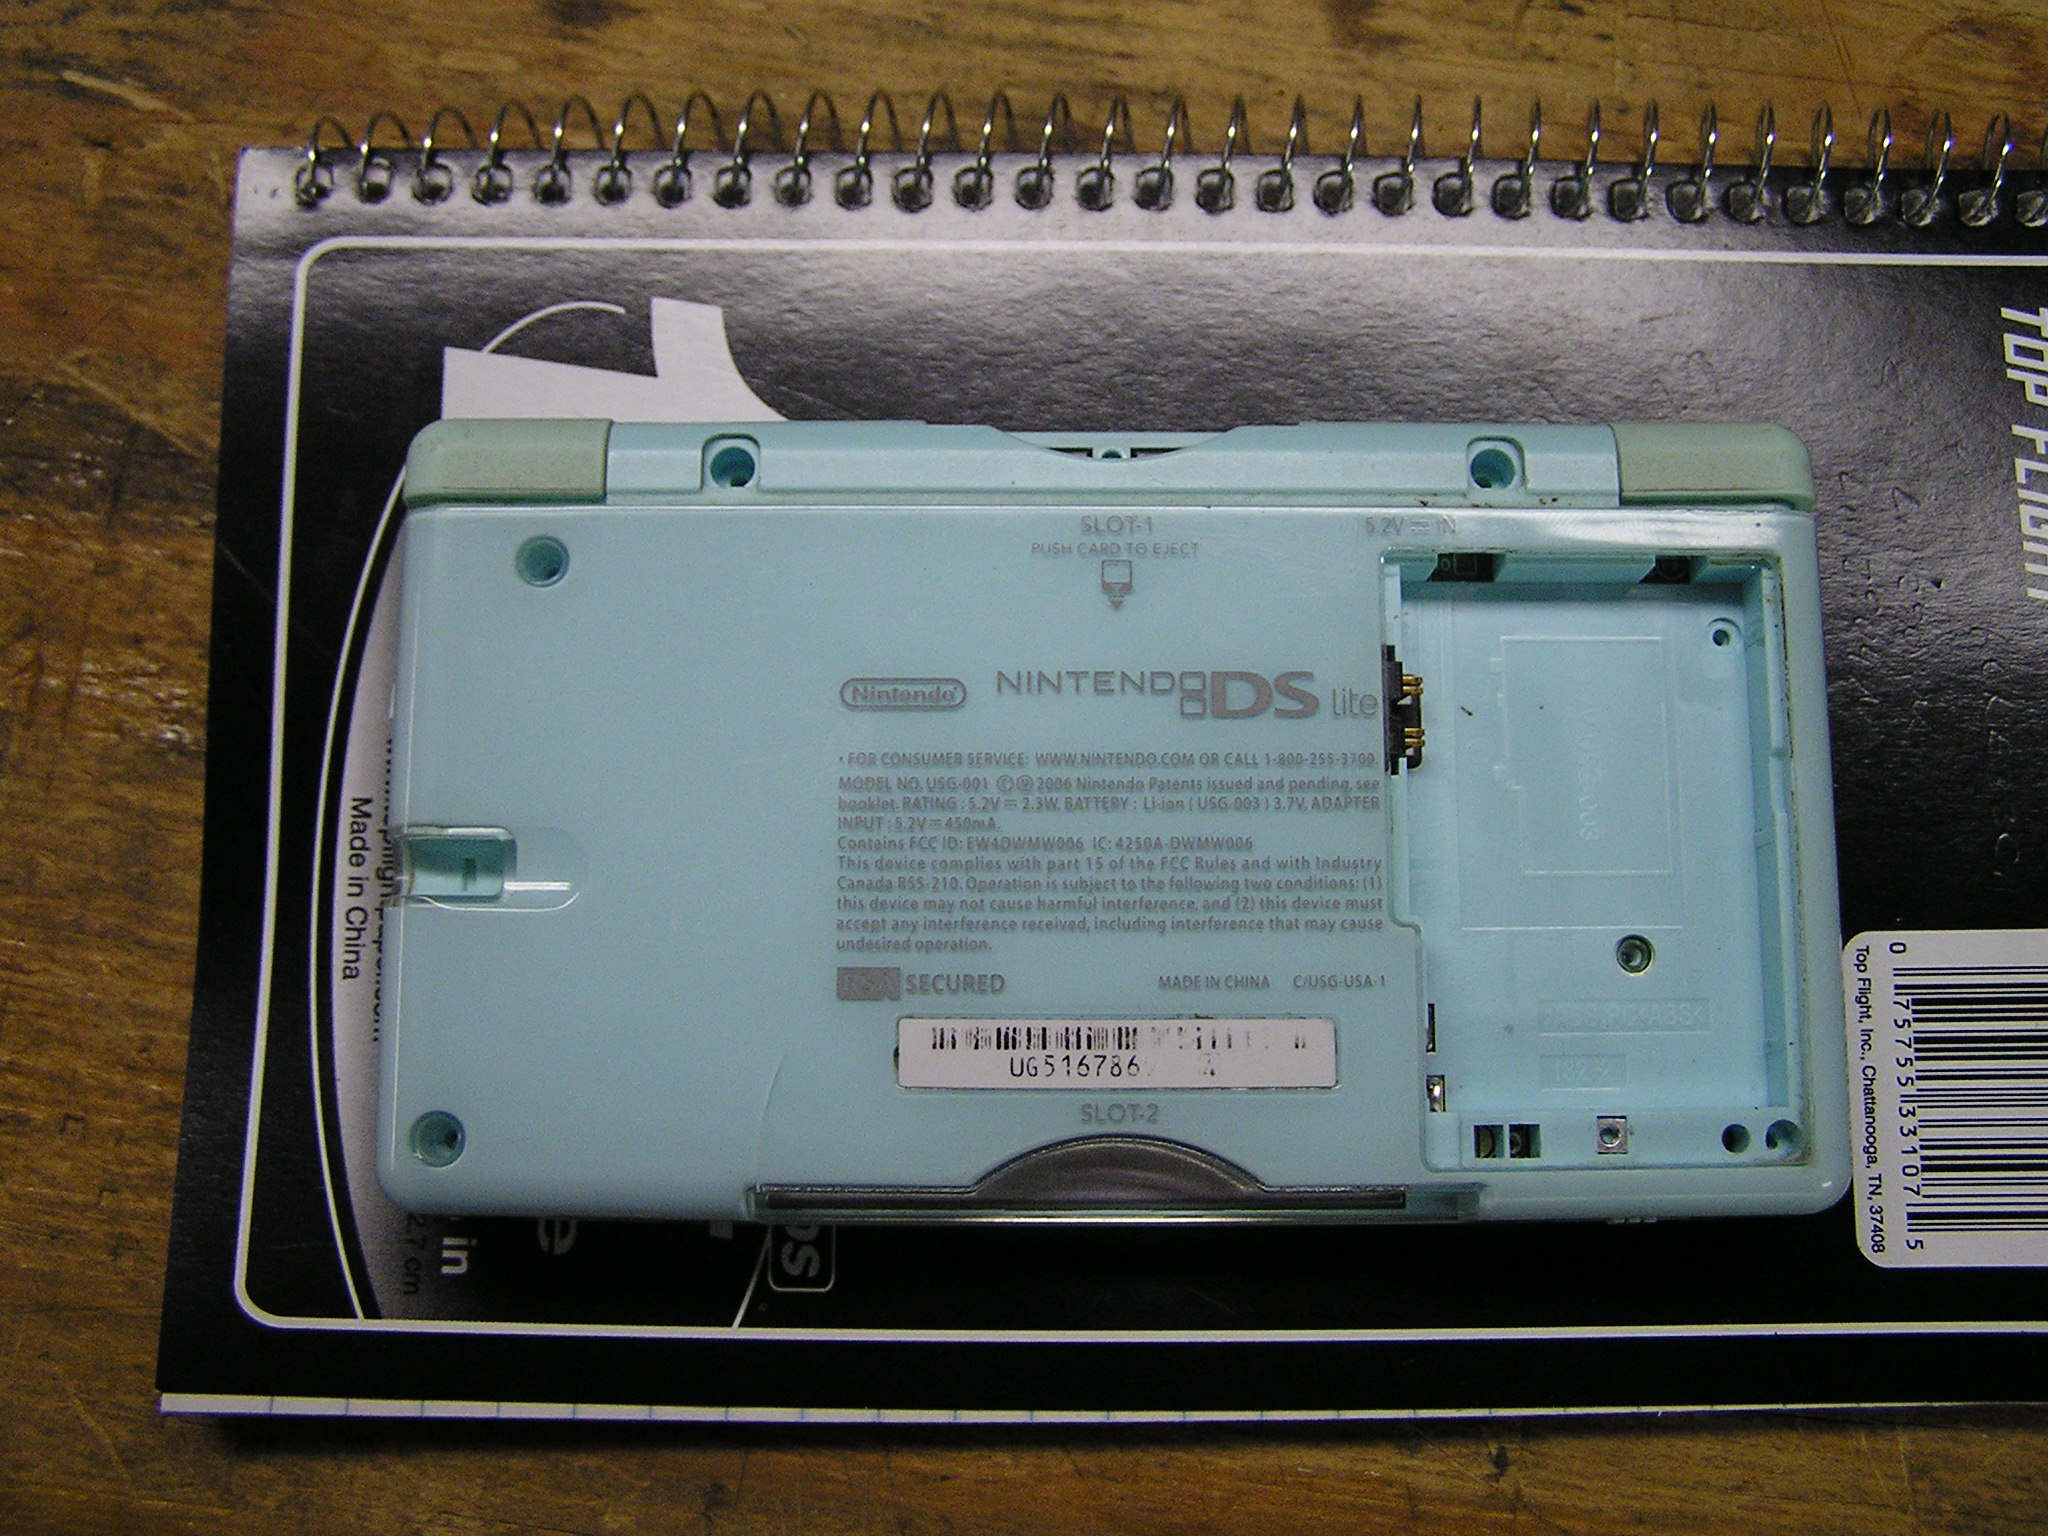
Flip the DS Lite over to reveal the bottom side. Unscrew the battery cover with a small phillips screwdriver and gently pry out the battery with a flat tool such as a regular screw driver. There are eight more screws to remove to get inside the DS lite. Six screws have an odd driver called a “tri wing“. It’s similar to a phillips except it has only three prongs. I used a small flat screwdriver that fit in the tri wing head and was able to easily remove the screws. I should buy the proper tool since they are cheap.
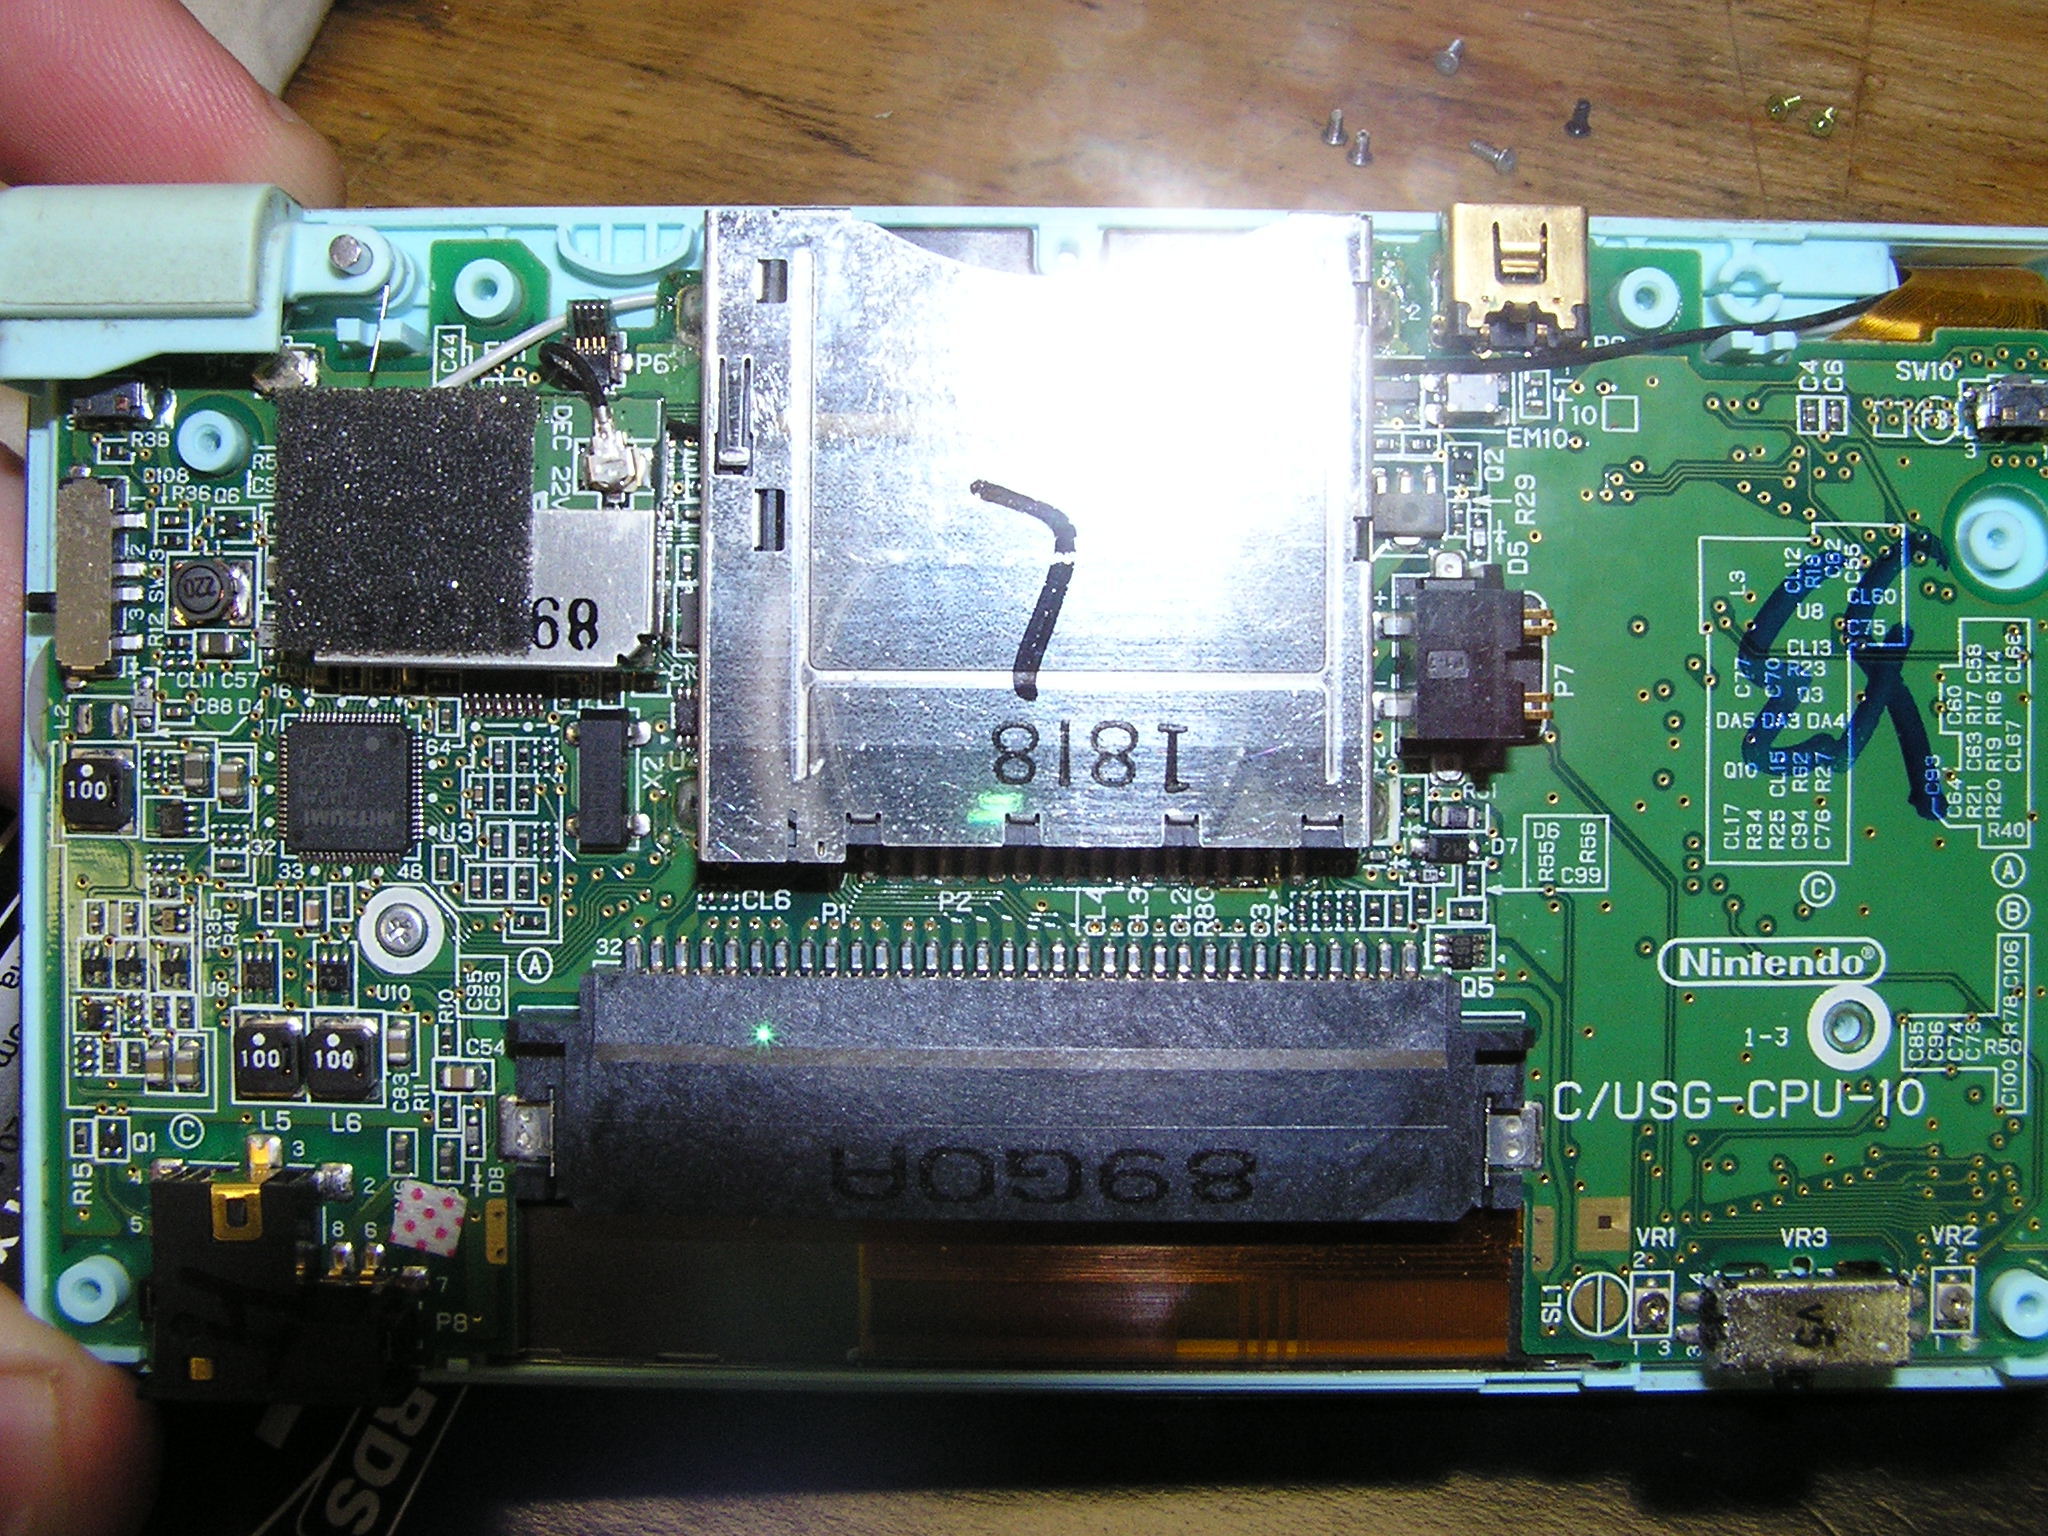
Once the cover is off, you can see the motherboard which is full of small components. I have read on other sites that the two fuses F1 and F2 are a common culprit. They often blow out and you can easily solder a jumper across them to bypass them. You can buy them as well but they are so tiny I would not even bother.
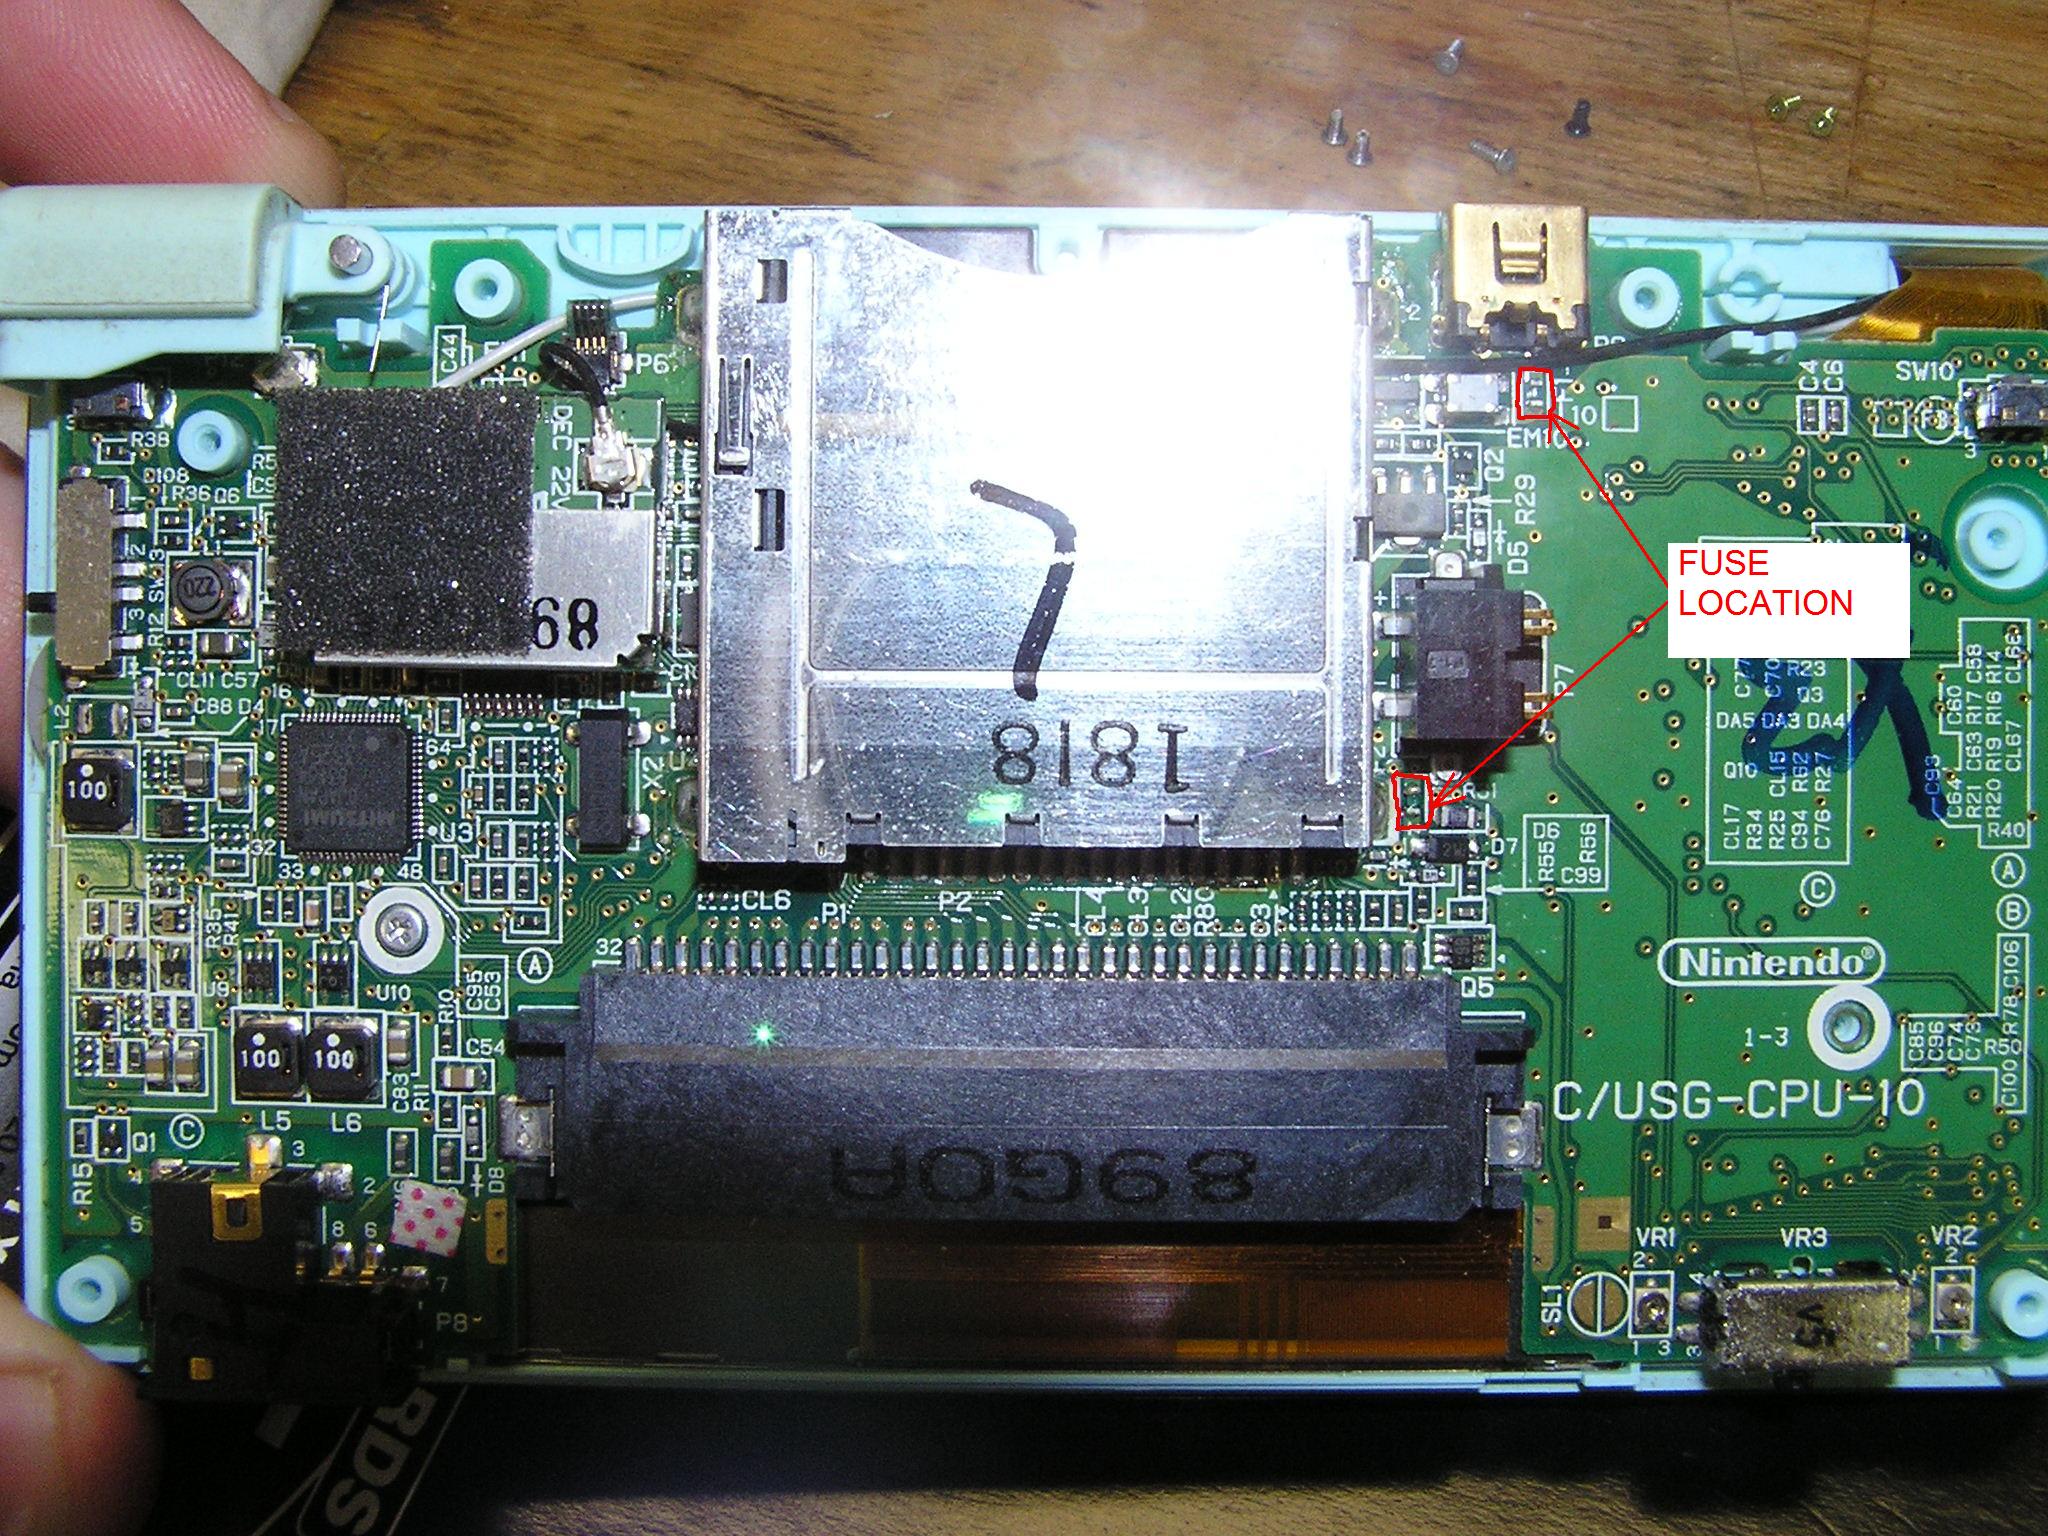
The fuses are located on the right side of the motherboard. They are little green looking square parts that I highlighted in RED as shown. You can check these with a multimeter set to the OHM setting. Each side of the fuse has a little metal tab you can use to test it with the red and black probes on the multimeter. If they show a short (reading of ZERO), then they are okay. If they show a open circuit (anything other than ZERO) then they are bad and you need to use a small soldering pin and repair or jumper the fuse with some solder. If you have no idea what a multimeter is or a solder pin is then you probably should not be poking around in your DS lite. Repairing (jumpering) the fuses is very easy and is explained very well on this website.
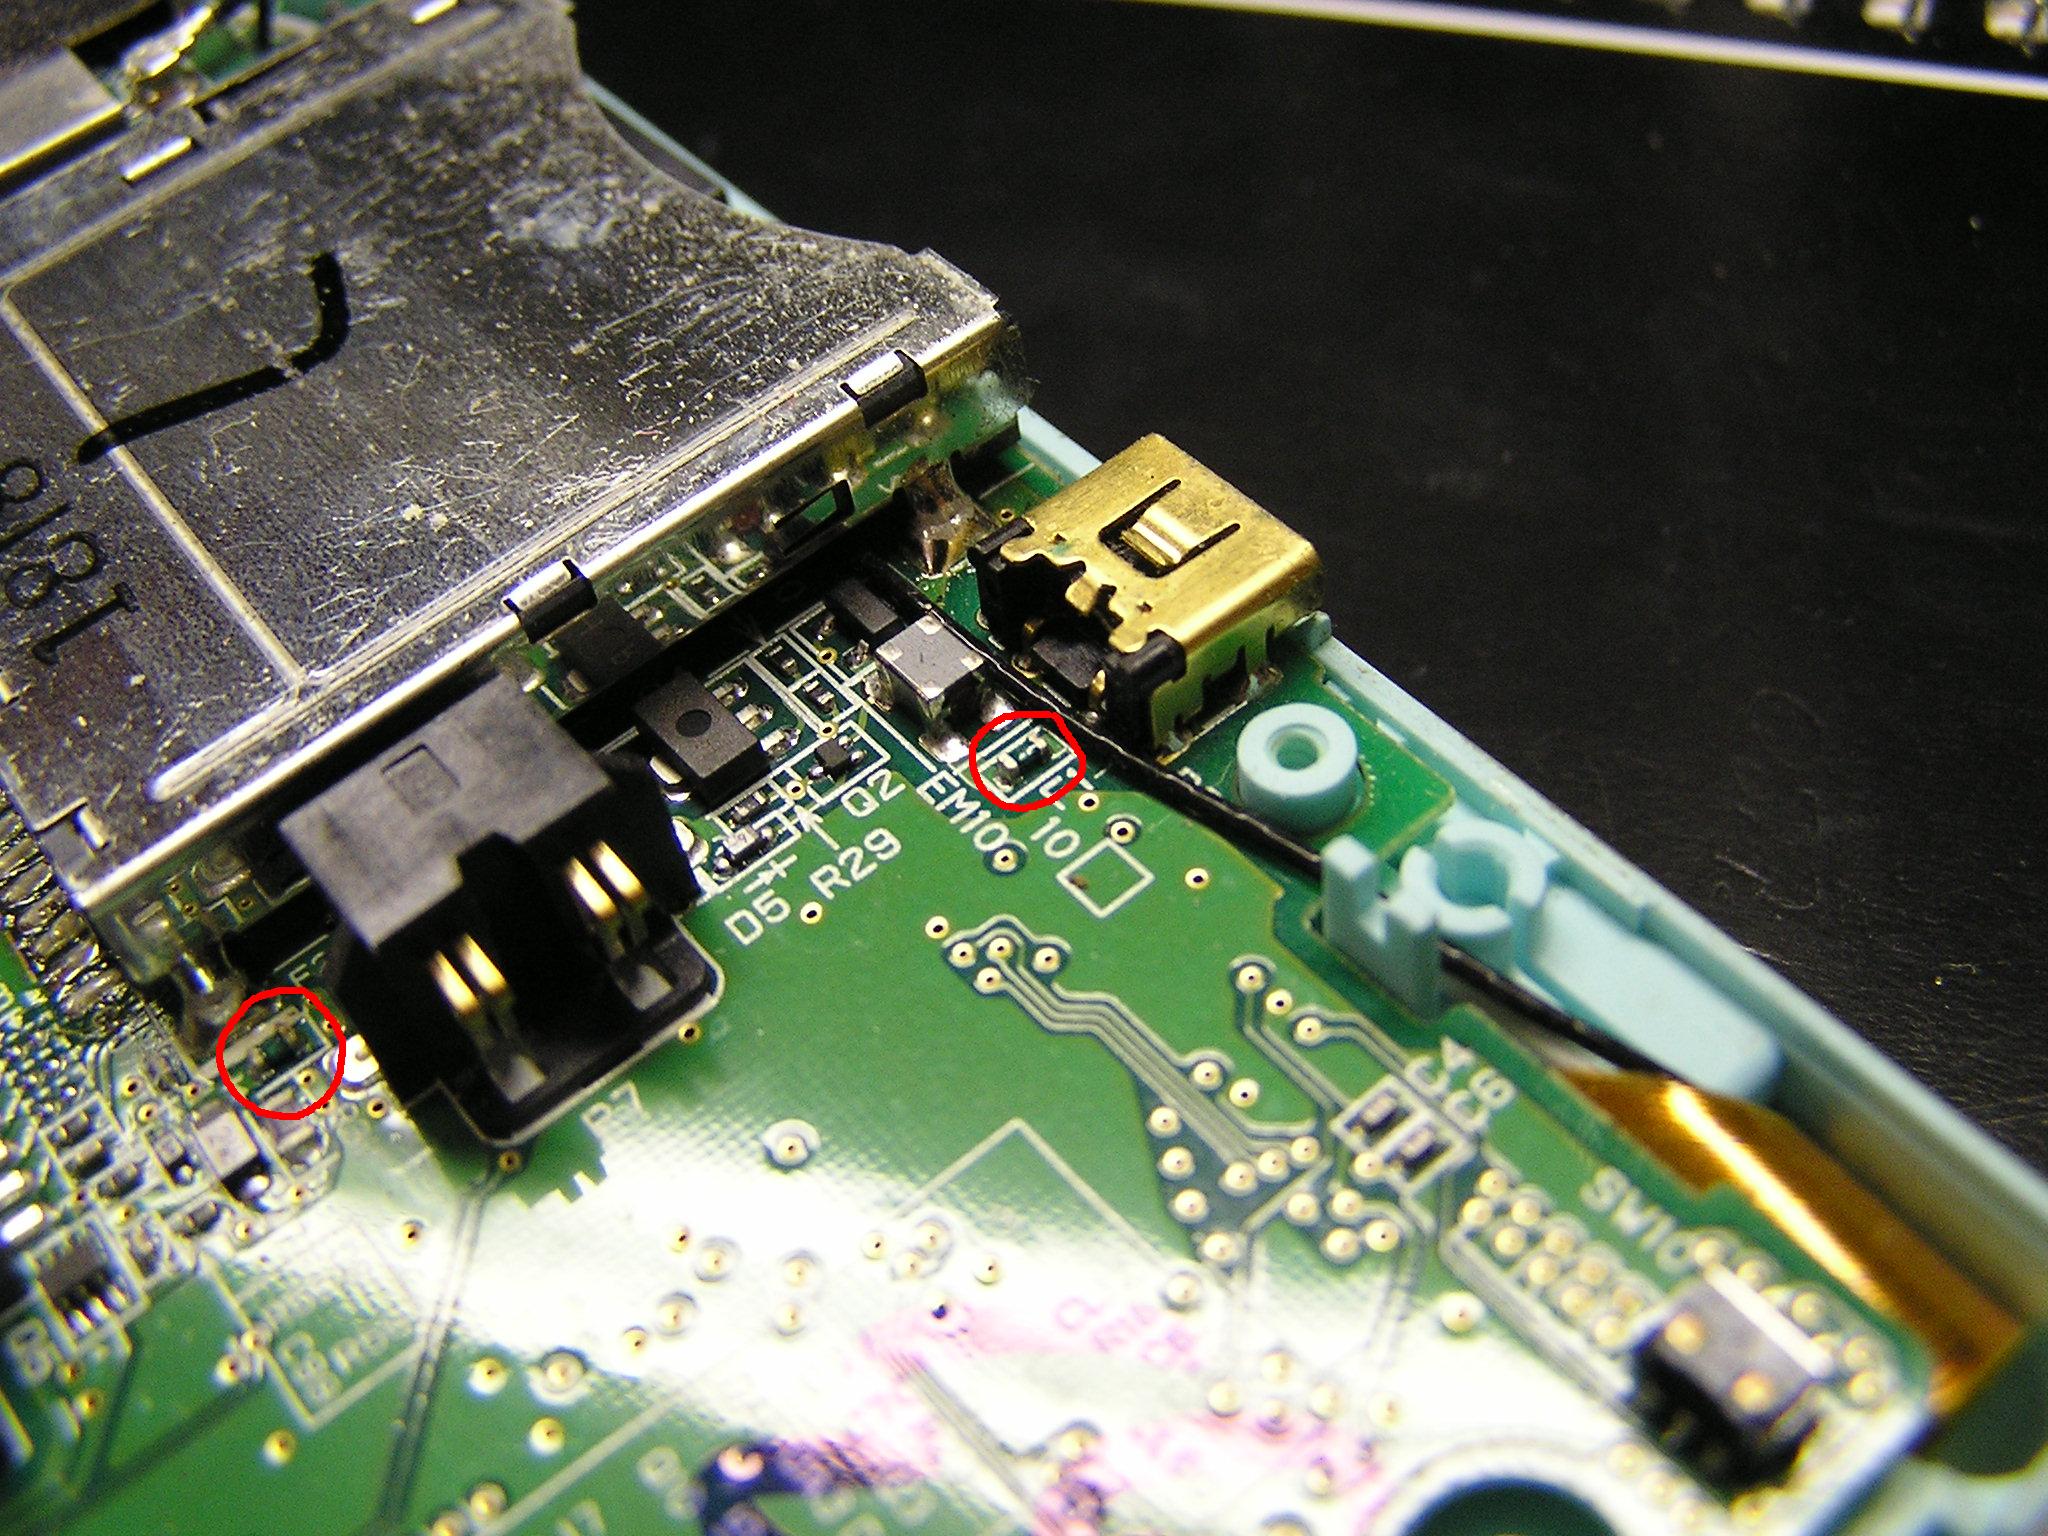
Here is another view of the fuses. You can clearly see the metal tabs on the sides that you touch with the multimeter probes. A Multimeter or OHM meter is the only way to test a fuse like this that I know of. You can buy one cheap at Amazon.com
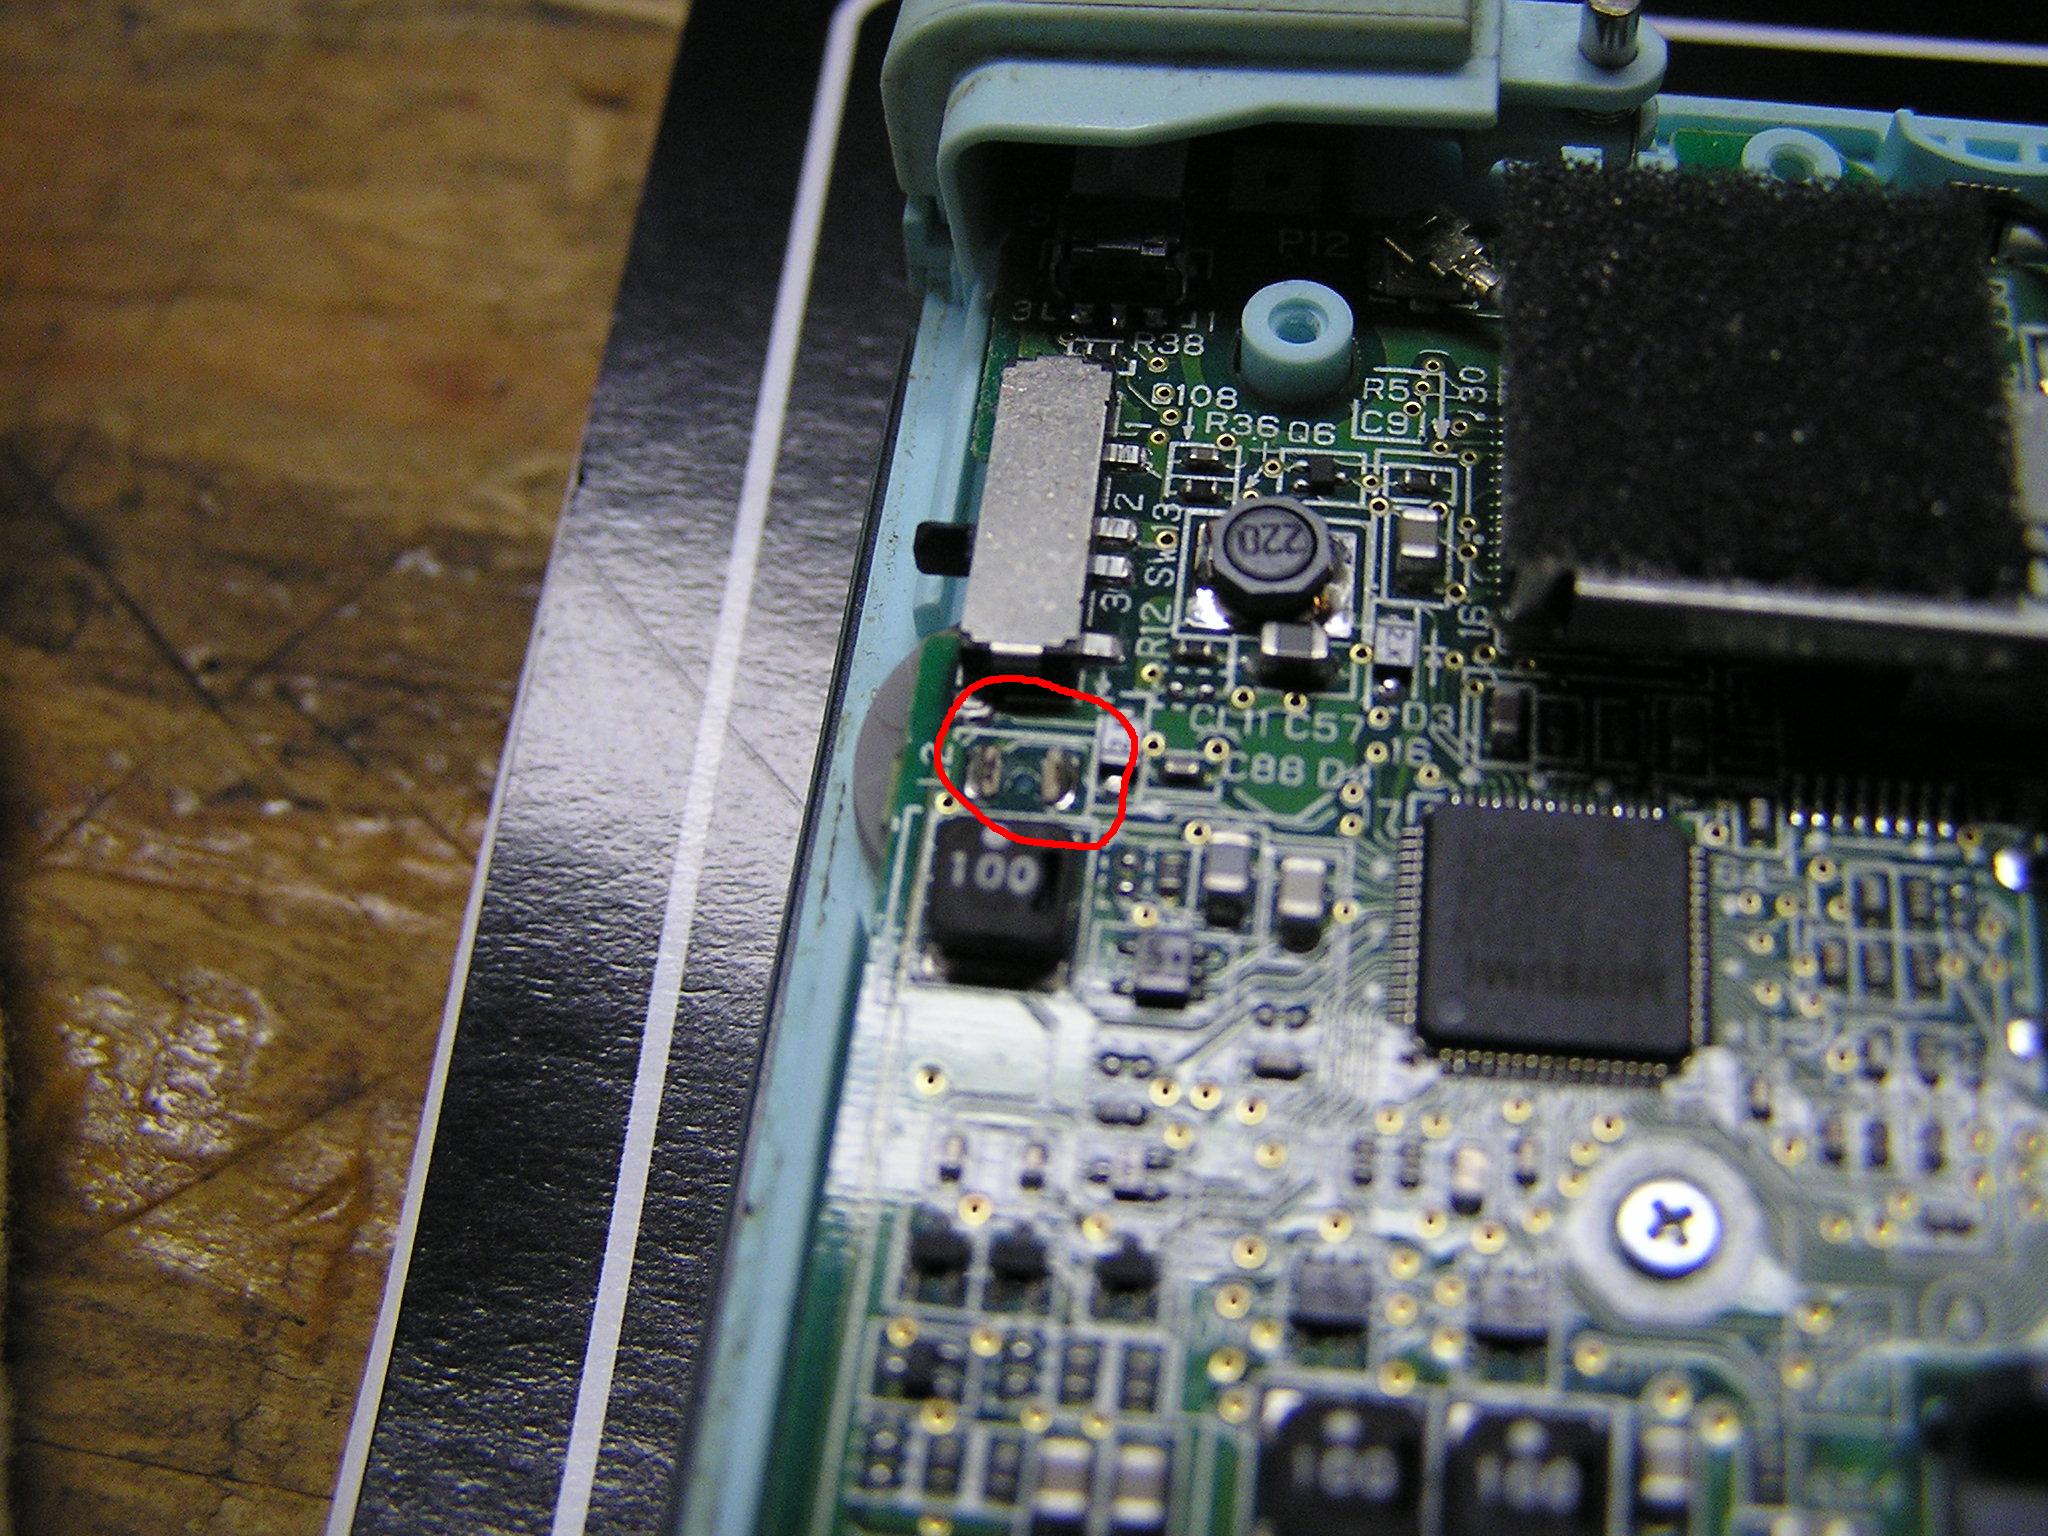
I checked my fuses and they were both okay. I was not sure what else could be wrong so I started examining the motherboard for damage. I was surprised to find that there was a part missing! There is supposed to be an “Inductor” right below the power switch in the upper left corner of the motherboard.
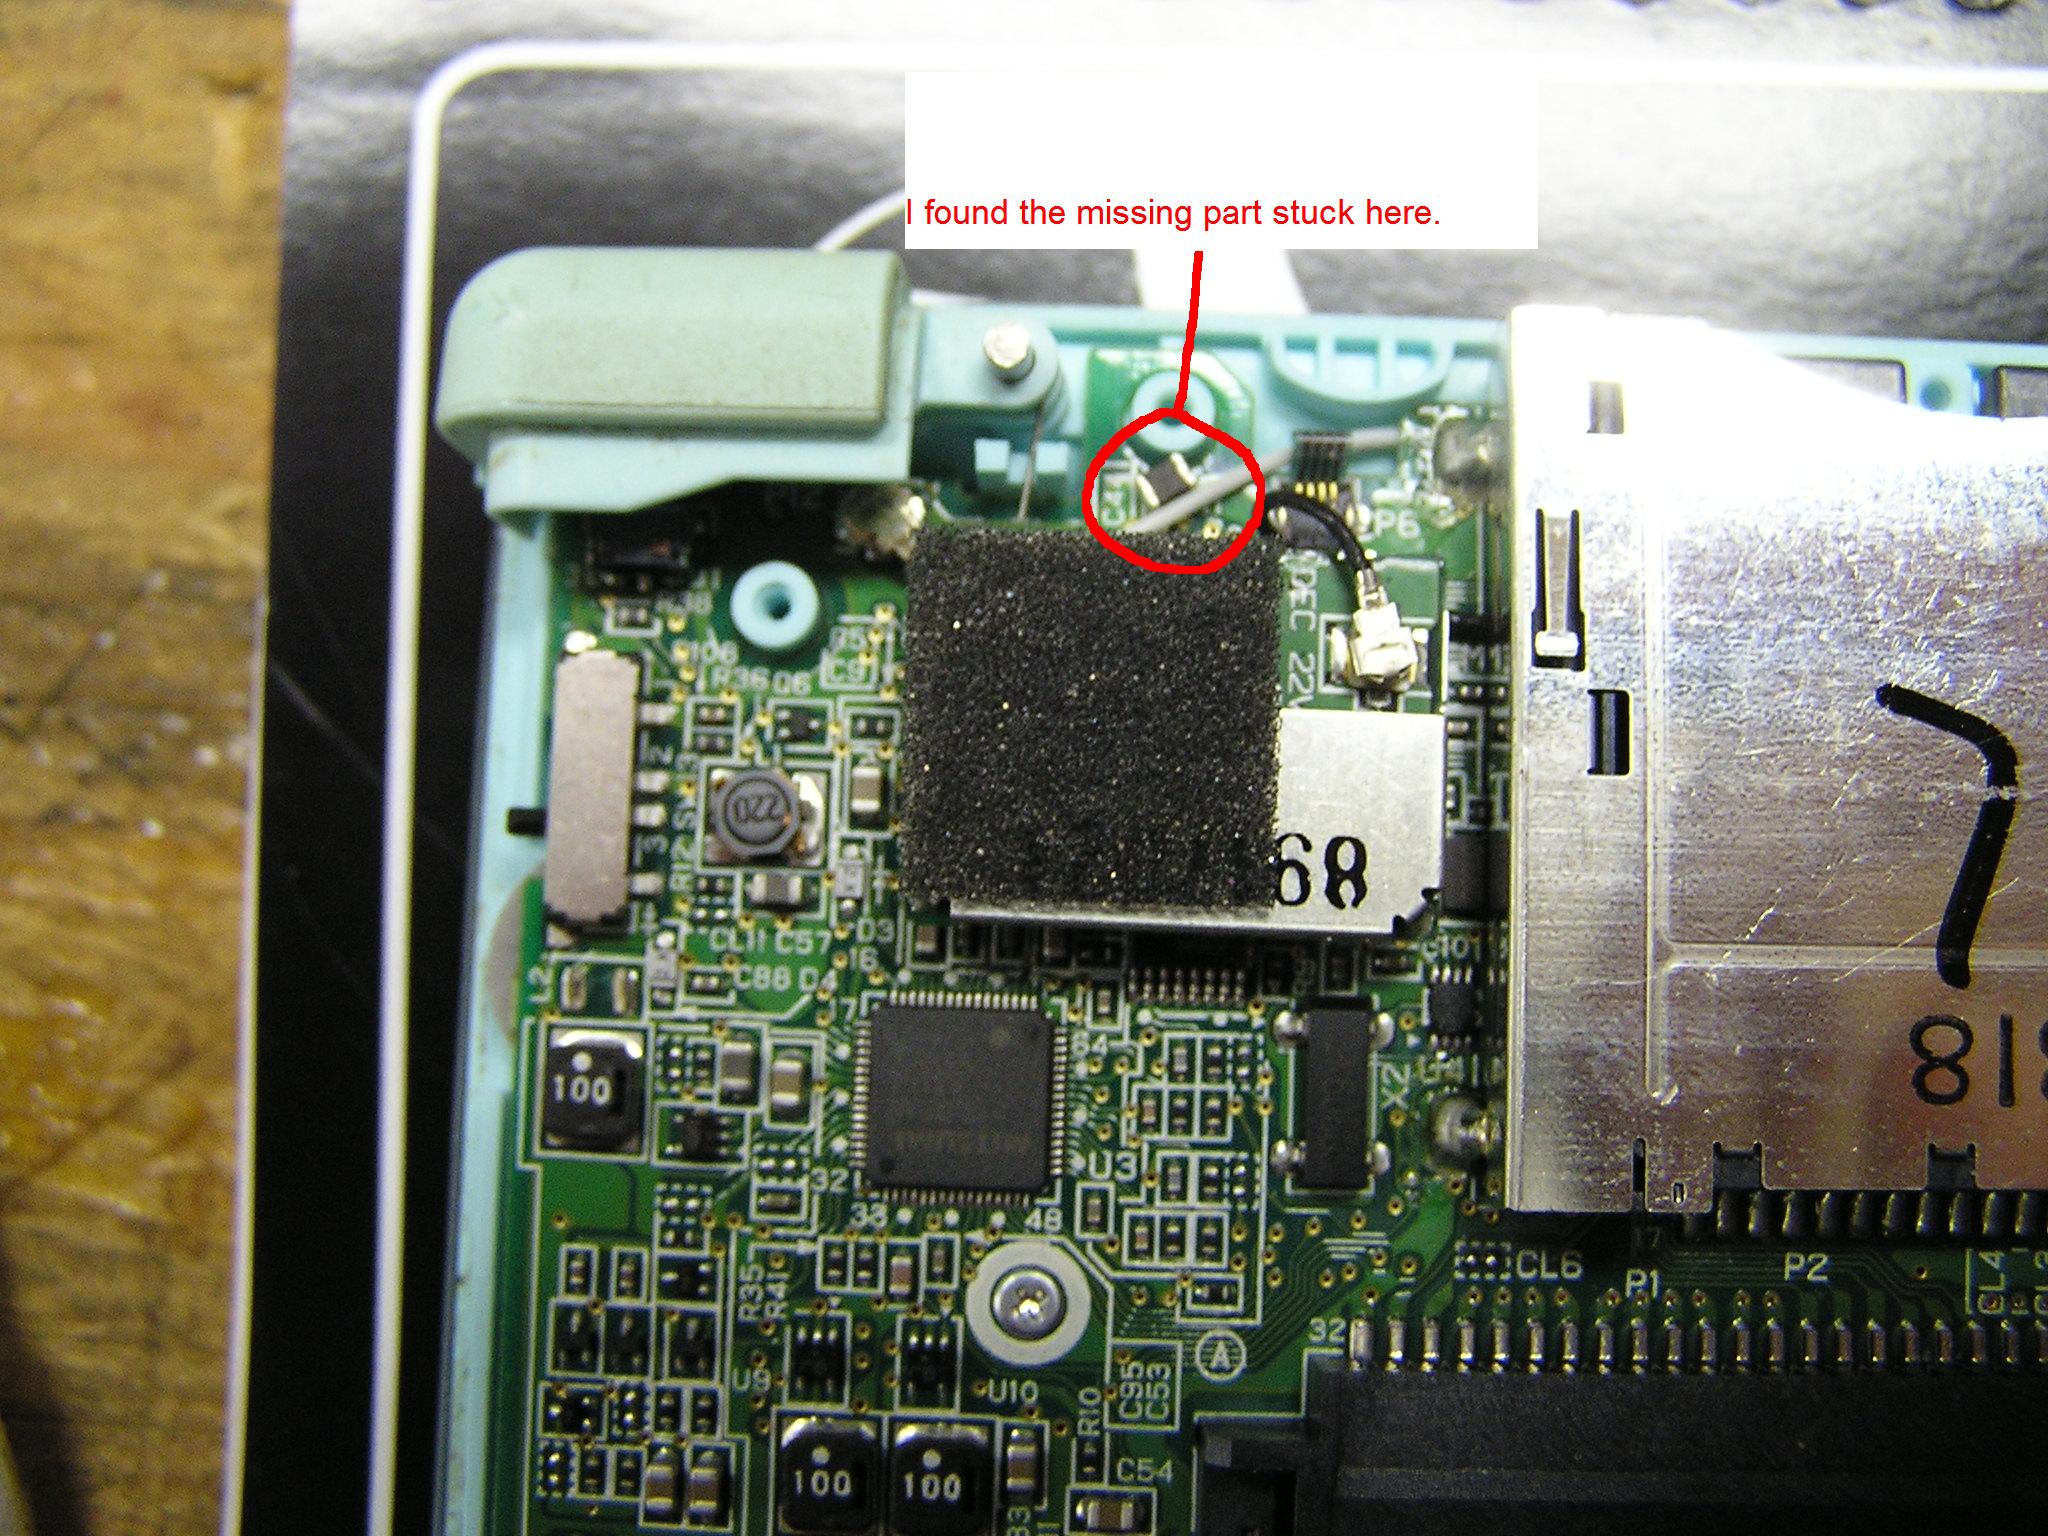
I have read on other sites that this part can break off if you drop your DS lite on a hard surface. That must have happened. Well now where is it? It should still be inside the DS lite rattling around somewhere because there is no way for it to fall out. I actually found it stuck on the top edge of the DS by the cartridge slot.
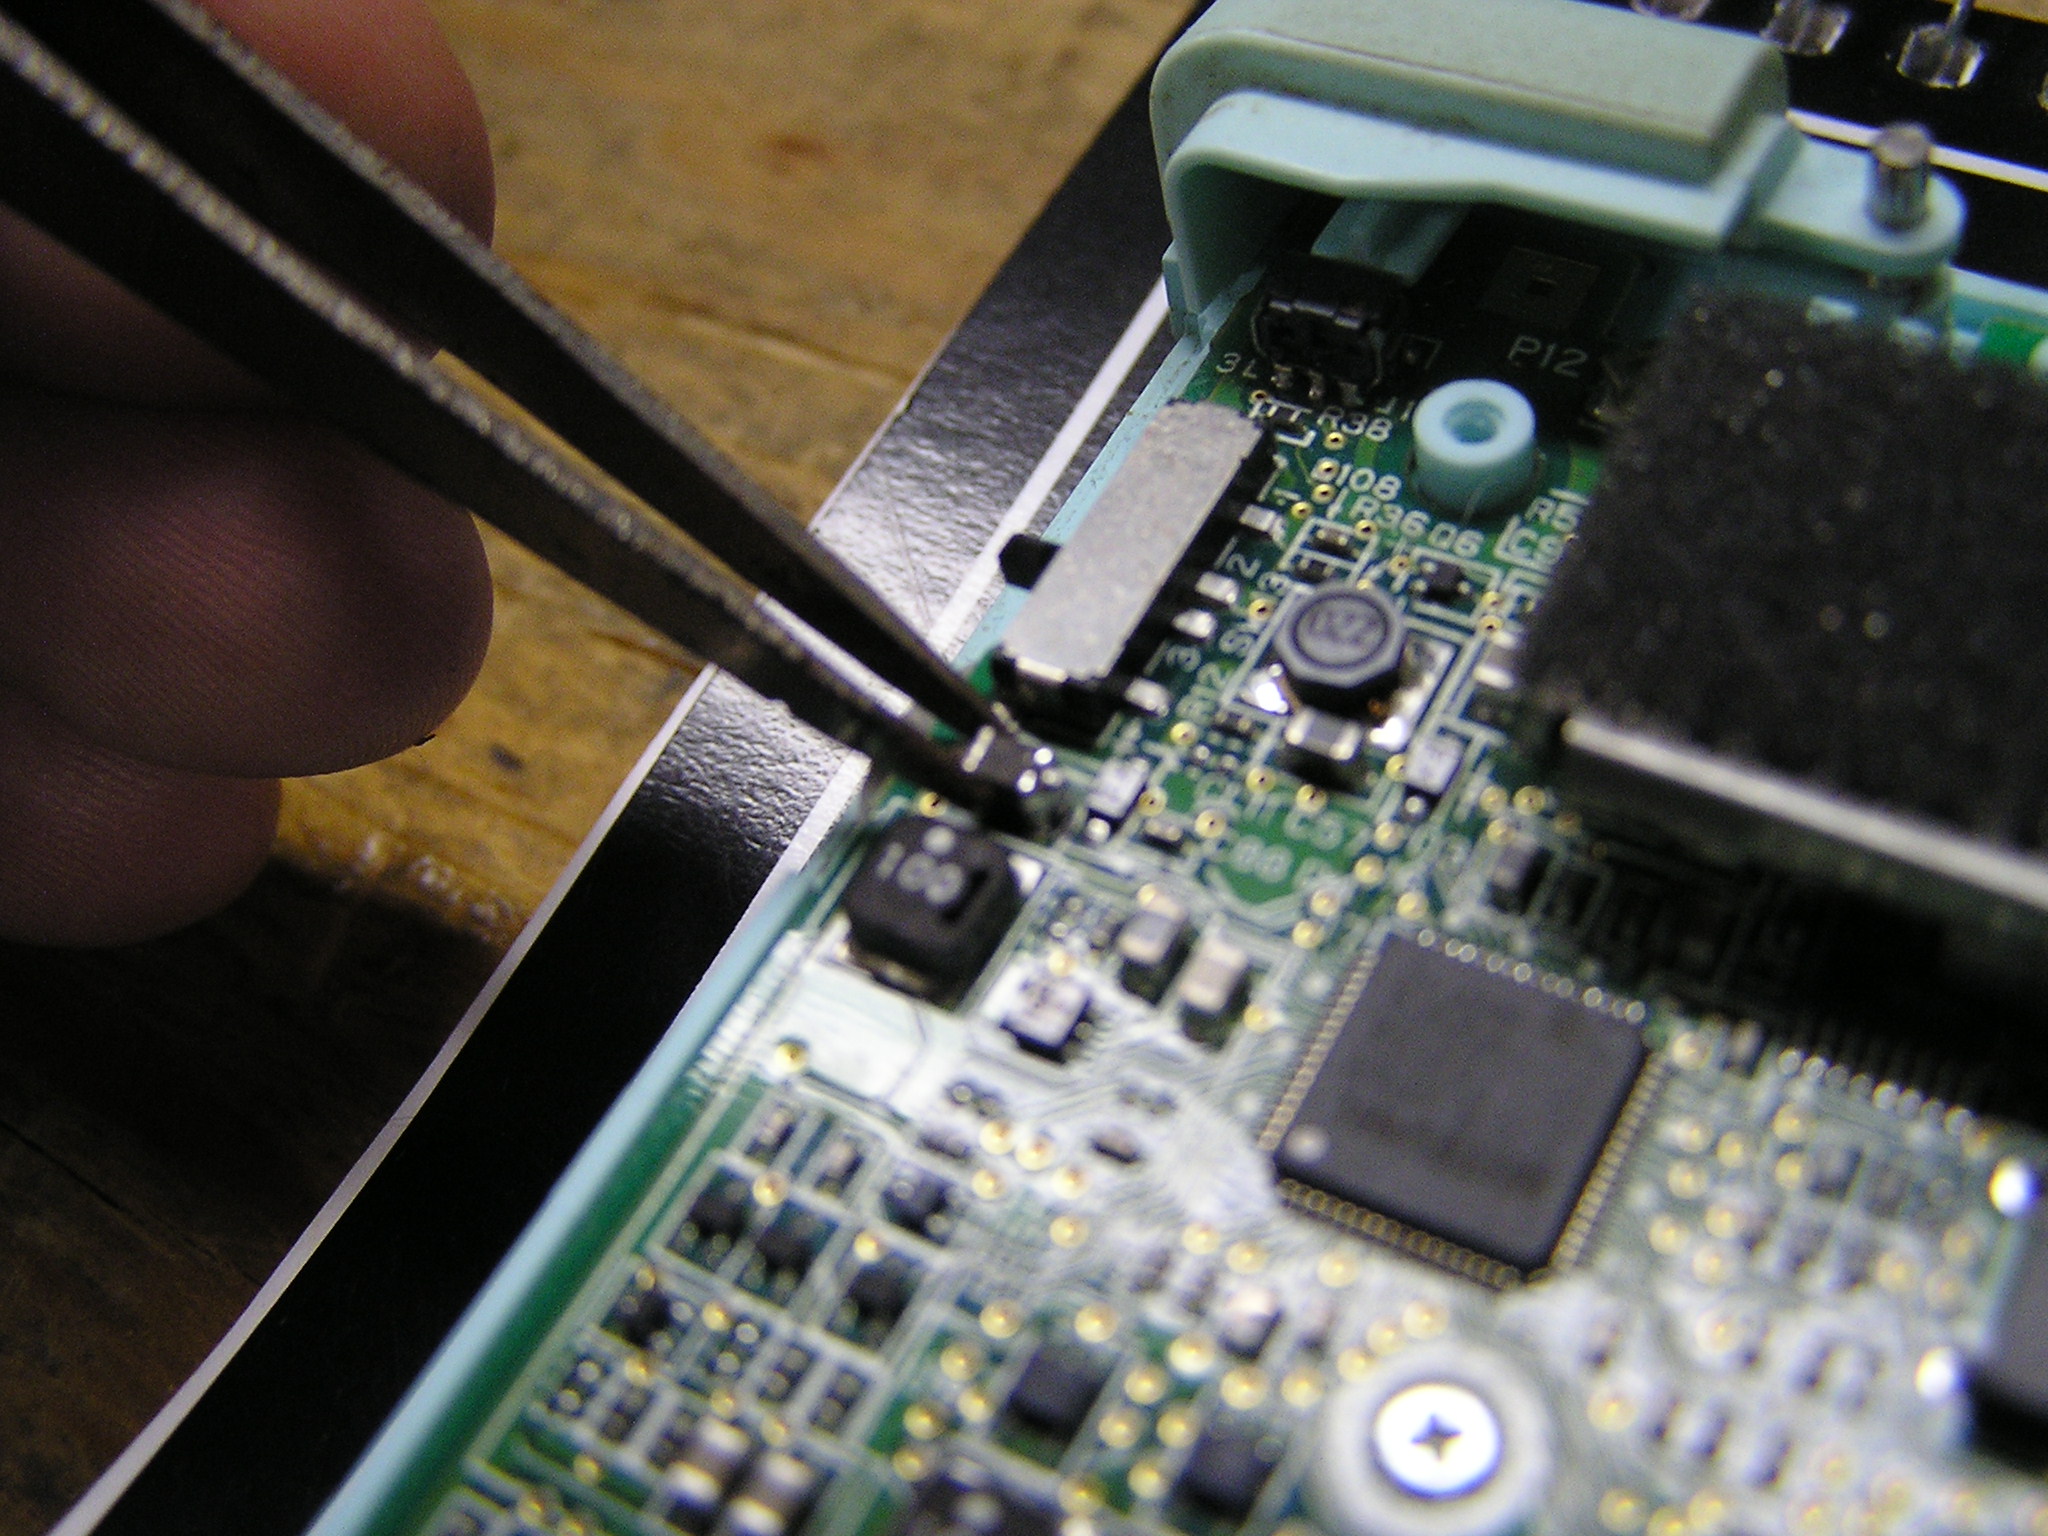
I used tweezers to hold the part back on while carefully soldering each end back on. This part has no polarity so it does not matter which way to put it on. I use a low wattage solder pin with a sharp point to solder small parts like this. It only took a few minutes.
I now re-assembled the DS Lite and tried it out. To my surprise it turned on and was working perfectly.
I gave it back to my daughter and it’s still working perfect days later. That’s it. It’s not too hard to repair these Gameboys if you take your time and look closely for the obvious.
Thank you for posting this. I found it really useful.
I had the same problem but could not get the component to solder on. Thinking that would be the end of that I just dolloped some solder to connect the two terminals left and, greatly to my surprise, the unit is working. Not ideal I know but better than throwing the unit in the bin.
Broken ds lites go for 15 – 30 bucks on ebay.
Thanks for this, I had a DS Lite power up ok after changing the case but the battery wouldn’t charge. Shorting out fuse F1 fixed it. I just hope whatever blew the fuse won’t happen again and now blow something more important. 🙂
What is em 10 next to fuse1 for my gf ( we are not together anymore ) broke my ds lite and i tried to open it to replace the digitizer and i could not get the system open so i snapped the case to open it ( the screws were too tight and refused to come out even with the correct tools ) and i think em 10 got cracked when i was trying to break it to get the case opened to repair the system so i broke what was left of it off the board ( after cracking it the ds lite did not turn on anymore with or without the li-ion battery ) i cannot find the part online so i just want to know what it does and if i can solder across it because my gba sp ags 001 has the same part missing from it and the gba is very easy to fix if i can get that part replaced.
Plz reply to this as soon as you can